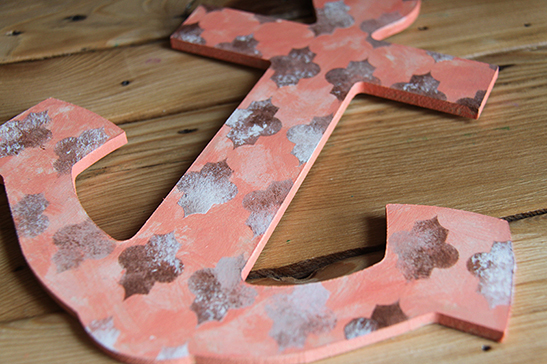
We are constantly inspired by Brooklyn. From the street art to the people, there is always a taste of Brooklyn in our designs. While taking a walk, this texture caught my eye and inspired this how-to. This anchor would look great on a wall, door or even on propped against a mirror on your dresser.

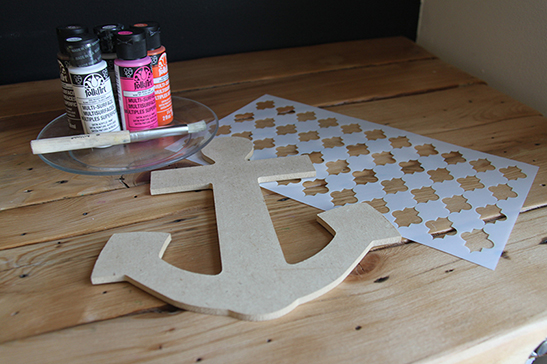
This is what you’ll need: Folk-Art Multi-Surface Paint, Stencil1 Plaid Swallow Set stencil, stencil brushes and an anchor shaped wood panel.
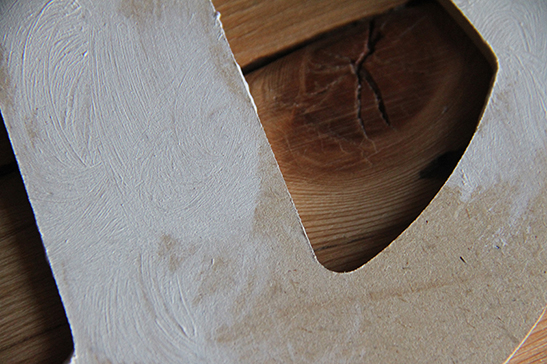
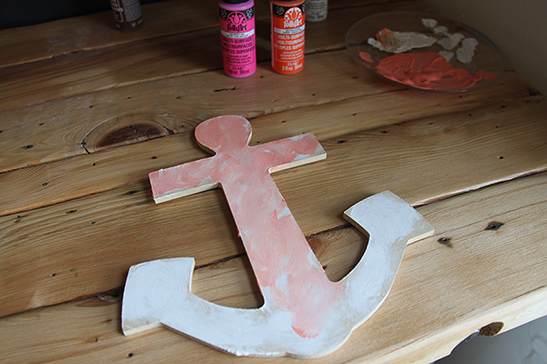
Step1: Use a stencil brush to give the anchor a coat of white paint. We used an off-white color and varied the amount of paint to give it more texture. We love the way brush marks look so we accentuated them by using more paint in certain areas. You don’t have to cover every inch of the anchor. An uneven coat looks cool and pushes the "aged" look.
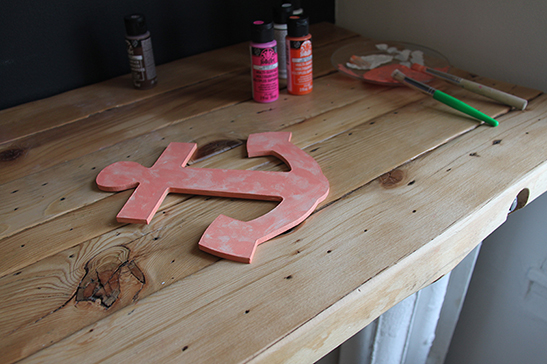
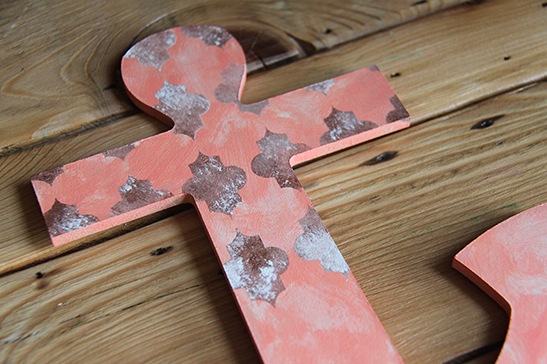
Step 2: We really loved the coral that is fading off the wall. We didn’t have a color that matched so we mixed a version using white, pink and orange. Use more pink than orange if you want more of a pop. Once you mix your color and the white coat is dry, repeat step 1 using the coral. Again, don’t stress about even coverage and have some fun creating texture. We also used the coral to paint the edges of the wood panel.
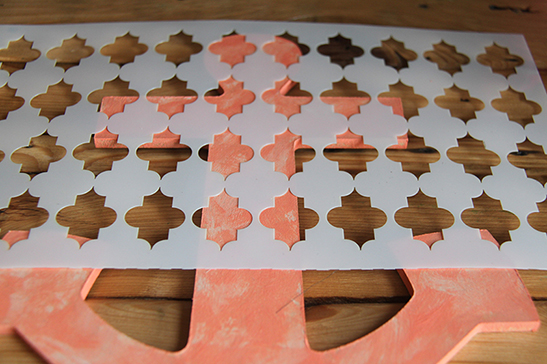
Step 3: Once the paint dries, you’re ready to stencil! Lay the quatrefoil pattern stencil over the anchor. Since the anchor is flat, you can use your hand to hold the stencil down while you’re painting.
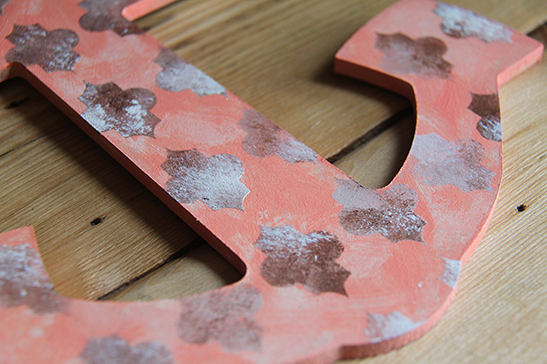
Step 4: We mixed a little bit of brown and off-white for the first coat of paint. Use a dry-brush technique (very little paint and multiple coats) and an up-and-down dabbing motion to stenciled the anchor. Again, don’t be too concerned about stenciling to perfection. You’ll be applying a couple of colors, so your first coat doesn’t have to fill in the stencil fully. Once the paint dries, follow the same step using brown. Since this is a darker color, use the paint sparingly.
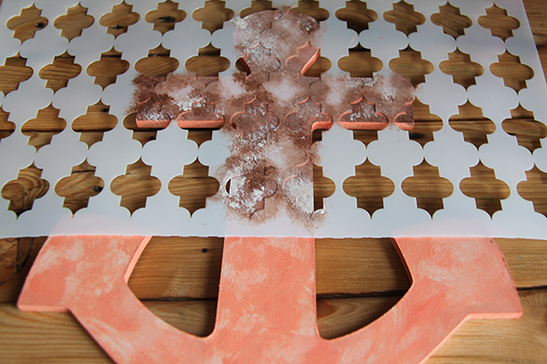
Step 5: Once the brown paint is dry, use a different brush to add some white. We wanted the white to mimic the bottom of the wall so we only painted sections of the stencil and did not blend it in much. Don’t be afraid to switch from brown to white until you find the perfect balance! Lift off the stencil and allow the paint to dry.
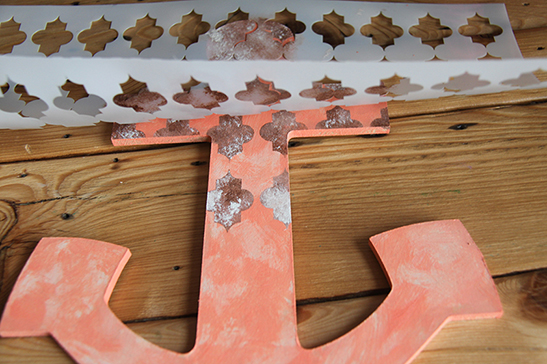
Step 6: Move the stencil down to the second half of the anchor. Align the bottom part of your painted pattern to the stencil so you can continue the patter seamlessly. Repeat steps 4 and 5.
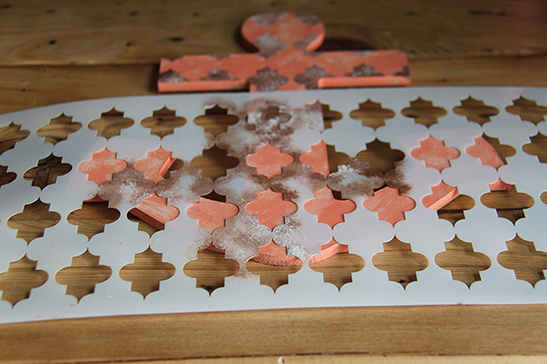
Step 7: Lift the stencil and allow the paint to dry. Snap pictures of your anchors and tag @stencil1.