
Gallery Glass ® Stained Glass Effect Paint - Ruby Red, 2 oz. - 19691
Gallery Glass
2 oz
+ 38 colors
$3.99
Gallery Glass ® Stained Glass Effect Paint - Kelly Green, 2 oz. - 19716
Gallery Glass
2 oz
+ 38 colors
$3.99
Gallery Glass ® Shimmer™ Stained Glass Effect Paint - Red, 2 oz. - 19686
Gallery Glass
2 oz
+ 4 colors
$3.99
Gallery Glass ® Stained Glass Effect Paint - Bright White, 2 oz. - 19692
Gallery Glass
2 oz
+ 38 colors
$3.99
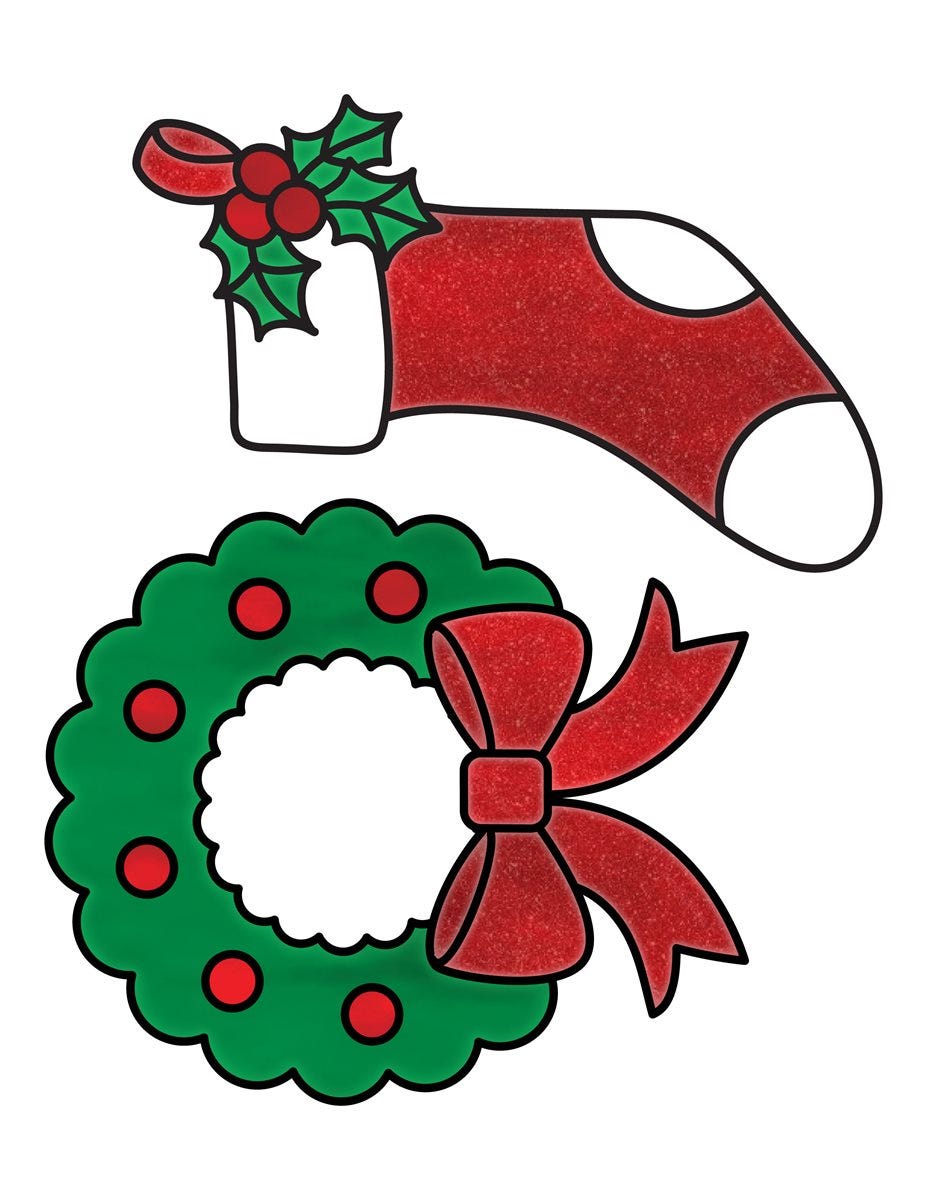
Instructions
FOR BEST RESULTS, READ ALL INSTRUCTIONS BEFORE BEGINNING.Clean surface with window cleaner.
- Work on a flat surface protected with newspaper. Tape pattern to backside of surface.
- For ease, cut to separate patterns from the large pattern sheet.
- Tape desired pattern to backside of project surface.
- Two simple steps: Outline and Fill
OUTLINE: LEADING HOW-TO’S
- Apply Liquid Lead from the center of the design working outwards, until all pattern lines
have been leaded; if necessary, turn the project as needed. - While keeping the nozzle tip one inch above the project surface, apply even pressure to
create a uniform line of Liquid Leading. Allow the Liquid Leading line to drape onto the
pattern line. - Continue until all elements of the design have been outlined.
- Leading must dry for 8 hours before painting. Do not dry in an oven or microwave.
FILL: PAINT HOW-TO’S
- Squeeze Gallery Glass paint bottle to begin applying paint on the leaded design. First apply
the paint to the perimeter of a leaded design section, then fill in. - Add a generous amount of paint equal to the leading line level. Be sure to apply the paint onto
the leading, using it as a bumper. Failure to do so will create light holes. NOTE: paint applied
on the leading will not show when the project is cured. - To remove bubbles:
- Combing: use the pointed end of a nutpick to "comb"
back and forth quickly in straight lines through the
paint to smooth the texture and pop any bubbles. Clean
nutpick when changing colors. - Tapping: Lift and hold the project surface firmly in one
hand and then tap directly under the combed section
with the flat end of the nutpick.
- Combing: use the pointed end of a nutpick to "comb"
- Window Color dries transparent in 24 hours and cures in 72 hours.
- Drying time may vary due to humidity, temperature and thickness of application.
CLEANING
- If you spill paint on clothing, wash immediately with soap and water.
- Let project cure at least one week before cleaning.
- Spray a very light mist of water on a soft cloth and wipe the surface gently to remove dust.
LEADING TIPS
- Uneven lead lines indicate inconsistent speed when moving your arm.
- Bumps at the beginning or end of a line indicate too much pressure.
- Leading can be removed once dry and leading blank can be used again.
- Once dry, Liquid Leading errors can easily be removed. Use a razor blade or craft knife
to score unwanted sections, peel off and reapply.
PAINTING TIPS
- New colors may be created by inter-mixing any paint colors.
- Colors may be lightened by adding Crystal Clear.
- Specialty pigments can be used alone or mixed with Gallery Glass colors.
- Crystal Clear can be used to go around the outside of the design to finish off the project.
- Apply crystal clear with a "swirl" motion to give it texture.

