Email Signup

Subscribe to the Plaid Crafts Newsletter for craft project ideas, product news, our live events, and more!

20% Off Gifts for Mom!

Spend $60+ to save 20% site-wide for Mother's Day gifts and upcycled projects! Explore the NEW! FolkArt® Murano™ Glass Paint and Mod Podge Multi! Check out our Mother's Day Projects for inspirational ideas. Get free U.S. ground shipping on orders $60+! This promotion cannot be combined with other promos. See shipping details.

Use Code

Sale Ends 4/13/24

Buffalo Plaid Wood Burned Sign

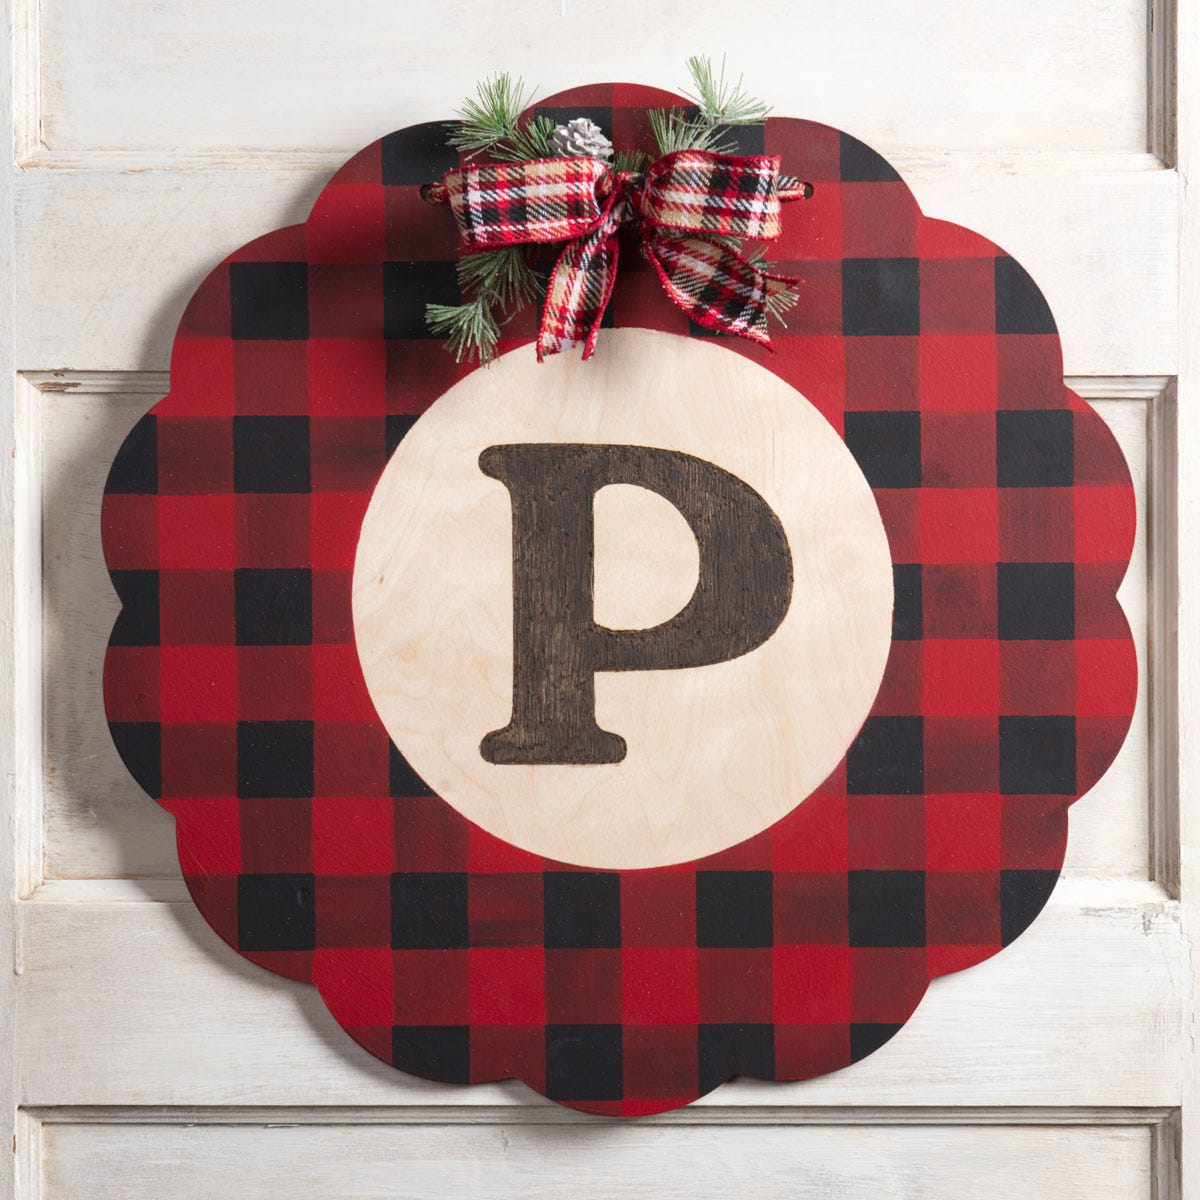
Decorate for the season with this cozy Buffalo Plaid sign. Add a fun plaid pattern and wood burn your monogram as a stunning accent to your decor. Welcome your guests with this charming handmade piece you can enjoy year after year.

This project features these great brands:

At a Glance:

Project #15675 Skill Level: Advanced
supplies

Plaid Supplies

Large Wood Circle Plaque, 19-1/4" - 99458

Number Needed: 1 $29.99
Item not for sale on Plaid Online.

FolkArt ® Painting Tools - Stencil Tape, 3/4" x 25 yds. - 50380

Number Needed: 1 $9.99
Item not for sale on Plaid Online.

Folkart ® Brush Sets - Gold Taklon Set, 3 pc. - 50559

Number Needed: 1 $5.99
Item not for sale on Plaid Online.

Plaid ® Decorative Wood Burning Tool - 30725

Number Needed: 1 $15.99
Item not for sale on Plaid Online.

FolkArt ® Stencil Value Packs - Richmond Alphabet, 12" x 12" - 38960E

Number Needed: 1 $13.49
Item not for sale on Plaid Online.

FolkArt ® Acrylic Colors - Pure Black, 2 oz. - 479

Number Needed: 1 $1.69
Item not for sale on Plaid Online.

FolkArt ® Acrylic Colors - Apple Red, 2 oz. - 2548

Number Needed: 1 $1.69
Item not for sale on Plaid Online.

F/A PAINTING TOOL - STENCIL BRUSH & STYLUS 3

Number Needed: 1 $2.99
Item not for sale on Plaid Online.

Other Supplies

  • 9” paper plate
  • Water basin
  • Paper towels
  • Pencil
  • Scrap paper
  • Scissors

instructions

  1. Using a pencil, trace the paper plate on a scrap piece of paper.
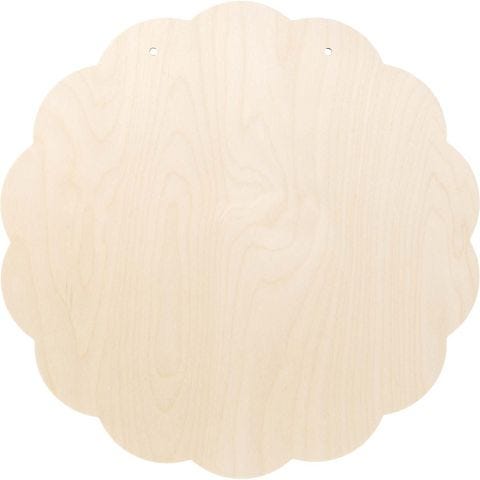
  2. Using scissors, cut out the circle. Roll up a few small pieces of tape and and tape the paper circle to the center of the wood wreath surface. This will mask off this area from paint.
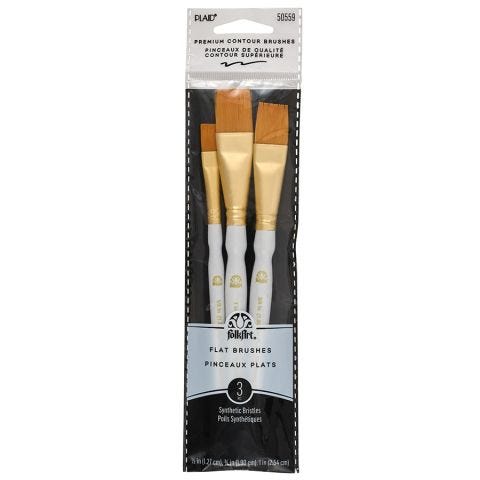
  3. Using a 1” brush, paint the entire wreath with Apple Red. Let dry and apply a second coat if necessary.
  4. Beginning in the center of the place a vertical strip of tape that covers the length of the great from top to bottom. Place pieces of tape on either side of this piece, edge to edge, and continue placing pieces until the entire wood wreath is covered in stencil tape.
  5. Remove every other piece of tape and save them for later (You can hang the strips of tape to the edge of your work table or chair to prevent them from sticking to each other).
  6. Repeat this step placing the tape strips horizontally. You can reuse the tape that you used for spacing in the vertical strips. Remove every other piece of tape. You should be left with a perfectly spaced grid of tape.
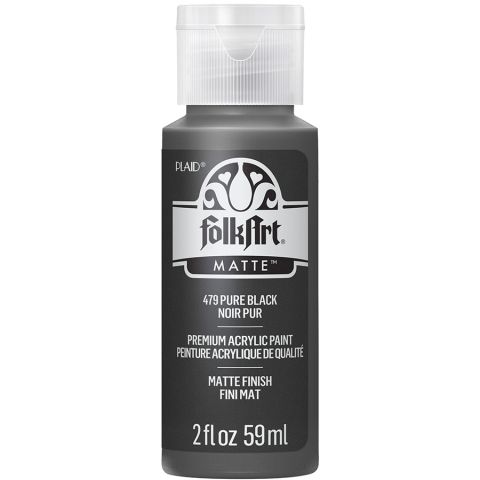
  7. Dip the stencil brush in Pure Black and remove some onto a paper towel. This is called “off-loading.” Apply Pure Black to the exposed squares in a dabbing motion, building up the paint until is is solid.
  8. Remove the strips of tape.
  9. Using a 3/4” brush, add water to Pure Black on a plate and mix. Dip the brush in this mixture and paint lines between each of the black squares on the wreath. The thinned paint should allow for some of the red to show through creating the appearance of Buffalo Plaid.
  10. Remove the paper circle that was masking the center of the wreath.
  11. Plug in the Plaid Decorative Wood Burning Tool and turn it on. Allow several minutes for the tool to heat up.
  12. While the tool is heating, find your monogram in the FolkArt Stencil Value Pack- Richmond Alphabet and place it on the center of the exposed wood circle. Tack it on place using a small piece of stencil tape.
  13. Trace the stencil using a pencil and remove the stencil.
  14. Check to see if your Wood Burning Tool is hot by touching the tip of the tool to the back of the wreath in an area that will not be seen.
  15. When your tool is sufficiently hot, trace the monogram pencil outline with the tool keeping it slow and steady. After the outline is traced, fill in the inside of the letter with the Wood Burning Too as well.
  16. Add ribbon, burlap or jute to the holes in the wreath to hang.

resources

Related Videos

Learn to Paint Flowers with Donna Dewberry, Pt. 1

Learn to how paint flowers with Donna Dewberry, creator of the One Stroke painting technique.

Watch this Video

Learn to how paint flowers with Donna Dewberry, creator of the One Stroke painting technique.

Learn to Paint Flowers with Donna Dewberry, Pt. 2

Learn to Paint Flowers with Donna Dewberry, creator of the One Stroke technique.

Watch this Video

Learn to Paint Flowers with Donna Dewberry, creator of the One Stroke technique.

Painting Poppies with Donna Dewberry Pt. 1

Paint these lively poppies! Donna Dewberry shows you how.

Watch this Video

Paint these lively poppies! Donna Dewberry shows you how.

Related Resources

Fabric Creations Soft Fabric Inks FAQ

Fabric Creations Soft Fabric Inks FAQ

Learn how to use the Fabric Creations fabric ink by reading the FAQ.

View PDF
Fabric Creations Fantasy Glitter FAQ

Fabric Creations Fantasy Glitter FAQ

Learn more about the Fabric Creations Fantasy Glitter paint by reading the FAQ.

View PDF
Fabric Creations Plush FAQ

Fabric Creations Plush FAQ

Learn more about Fabric Creations Plush by reading the FAQ. 

View PDF

Related FAQs

Decorated candles using Mod Podge ® or Royal Coat ® Decoupage Finish are meant for decorative purposes and not for illumination. Many of the decorations would catch fire and be hazardous if the candle were burned. However, if you are using a wide pillar candle and the decorations do not go to the top of the candle, it can be burned down slightly to create a well, then a votive candle inserted into the well. A new votive candle can be inserted when the old one is finished. Use extreme caution and good judgment when burning candles that have been decorated.
Yes, simply use stencil or painter’s tape to mask off a border. Load a Fabric Creations™ Sponge Cube with Soft Fabric Ink and pounce the color onto the masked area.
Be sure to allow the painted background area to dry thoroughly before stamping over it with a design.
Separate the strands of floss
Take one strand and double it (most cross stitches require 2 strands, while back stitches require just one.)
Thread the looped end of the strand through the eye of the needle
Pull the loop to the bottom
NEVER make knots in your floss, so as to ensure a smooth finished back.
DIY Holiday Cookie Treat Bag
New!
DIY Holiday Cookie Treat Bag
Plastic Dragon
New!
Plastic Dragon
Upcycled Denim Jacket
New!
Upcycled Denim Jacket
Days of School Sign
New!
Days of School Sign

Disclaimer: The information found in each project is presented in good faith, but no warranty is given, nor results guaranteed, nor is freedom from any patent to be inferred. Since we have no control over physical conditions surrounding the application of information herein contained, Plaid Enterprises, Inc. disclaims any liability for untoward results.

Important: Please be sure to thoroughly read the instructions for all products, paying particular attention to all cautions and warnings shown to ensure the proper and safe use of the product.

Copyright: All Rights Reserved. No part of this Project may be reproduced in any form without permission in writing, except for your personal use, except by reviewer, who may in reviewing this project, quote brief passages in a magazine or newspaper.