Email Signup

Subscribe to the Plaid Crafts Newsletter for craft project ideas, product news, our live events, and more!

25% Bucilla Spring Sale

Save 25% on orders of $60 or more and get free U.S. shipping! Shop new arrivals from Bucilla - Seasonal Felt Stockings & Ornaments! This promotion cannot be combined with other promos. See shipping details. for inspirational ideas. Get free U.S. ground shipping on orders $60+! This promotion cannot be combined with other promos. See shipping details.

Use Code

Sale Ends 4/20/24

Christmas Holly Drink Set

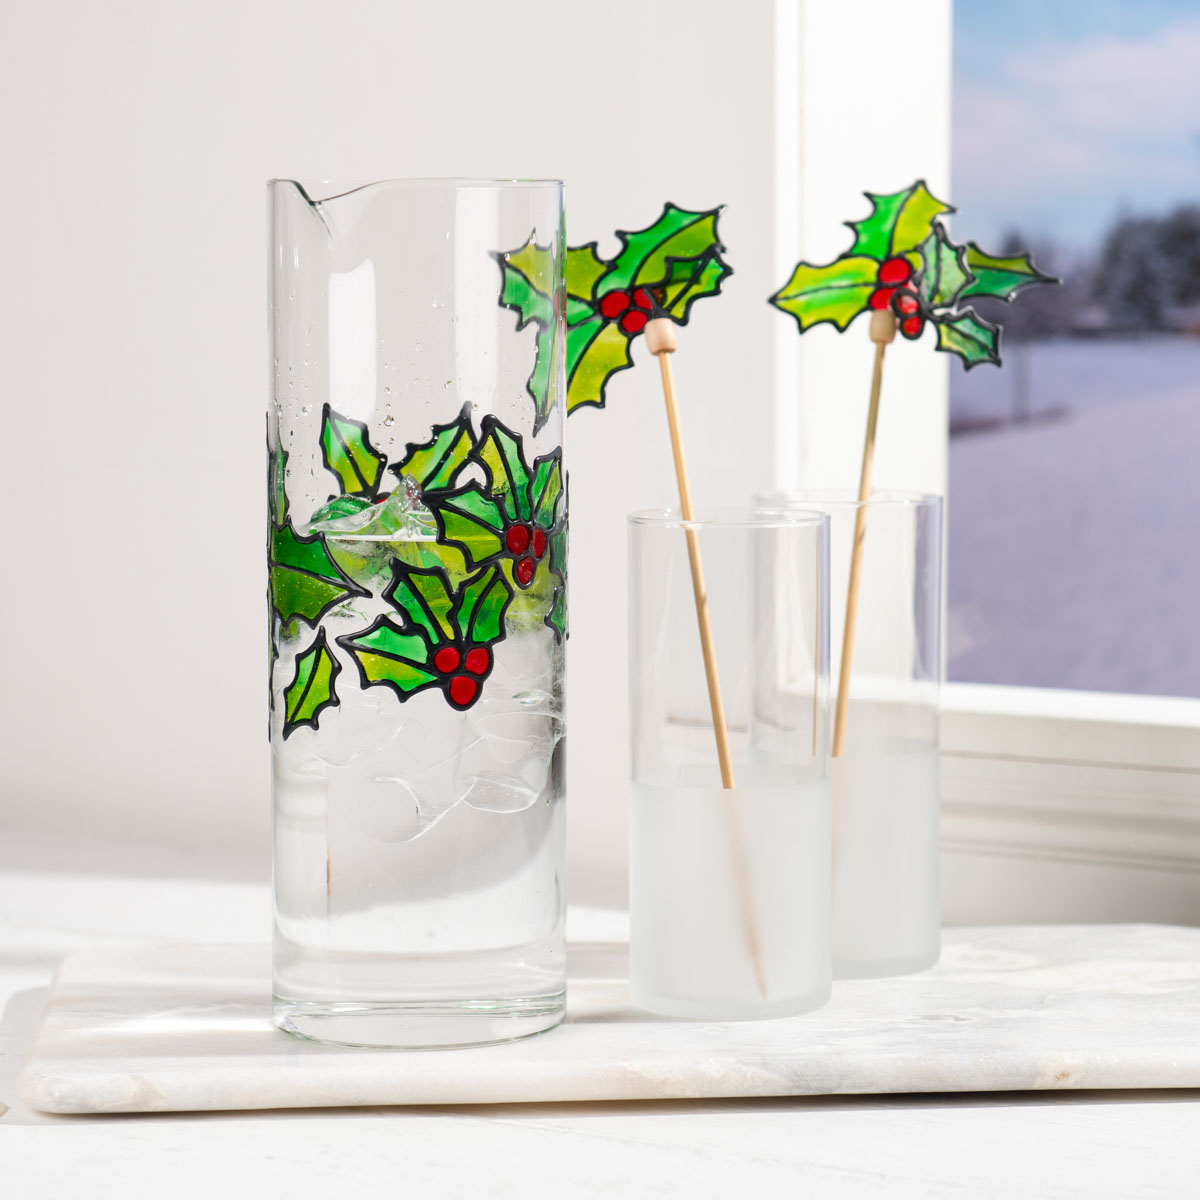
Make your holiday festivities unique with this Christmas holly drink set craft. Simple, easy, and festive, this project is fun to create and looks great with your holiday decor. Add a simple touch of holly to all your decorative vases with Gallery Glass!

This project features these great brands:

  • Gallery Glass Logo

At a Glance:

Project #15697 Skill Level: Intermediate
supplies

Plaid Supplies

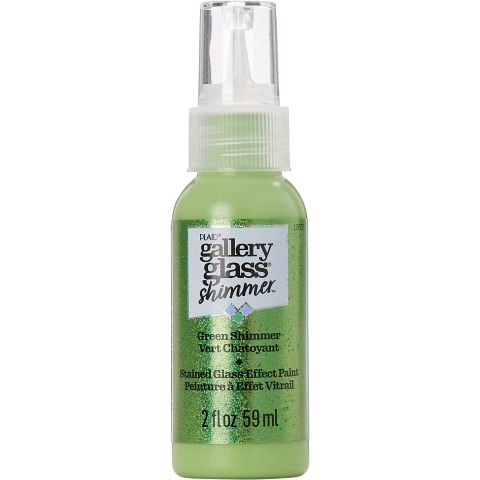
Gallery Glass ® Shimmer™ Stained Glass Effect Paint - Green, 2 oz. - 19689

Number Needed: 1 $4.99
Item not for sale on Plaid Online.

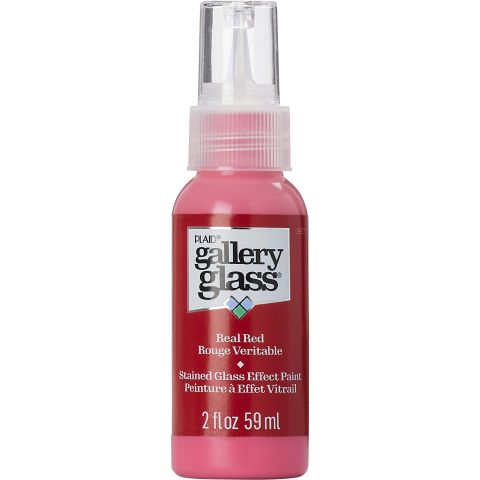
Gallery Glass ® Stained Glass Effect Paint - Real Red, 2 oz. - 19777

Number Needed: 1 $3.99
Item not for sale on Plaid Online.

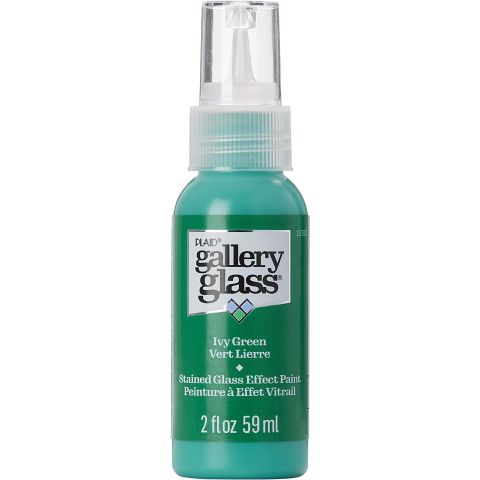
Gallery Glass ® Stained Glass Effect Paint - Ivy Green, 2 oz. - 19780

Number Needed: 1 $3.99
Item not for sale on Plaid Online.

Gallery Glass ® Leading - Black, 2 oz. - 19702

Number Needed: 1 $4.49
Item not for sale on Plaid Online.

FolkArt ® Glass Etching Cream™, 2.98 oz. - 2731

Number Needed: 1 $13.99
Item not for sale on Plaid Online.

Other Supplies

  • Hot glue gun
  • Natural bamboo knitting needles
  • Glasses and pitcher
  • Assorted recycled plastic or stencil blanks
  • FolkArt glass etching cream 
  • Medium flat brush
  • Stencil tape
  • Scissors

Project Patterns and Printables

Download Now!
instructions

  1. Place copy of holly design under plastic or stencil blank, following basic Liquid Lead Instructions, lead several leaves as shown and let dry.
  2. Color in each design as shown.  Blend 2 colors using a toothpick.  Let dry completely.
  3. For the Holly designs that will be used on the stir sticks, Leave on plastic and cut out each design on the plastic, leaving a small tab of plastic to attach to knitting needle.
  4. Using a small hand saw, saw a small cut into the top of each knitting needle. 
  5. Using hot glue, insert plastic tab into the grove and attach with hot glue.
 
Glasses
  1. Tape off bottom section of each glass as shown.
  2. Following basic instructions on Etching Cream, etch bottom of each glass as shown.
 
Decorative Pitcher
NOTE: For decorative use only. Not for use with food; remove before washing.
  1. Remove Holly clings by pealing off of plastic and arranging around pitcher as shown.
  2. When finished place clings back on plastic to store for next time.

Get the Pattern
resources

Related Videos

Learn More about Gallery Glass

Learn more about Gallery Glass Stained Glass paint by watching this video.

Watch this Video

Learn more about Gallery Glass Stained Glass paint by watching this video.

Gallery Glass Techniques

Learn how to use Gallery Glass to its fullest potential by watching this video!

Watch this Video

Learn how to use Gallery Glass to its fullest potential by watching this video!

How to Create a DIY Privacy Window

Learn how to create a privacy window using Gallery Glass paint!

Watch this Video

Learn how to create a privacy window using Gallery Glass paint!

Related Resources

Gallery Glass Getting Started Guide

Gallery Glass Getting Started Guide

Read the Gallery Glass Getting Started Guide to learn how to use Gallery Glass stained glass effect

View PDF
Using Free Gallery Glass Patterns

Using Free Gallery Glass Patterns

Review this guide to getting started with our free Gallery Glass patterns.

View PDF
Gallery Glass Frequently Asked Questions

Gallery Glass Frequently Asked Questions

Learn more about Gallery Glass by reading the FAQ.

View PDF

Related FAQs

Apply two or three colors of Gallery Glass paint on a stencil blank. Next, swirl the color by slightly mixing using a palette knife.  Allow to dry.  Once dry, the marbled paint can be cut into shapes using a craft knife and then placed on a glass vase or other 3D surface. The paint will cling to the surface until peeled and removed. This technique is perfect for a modern, colorful seasonal display!
  1. Select your pattern.
  2. Prepare your work surface: work on a flat surface protected with newspaper.
  3. Compare the size of your desired application surface to that of your planned design.
  4. Cut out or copy the pattern from your pattern sheet. For ease, cut to separate patterns from a large pattern sheet.
  5. Tape desired pattern to backside of your project surface.
  6. Simply outline & fill with Gallery Glass.
  • Glass cleaner or rubbing alcohol
  • Masking tape
  • Ruler
  • Scissors
  • Paper Towels
  • Notebook paper
  • A glass surface, such as from a picture frame
  • Toothpicks
  • Gallery Glass Tool Set (optional)
Christmas Story Place-Setting
New!
Christmas Story Place-Setting
Rustic Glitterific Ornaments
New!
Rustic Glitterific Ornaments
Christmas Thumbprint Mug & Saucer
New!
Christmas Thumbprint Mug & Saucer
Wood Burning Christmas Spoons
New!
Wood Burning Christmas Spoons

Disclaimer: The information found in each project is presented in good faith, but no warranty is given, nor results guaranteed, nor is freedom from any patent to be inferred. Since we have no control over physical conditions surrounding the application of information herein contained, Plaid Enterprises, Inc. disclaims any liability for untoward results.

Important: Please be sure to thoroughly read the instructions for all products, paying particular attention to all cautions and warnings shown to ensure the proper and safe use of the product.

Copyright: All Rights Reserved. No part of this Project may be reproduced in any form without permission in writing, except for your personal use, except by reviewer, who may in reviewing this project, quote brief passages in a magazine or newspaper.