Email Signup

Subscribe to the Plaid Crafts Newsletter for craft project ideas, product news, our live events, and more!

Upcycle Your Glassware! Save 25%

Save 25% on orders $60+ and get free U.S. ground shipping! Explore the NEW! FolkArt Murano Glass Paint! This promotion cannot be combined with other promos. See shipping details.

Use Code

Sale Ends 3/23/24

Jewelry Box for Her

A beautiful jewelry box to make for Mom or your favorite person.

At a Glance:

#4390 Skill Level: Beginner Time:
  • Clock active
  • Clock inactive
  • Clock inactive
  • Clock inactive

This project features these great brands:

  • Mod Podge Logo
supplies

Mod Podge Professional Decoupage Tool Set - 2295

Number Needed: 1 $9.99
Item not for sale on Plaid Online.

FolkArt ® Metallics - Royal Gold, 2 oz. - 2480

Number Needed: 1 $2.69
Item not for sale on Plaid Online.

FolkArt ® Acrylic Colors - Parchment, 2 oz. - 450

Number Needed: 1 $1.69
Item not for sale on Plaid Online.

F/A AUTUMN LEAVES 2 OZ. (DISC)

Number Needed: 1 $1.69
Item not for sale on Plaid Online.

Mod Podge ® Matte, 8 oz. - CS11301

Number Needed: 1 $7.49
Item not for sale on Plaid Online.
instructions

Other Supplies

Wood jewelry box, Small screwdriver, Foam paintbrush, Loose bristle paintbrush for dry brushing, Ruler, Scissors, Scrapbook papers, Hot glue, Ribbons, Silk Flowers

Instructions

1. Using a small screwdriver, remove the hinges from the jewelry box.  Paint the lid of the box with Autumn Leaves.  (You will only need to paint the base of the lid and the edges) Paint two coats if needed.  Paint the base of the box with Parchment paint.

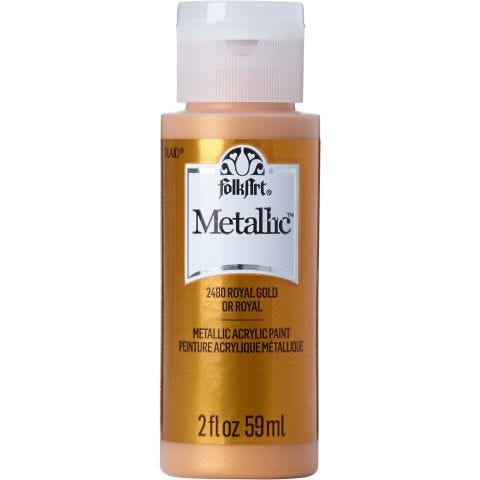
2. Dip the end of the loose bristle brush into Royal Gold paint.  Tap of the excess paint so the brush is almost dry.  Lightly and quickly brush over the entire lid and base of the box.  Use a real light hand so the colors still show through.

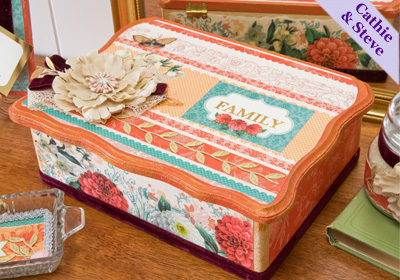
3. Trim the scrapbook papers to fit the top and side of the box.  To create a tattered edge, tear the tops of the papers so the core shows.

4. Working on top of the lid, apply a thick coat of Mod Podge. Apply Mod Podge to the back of the trimmed paper.  Position the paper on top of the lid.  Use the brayer to smooth the paper and to prevent air bubbles.  Wait 15 min. and top coat with a layer of Mod Podge.  Repeat this step on the sides of the box.

5. Once all the Mod Podge is dry.  Hot glue ribbon around the base of the box.  Glue ribbons and silk flowers to the top of the box.

Disclaimer: The information found in each project is presented in good faith, but no warranty is given, nor results guaranteed, nor is freedom from any patent to be inferred. Since we have no control over physical conditions surrounding the application of information herein contained, Plaid Enterprises, Inc. disclaims any liability for untoward results.

Important: Please be sure to thoroughly read the instructions for all products, paying particular attention to all cautions and warnings shown to ensure the proper and safe use of the product.

Copyright: All Rights Reserved. No part of this Project may be reproduced in any form without permission in writing, except for your personal use, except by reviewer, who may in reviewing this project, quote brief passages in a magazine or newspaper.

Dog Mom Tote Bag with Paw Prints
New!
Dog Mom Tote Bag with Paw Prints
DIY Stamped Fabric Napkins
New!
DIY Stamped Fabric Napkins
DIY Napkin Decoupage Idea - Decorated Notebook
New!
DIY Napkin Decoupage Idea - Decorated Notebook
Folkloric Throw Pillow
New!
Folkloric Throw Pillow