Email Signup

Subscribe to the Plaid Crafts Newsletter for craft project ideas, product news, our live events, and more!

25% Bucilla Spring Sale

Save 25% on orders of $60 or more and get free U.S. shipping! Shop new arrivals from Bucilla - Seasonal Felt Stockings & Ornaments! This promotion cannot be combined with other promos. See shipping details. for inspirational ideas. Get free U.S. ground shipping on orders $60+! This promotion cannot be combined with other promos. See shipping details.

Use Code

Sale Ends 4/20/24

Mod Podge Photo Transfer Ornament and Box

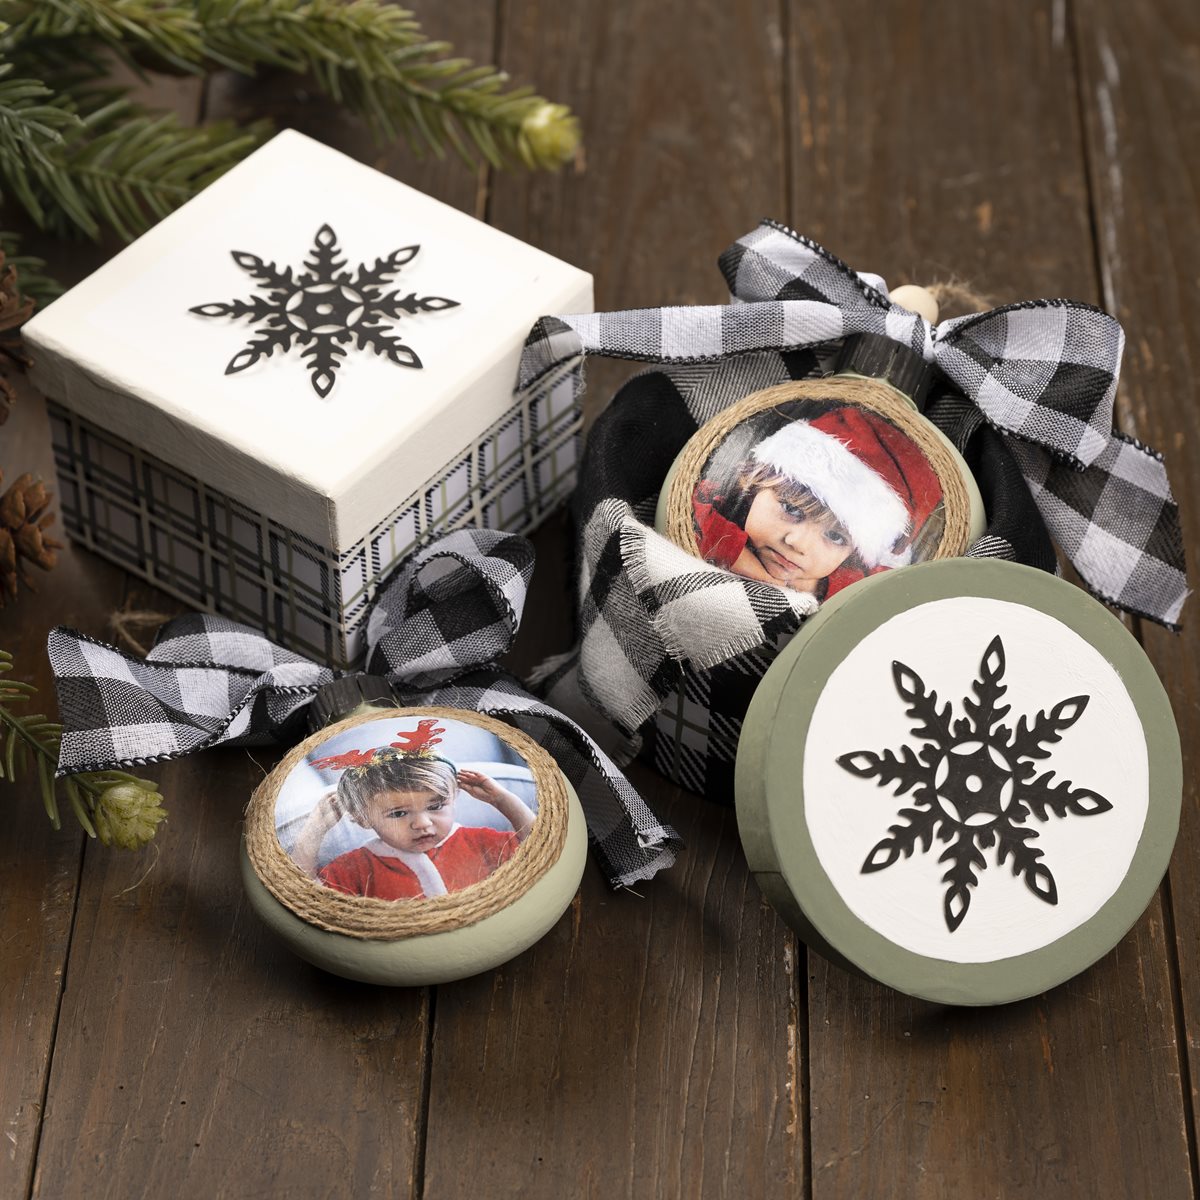
Give the gift of handmade with these beautifully painted boxes and personalized photo ornaments! Easy and fun to create with Mod Podge Photo Transfer Medium

This project features these great brands:

  • Mod Podge Decoupage Finishes and Formulas Logo

At a Glance:

Project #16283 Skill Level: Intermediate
supplies

Plaid Supplies

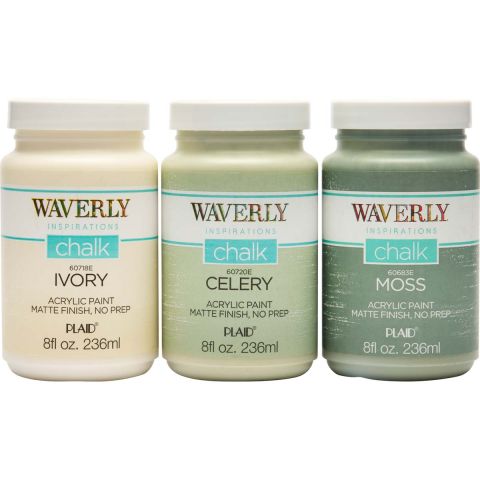
Waverly ® Inspirations Chalk Finish Acrylic Paint Set - Greens, 3 pc. - 13408

Number Needed: 1 $0.00
Item not for sale on Plaid Online.

Waverly ® Inspirations Chalk Finish Acrylic Paint - White, 2 oz. - 60736E

Number Needed: 1 $0.00
Item not for sale on Plaid Online.

Waverly ® Inspirations Chalk Finish Acrylic Paint - Ink, 2 oz. - 60898E

Number Needed: 1 $0.00
Item not for sale on Plaid Online.

Mod Podge ® Photo Transfer Medium, 8 oz. - CS15067

Number Needed: 1 $9.99
Item not for sale on Plaid Online.

Mod Podge ® 3-piece Decoupage Brush Set - 10615

Number Needed: 1 $9.99
Item not for sale on Plaid Online.

Mod Podge ® Matte, 8 oz. - CS11301

Number Needed: 1 $7.49
Item not for sale on Plaid Online.

Folkart ® Brush Sets - Artist Variety Set, 10 pc. - 50536

Number Needed: 1 $8.99
Item not for sale on Plaid Online.

Other Supplies

  • Paper mache boxes, square and round
  • Flat round glass ornaments
  • Black and white plaid papers
  • Laser jet photocopied images
  • Twine
  • Black and white buffalo plaid ribbon
  • ¾” wooden bead
  • Scissors
  • Pencil
  • Hot glue
  • Sponge
  • Cup of water
  • Wax paper or freezer paper
  • Old key card or gift card for smoothing

instructions

  1. Basecoat the round box with Moss. On the top of lid, paint a White circle leaving a ½” border around the edge.
  2. Basecoat the square box Ivory. Paint a White square on top of the lid, in the center,  leaving a ½” border around the edge.  
  3. Paint the paper snowflake with Ink and Mod Podge it in the center of the lid.
  4. Place the boxes on top of the paper and trace the sides onto the papers with the pencil. 
  5. Cut out the paper and Mod Podge it to the sides of the boxes.  Allow to dry.
  6. Add extra color to the plaid pattern by painting a line in between the plaids in Moss and Ivory using the liner brush.
  7. For the ornaments, begin by watching this awesome video about photo transfer and how to use it. Andy from our Let Paint Live goes through every step with lots of detail. https://youtu.be/Eub8LFuQ0MQ
  8. Now that the image is on the ornament, paint the rest of the ornament with Celery. Allow the paint to dry. 
  9. Brush the twine with the Mod Podge Matte and begin to make a frame around the photo. Wrap it around about 3 or 4 times depending on how thick the twine is.
  10. Cut about 12” piece of twine and pull it through the ornaments hanger.
  11. Tie a knot at the ends of the twine. Pull the knot of the twine back down to the hanger of the ornament. Secure the knot to the top of the ornament with hot glue. The loop of the twine is now at the top.
  12. Next, thread the loop at the top through the wooden bead. Push the bead to the bottom of twine and tie a knot to secure it.
  13. Tie the black and white buffalo plaid ribbon around the ornaments hanger a make a bow.

resources

Related Videos

Mod Podge Tips and Tricks for No Wrinkles

Learn how to get perfect Mod Podge projects everytime!

Watch this Video

Learn how to get perfect Mod Podge projects everytime!

How Mod Podge is Made

Get a behind-the-scenes look at how Mod Podge is made, bottled and shipped to you!

Watch this Video

Get a behind-the-scenes look at how Mod Podge is made, bottled and shipped to you!

Applying Paper to Wood Using Mod Podge

Learn basic steps of applying paper to wood using Mod Podge.

Watch this Video

Learn basic steps of applying paper to wood using Mod Podge.

Related Resources

Free Lesson Plans featuring Mod Podge

Free Lesson Plans featuring Mod Podge

Use these free lesson plans to craft an unforgettable experience in the classroom with one of these

View PDF
Mod Podge Clear Image Transfer FAQs

Mod Podge Clear Image Transfer FAQs

Learn more about Mod Podge Clear Image Transfer Medium by reading the FAQ. 

View PDF
Mod Podge Ultra Frequently Asked Questions

Mod Podge Ultra Frequently Asked Questions

Learn more about Mod Podge Ultra by reading the frequently asked questions. 

View PDF

Related FAQs

Decorated candles using Mod Podge ® or Royal Coat ® Decoupage Finish are meant for decorative purposes and not for illumination. Many of the decorations would catch fire and be hazardous if the candle were burned. However, if you are using a wide pillar candle and the decorations do not go to the top of the candle, it can be burned down slightly to create a well, then a votive candle inserted into the well. A new votive candle can be inserted when the old one is finished. Use extreme caution and good judgment when burning candles that have been decorated.
First check to see if the napkin is 2 ply. If so, separate and lay aside. Brush Mod Podge directly on the your surface. Carefully place the printed napkin on the surface and lightly blot down with a dampened sponge. Start blotting in the center and work to the edge. Once it is in place, let dry. After about 30 minutes lightly apply a top coat of Mod Podge.
  1. Apply a coat of Mod Podge® to the inside of the form and allow to dry slightly. Place the Napkin design where desired and gently rub it flat with your thumb.
  2. Cover the image with a second very thin coat of Mod Podge®, beginning in the center and brushing out. Allow to dry thoroughly.
  3. Add special sponging or spouncing effects, as desired, around the design and let dry.
  4. Paint the whole inside with a light color of FolkArt® Acrylic Colors. If you want to use a darker color inside, first paint around the Napkin design with a light color, let dry and then add the darker color.
Holiday Tier Centerpiece - DIY Sign Pair
New!
Holiday Tier Centerpiece - DIY Sign Pair
Hot Chocolate Just for ME Tray
New!
Hot Chocolate Just for ME Tray
Reindeer Wall Canvases
New!
Reindeer Wall Canvases
Merry Christmas Large Tag
New!
Merry Christmas Large Tag

Disclaimer: The information found in each project is presented in good faith, but no warranty is given, nor results guaranteed, nor is freedom from any patent to be inferred. Since we have no control over physical conditions surrounding the application of information herein contained, Plaid Enterprises, Inc. disclaims any liability for untoward results.

Important: Please be sure to thoroughly read the instructions for all products, paying particular attention to all cautions and warnings shown to ensure the proper and safe use of the product.

Copyright: All Rights Reserved. No part of this Project may be reproduced in any form without permission in writing, except for your personal use, except by reviewer, who may in reviewing this project, quote brief passages in a magazine or newspaper.