Email Signup

Subscribe to the Plaid Crafts Newsletter for craft project ideas, product news, our live events, and more!

25% Bucilla Spring Sale

Save 25% on orders of $60 or more and get free U.S. shipping! Shop new arrivals from Bucilla - Seasonal Felt Stockings & Ornaments! This promotion cannot be combined with other promos. See shipping details. for inspirational ideas. Get free U.S. ground shipping on orders $60+! This promotion cannot be combined with other promos. See shipping details.

Use Code

Sale Ends 4/20/24

Paper Sculpture

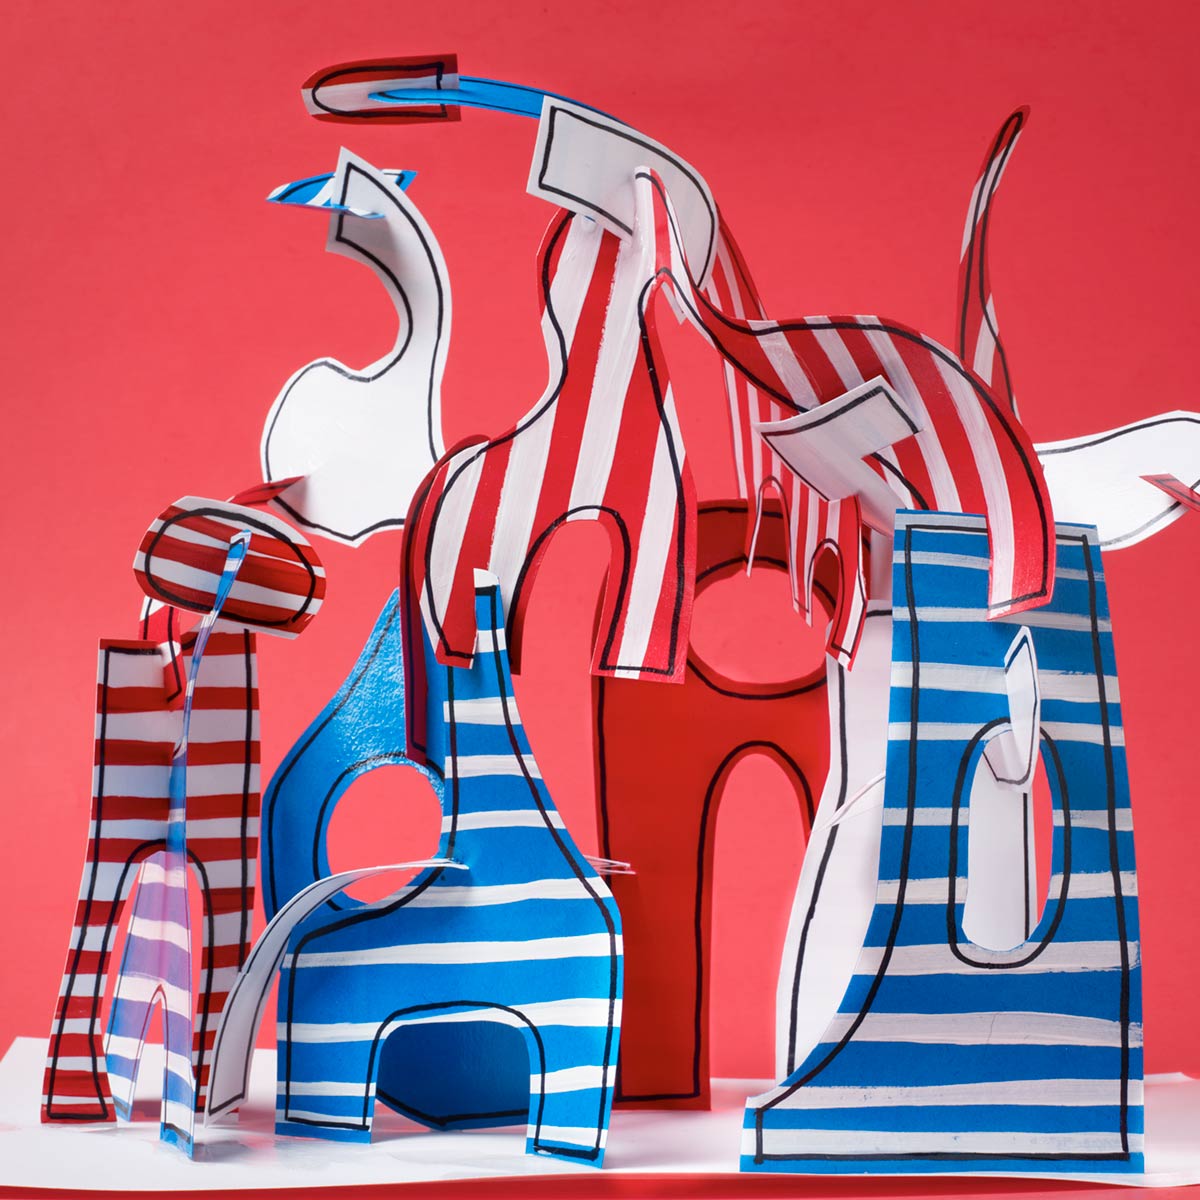
Make abstract art with paper and Mod Podge! Like a puzzle, create odd shapes with a variety of patterns to spark the imagination of your kids.

At a Glance:

Project #15435 Skill Level: Beginner Time:
  • Clock active
  • Clock active
  • Clock active
  • Clock active

This project features these great brands:

  • Apple Barrel Logo
  • Mod Podge Decoupage Finishes and Formulas Logo
  • Mod Podge Tools and Accessories  Logo
supplies

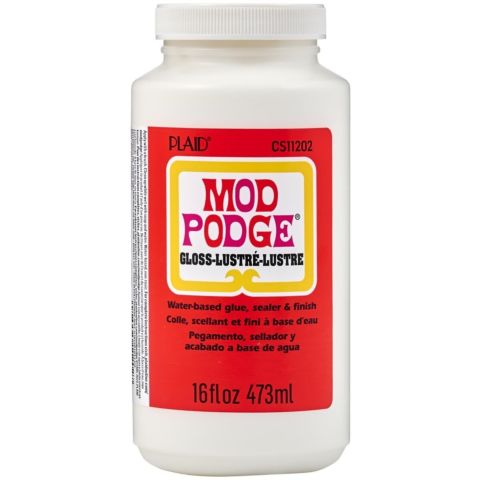
Mod Podge ® Gloss, 16 oz. - CS11202

Number Needed: 1 $10.99
Item not for sale on Plaid Online.

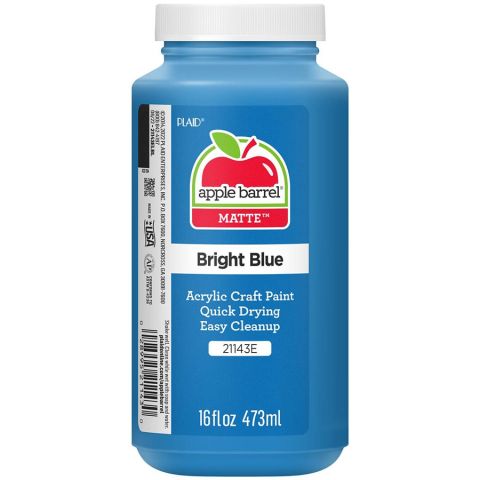
Apple Barrel ® Colors - Bright Blue, 16 oz. - 21143

Number Needed: 1 $6.99
Item not for sale on Plaid Online.

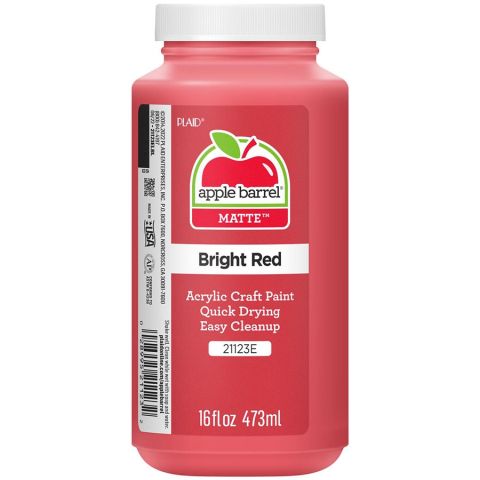
Apple Barrel ® Colors - Bright Red, 16 oz. - 21123

Number Needed: 1 $6.99
Item not for sale on Plaid Online.

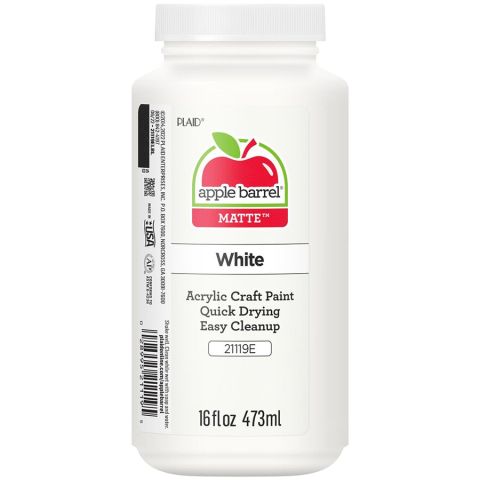
Apple Barrel ® Colors - White, 16 oz. - 21119

Number Needed: 1 $6.99
Item not for sale on Plaid Online.

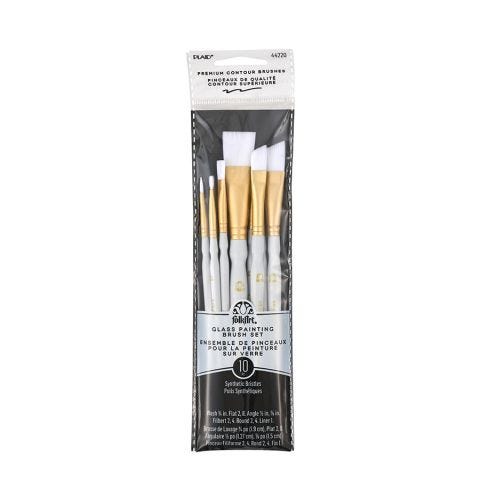
Plaid ® Brush Sets - Basic Brush Set, White Nylon - 44220

Number Needed: 1 $3.99
Item not for sale on Plaid Online.

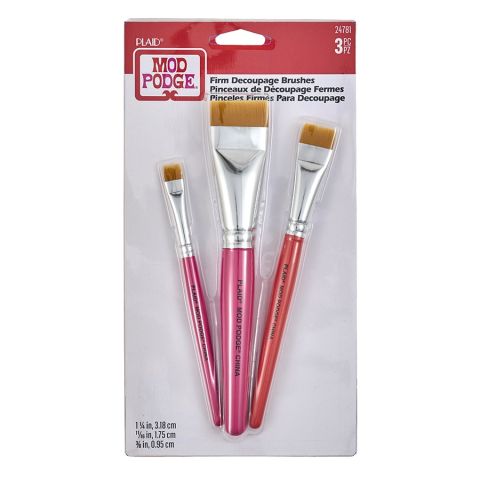
Mod Podge ® Firm Decoupage Brushes 3pc - 24781

Number Needed: 1 $12.99
Item not for sale on Plaid Online.
instructions

Other Supplies

  • Medium weight papers – 1 Red, 1 Blue, 2 White
  • Water Basin or container for water
  • Foam plate or palette
  • Pencil
  • Scissors
  • Wax paper
  • Paper towels
  • Reference Images of Jean DuBuffet sculpture
Optional
  • Baker’s cooling rack
  • Craft knife
  • Black permanent marker

Instructions

  1. Place the red paper in a portrait position. Lightly draw a center line down the page with a pencil. On the left half, paint White horizontal lines of varying weights across the page to the pencil mark. Fill the vertical half with sections of lines that are similar in weight and distance from one another. Note: Each section might contain fi ve each thin, medium and thick lines. Set aside to dry.
  2. Repeat Step 1 with the blue paper. Set aside to dry.
  3. Place one sheet of the white paper in a portrait position. Using a pencil, lightly draw two lines, about an inch apart, down the center of the page. From the left side of the paper, paint Bright Red horizontal lines to the pencil mark varying the line weights as suggested in Step 1.
  4. Turn the paper completely around so that the painted lines are on the right Repeat painting horizontal lines varying line weights using Bright Blue across the page to the pencil mark. Let dry.
  5. Using reference photos of Jean Dubuffet’s sculptures, draw similar shapes on the backside of all three Bright Red, Bright Blue and White painted stripe papers. Note: Suggested shapes may include large shapes with a fl at bottom, large shapes with rounded edges, smaller shapes and simple organic shapes.
  6. Cut each of the shapes. You may also choose to use the leftover negative. Note: As an optional step, draw an outline along the edge of each shape on both sides using a black permanent marker.
  7. Arrange the cut shapes on a sheet of wax paper. Brush each shape with Mod Podge Gloss then place on a baker’s cooling rack to dry.
  8. After one side is dry, repeat brushing Mod Podge Gloss on the reverse side of each shape. Allow to dry. Note: Both sides of each shape should be completely dry before assembling the sculpture.
  9. To assemble the paper sculpture, use the fi nal white sheet of paper as the base. Pre-determine the shapes you want to connect and cut a small ¼” slit in each where they would fi t together. Slide the paper shapes together at the slits. The properties of balance and space will be in action as the sculpture grows by adding the shapes to each other.
  10. When the sculpture is complete, use Mod Podge Gloss to mount each leg of the sculpture to the base. Allow to dry. For additional strength, brush a small amount of Mod Podge Gloss to both sides of each slit connection. Reinforce the sculpture connection to the base as well.

Disclaimer: The information found in each project is presented in good faith, but no warranty is given, nor results guaranteed, nor is freedom from any patent to be inferred. Since we have no control over physical conditions surrounding the application of information herein contained, Plaid Enterprises, Inc. disclaims any liability for untoward results.

Important: Please be sure to thoroughly read the instructions for all products, paying particular attention to all cautions and warnings shown to ensure the proper and safe use of the product.

Copyright: All Rights Reserved. No part of this Project may be reproduced in any form without permission in writing, except for your personal use, except by reviewer, who may in reviewing this project, quote brief passages in a magazine or newspaper.