Email Signup

Subscribe to the Plaid Crafts Newsletter for craft project ideas, product news, our live events, and more!

Upcycle Your Glassware! Save 25%

Save 25% on orders $60+ and get free U.S. ground shipping! Explore the NEW! FolkArt Murano Glass Paint! This promotion cannot be combined with other promos. See shipping details.

Use Code

Sale Ends 3/23/24

Princess Castle Valentine's Day Box

By: Jessie Pniewski

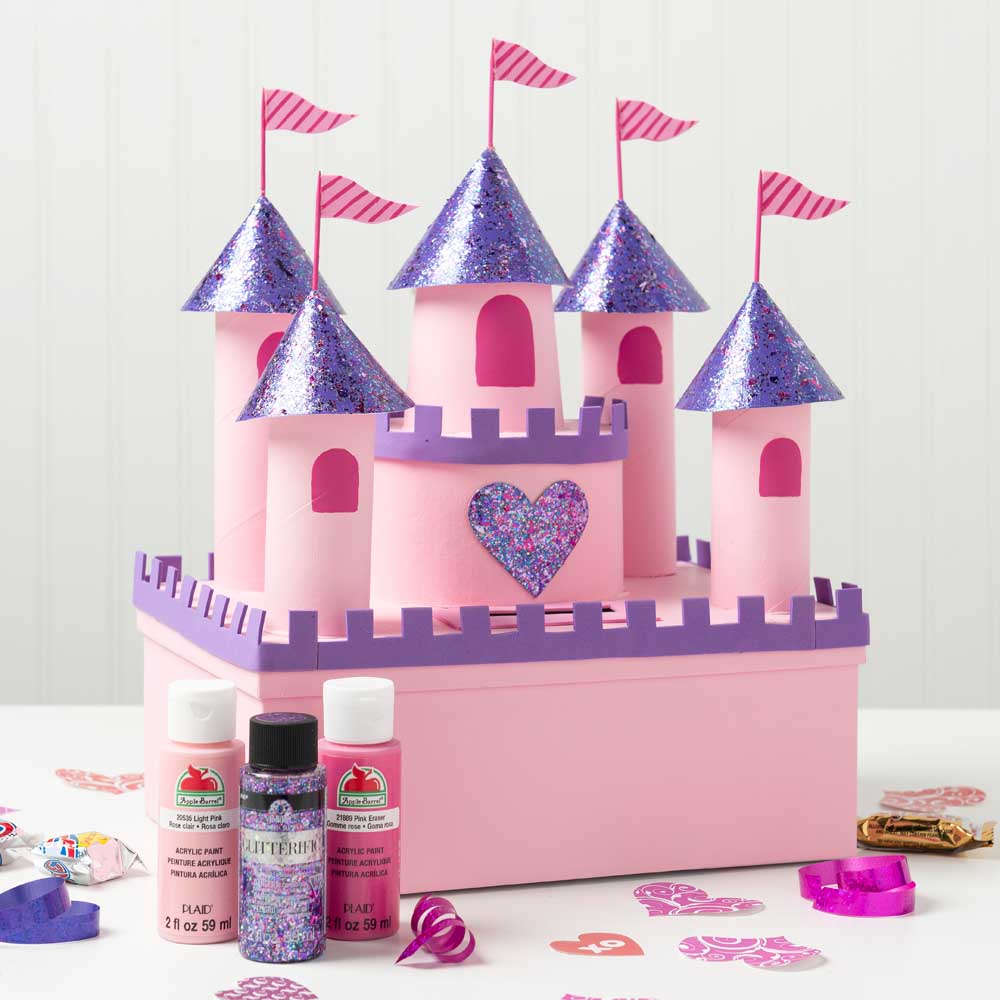
This beautiful princess castle Valentine's Day box will be the highlight of the party.

Get the Pattern

At a Glance:

Project #15201 Skill Level: Beginner Time:
  • Clock active
  • Clock active
  • Clock active
  • Clock active

This project features these great brands:

  • Apple Barrel Logo
  • FolkArt Glitterific Paint Logo
supplies

FolkArt ® Brush Sets - Soft Grip - Wash Brush Set - 50603E

Number Needed: 1 $5.99
Item not for sale on Plaid Online.

Apple Barrel ® Colors - Light Pink, 2 oz. - 20535

Number Needed: 1 $0.99
Item not for sale on Plaid Online.

Apple Barrel ® Colors - Pink Eraser, 2 oz. - 21889

Number Needed: 1 $0.99
Item not for sale on Plaid Online.

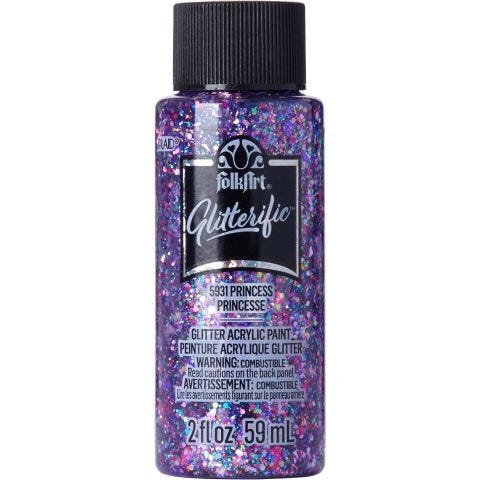
FolkArt ® Glitterific™ Acrylic Paint - Princess, 2 oz. - 5931

Number Needed: 1 $5.79
Item not for sale on Plaid Online.
instructions

Other Supplies

  • Purple craft foam
  • Toothpicks
  • Shoe box
  • Wrapping paper roll
  • Paper cup
  • Miniature hat box
  • Scissors
  • Water basin, Paper towels
  • Hot glue
  • Craft knife
  • Ballpoint pen

Instructions

  1. Using scissors, cut the wrapping paper roll into two 4” pieces and two 6” pieces.
  2. Arrange the wrapping paper roll pieces, the paper cup and the mini hat box on the lid of the shoe box to make a castle shape. See project photo for reference. Hot glue the pieces in place.
  3. Using a craft knife, carefully cut a rectangle in the lid of the box large enough to fit a valentine.
  4. Using a 1” brush, paint the entire surface of the box (top and bottom) and all of the glued pieces in Light Pink. Let dry. Apply a second coat if necessary.
  5. Using a ½” brush, paint “gum-drop” shaped windows onto all of the towers using Pink Eraser. See project photo for reference.
  6. Using scissors, cut out the Princess Tower template. Use a pen to trace the template onto purple craft foam 5 times. Cut out the traced shapes using scissors.
  7. Fold the foam shapes so that the edges that were dotted on the template are joined. This should make a cone shape. Carefully hot glue these edges together. Let cool.
  8. Apply hot glue to the tops of the wrapping paper rolls and place the foam cones on top. Do this for the paper cup as well.
  9. Using scissors, cut 1” strips of foam long enough to wrap around the edge of the shoe box and the edge of the mini hat box. If your foam is not long enough to wrap around in one piece, you can cut several strips.
  10. Using scissors, cut notches into the foam strips ½” deep and ½” apart. Your foam should have “flaps” now. Cut off every other “flap” from the foam to create the illusion of “dental molding.” See project photo for reference.
  11. Using hot glue, adhere the foam strips to the top edge of the shoe box and the top edge of the mini hat box. Let cool.
  12. Use scissors to cut a small heart shape out of purple foam. Set aside.
  13. Using a clean 1” brush, apply Princess Glitterific to the cone-shaped roofs as well as the foam heart. Let dry. Hot glue the glittered heart onto the mini hat box.
  14. Using a ½” brush, paint 5 toothpicks using Pink Eraser. Let dry.
  15. Cut out small flag shapes from foam and paint stripes onto them using a color of your choice. Let dry,
  16. Hot glue the foam flag shapes to the toothpicks. Let cool. Put a dab of hot glue onto the bottom of the tiny flags and insert them into the tips of the tower roofs.

Get the Pattern

Disclaimer: The information found in each project is presented in good faith, but no warranty is given, nor results guaranteed, nor is freedom from any patent to be inferred. Since we have no control over physical conditions surrounding the application of information herein contained, Plaid Enterprises, Inc. disclaims any liability for untoward results.

Important: Please be sure to thoroughly read the instructions for all products, paying particular attention to all cautions and warnings shown to ensure the proper and safe use of the product.

Copyright: All Rights Reserved. No part of this Project may be reproduced in any form without permission in writing, except for your personal use, except by reviewer, who may in reviewing this project, quote brief passages in a magazine or newspaper.

Glitzy Candle for Valentine’s Day
New!
Glitzy Candle for Valentine’s Day
Pretty in Pinks and Purples Table Decor
New!
Pretty in Pinks and Purples Table Decor
Kiss Me Hanging Heart
New!
Kiss Me Hanging Heart
DIY Heart Photo Display Board
New!
DIY Heart Photo Display Board