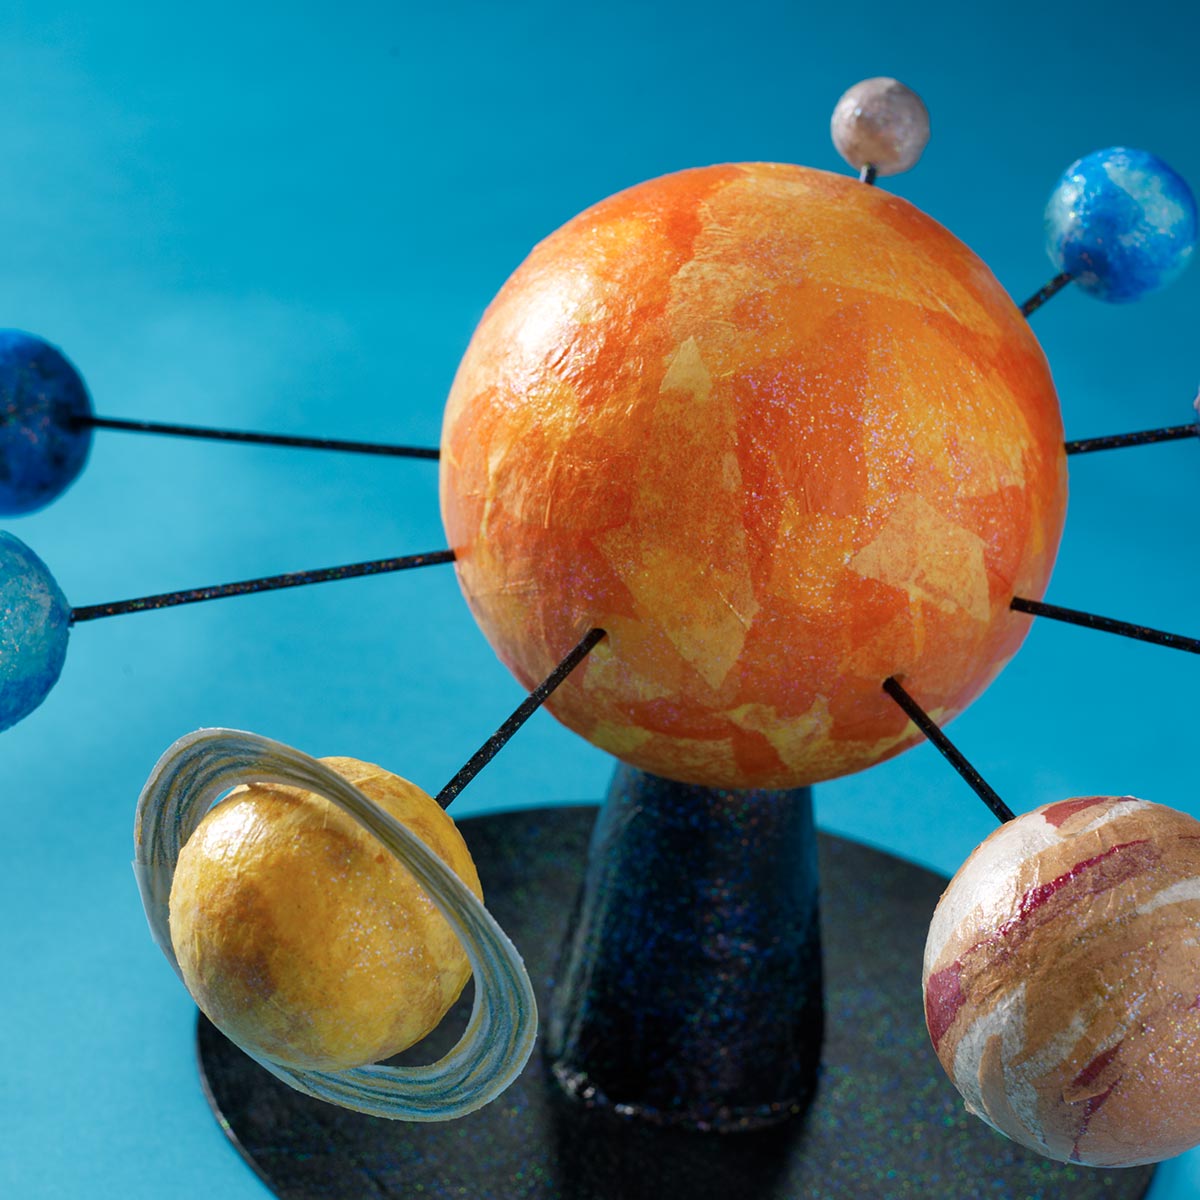
Learn about the solar system with this planet diorama using Mod Podge! Create for a school project or for an educational summer craft kids will love!


Instructions
- Create a mixture of Mod Podge and glitter. In a small container (with lid to seal), pour medium amount of Mod Podge Gloss (enough to complete the all planets). Add the ultra-fi ne hologram glitter and stir well using a craft stick. Replace lid after each use.
- Paint the wooden skewers Black and allow to dry. Then topcoat with a smooth, even application of the glitter / Mod Podge Gloss mixture for extra sparkle. Let dry.
- Insert a skewer into each of the Styrofoam balls as follows – Jupiter 3”, Saturn 2 ½”, Uranus and Neptune 2”, Venus and Earth 1 ½”, Mercury and Mars 1”. NOTE: To hold the planets while being created, turn an egg carton upside down and secure to the table using masking tape. Punch each planet’s skewer into the carton.
- Carve out a 1 ½” in diameter angled hole about 2” deep of the Sun (6”dia Styrofoam ball). Dry fi t to the top of the cone. Adjust the carving if needed. Set Sun aside.
- Center the cone to on the base and glue in place. Set aside to dry.
- Tear bits of colored tissue paper in colors designed for each planet. NOTE: Students can refer to their planet reference image.
- Begin “coloring” each planet one at a time by applying the glitter / Mod Podge mixture to the Styrofoam ball, then add a sheet of torn tissue paper. Immediately brush over the tissue paper with the Mod Podge mixture again. Continue layering the tissue papers until the desired planet color is achieved. Continue until all planets are decoupaged. Allow to dry. Note: Older students can first create a dimensional surface of craters and land elevations, by crumbling white tissue paper into mounds. Apply these dimensional pieces to the planets using Mod Podge Gloss before coloring them with tissue paper.
- Color the Sun using the same method as Step 7 and 8. Let dry.
- Cover the cone and base in black tissue paper using the glitter / Mod Podge mixture for added sparkle. Continue adding layers until the base and foam cone can no longer be seen. Let dry.
- Cut out a paper ring for Saturn. The outer ring measures 3 ¼” and the centered inner ring measures 2 ¾”dia. Color Saturn’s rings using either crayons or colored pencils. Attach to the planet by breaking apart two toothpicks and inserting the four pieces around the center of the planet. Lay the ring on the toothpick supports and glue in place.
- Attach the Sun to the cone base using strong glue and let dry.
- Using Solar System reference materials on planet order and distance from the Sun, trim each skewer and insert the planet into the Sun surface. Working around in an orbit fashion until all planets are attached. NOTE: If desired, the names of the planets can be added to the base for easy identification.
6.9.1