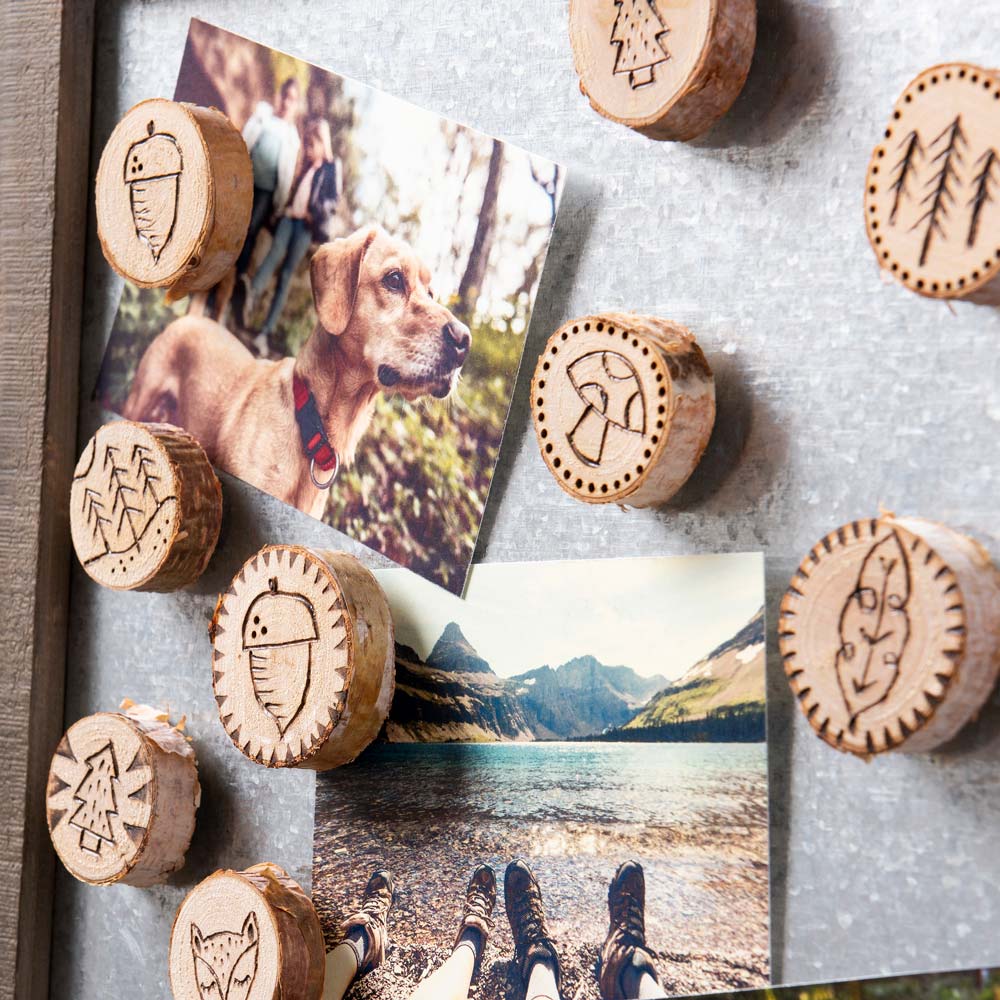
Learn how to create your own wood burned magnet set!
Instructions
Birch Magnets
- Put the Calligraphy Point on your Wood Burning Tool and turn it on to the hottest setting. Refer to the product packaging for instructions.
- Use your pencil to draw woodland icons on the birch discs.
- Test the Wood Burning Tool on a scrap piece of wood to ensure that the tip is hot enough to burn. If not, allow it to heat up for a few more minutes.
- Once hot, use the Wood Burning Tool to carefully follow your pencil lines. Press harder for deeper, darker lines and apply a lighter pressure for thinner, lighter lines.
- Use different tips like the Shading Point or the Flow Point to create borders around the icons. Be sure to allow the Wood Burning Tool to cool fully before changing the tips.
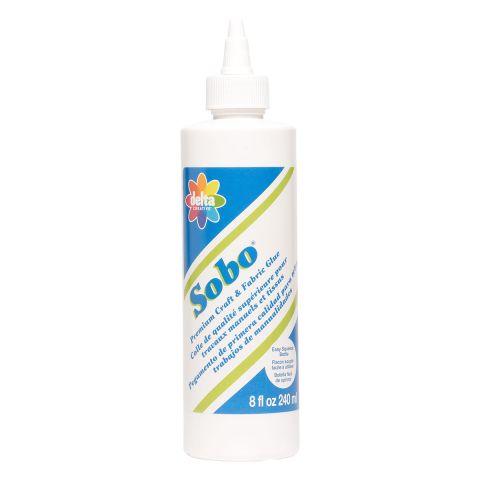
- Use a generous dollop of Sobo Glue to adhere the magnet rounds to the back of the birch discs. Allow to dry according to the instructions on the label.
Message Board
- Remove the decorative metal accents from the wood frame using the small screw driver. Set aside for safe keeping.
- Tape off the metal edges inside the wood frame.
- Using a 1” brush, apply the Walnut Tint to the wooden portion of the board. Let dry.
- Once the board is dry, apply the Antiquing Wax according to the instructions on the label. Let dry.
- Use the screw driver to put the metal accents back onto the board.
- Decorate the board with photos, postcards and notes using the birch magnets.


