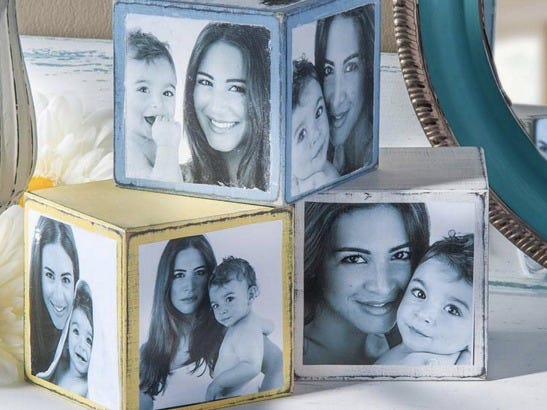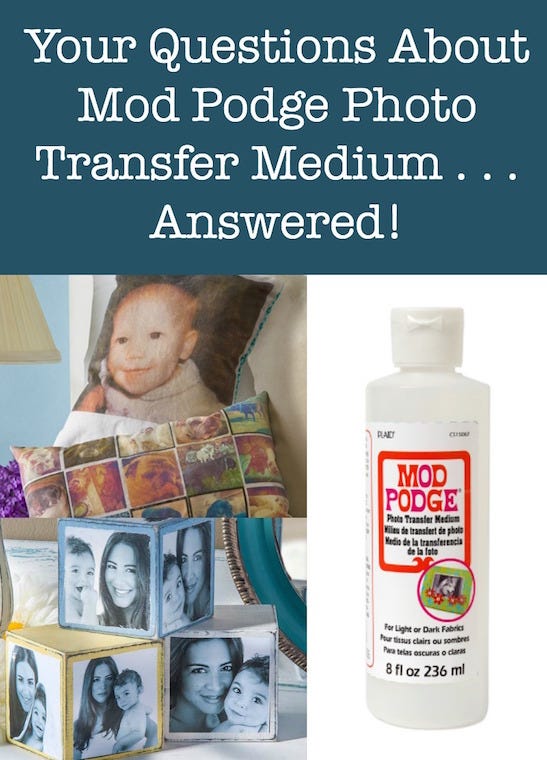


Have you tried Mod Podge Photo Transfer Medium? If not, you're missing out! This is one of my favorite Mod Podge formulas, just because the results are so unique and pretty. And who doesn't love personalizing their projects? Yes - I love adding photos to my crafts, and the Photo Transfer Medium is the perfect way to do it.
If you are new to Mod Podge Photo Transfer Medium, I recommend that you check out this video as well as read a recent article I wrote on Mod Podge Rocks with my top five tips. The product has a bit of a learning curve, but with just a little time and some practice, you're going to be an expert - and I promise that this formula will become one of your favorites, too! To help you along, I'm answering some of the top questions I get asked about Mod Podge Photo Transfer Medium. Check out my Q&A below.
Q: Why should I use Mod Podge Photo Transfer Medium over regular Mod Podge?
A: It's a completely different product. While there are photo transfers you can do with regular Mod Podge, the Mod Podge brand photo transfer medium is its own item and is a one step process. You don’t need glue to go along with it like you do for other photo transfers! Also keep in mind that you cannot use the Photo Transfer Medium for regular decoupaging. It's made for photo transferring only.
Q: Does Mod Podge Photo Transfer Medium have a clear background?
A: The background is actually opaque. This makes it perfect for dark surfaces. Not only that, but this gives the image the best chance of "popping" off the surface - meaning, making the colors look rich.
Q: Can I use this medium on dark surfaces?
A: Yes! The opaque background prevents the dark surface from interfering with your photo. That's one of my favorite things about it.
Q: Can I use this medium on wood?
A: Absolutely! I've used it on wood many times. You can use it on any porous surface that you can get wet. You'll be getting it wet to reveal the image below, as one of the last steps of the process.
Q: What tools do you recommend for using Mod Podge Photo Transfer Medium?
A: You will need waxed paper, your medium, a copy of your favorite photo printed from a dry toner printer, a brush, and scissors. I also love using the Mod Podge brayer to roll out my photos after applying the medium.
Q: Can I use it to transfer a regular photo?
A: No - you must use a printout from a dry toner printer. So you'll need to color copy those photos! Which is nice because you can preserve the original image.
Q: Is there anything I can do to speed up the drying process - like use a hair dryer or put it in the oven?
A: No. You'll have to be patient with this product! Remember to include the drying time of 24 hours when planning your project.
Q: I seem to have the most difficulty when rubbing the paper off of the image. Help!
A: Mod Podge photo transfers can be tricky and take a little bit of practice. I’ve noticed two things with the photo transfers using the medium. 1) you need to make sure there is enough medium between the paper and the surface. You should not be able to see the image (it should be completely obscured by medium) when you place it down. 2) the paper might not come off the first round. After you let it dry for 24 hours, you’ll rub the paper off AFTER wetting it. It typically takes me about two rounds to completely remove it all. It’s not because it can’t be done, it’s just that I’m careful because TOO much rubbing can remove the image. So I’d rather get as much as I can (which is sometimes hard to see when it’s wet), let it dry, and then go back and remove the rest of the paper. You can definitely wet it again and rub it again without worry.
Q: My photo transfer medium has a slightly washed-out look. Is this normal?
A: Yes. The image is transferred, so it's not going to be as bold as if you just decoupaged a photo onto the surface. I call it a "vintage-y" look - kind of like a filter you might find on a smartphone app. I really love the results!
Q: Can my photo transfer be washed?
A: If it's on fabric, yes. You wouldn't want to wash wood, of course. Though on wood or other hard surfaces you CAN use a dampened paper towel along with mild soap and water. Fabric project surfaces can be hand washed and line dried.
Still have more questions? Leave them in the comments or check out Plaid's FAQ section in their Decoupage Education Center here! I'd also love for you to check out my collection of over 30 photo transfer crafts at Mod Podge Rocks.

