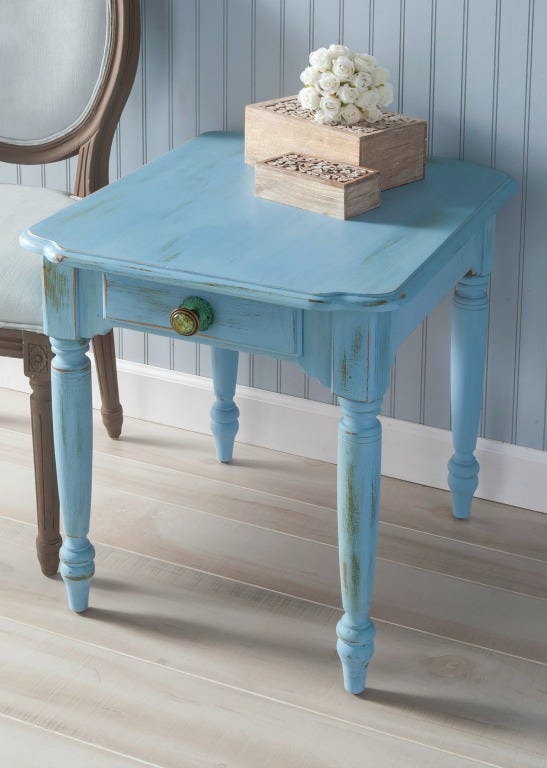
Everyone is buzzzzing about FolkArt Home Decor Chalk paint!

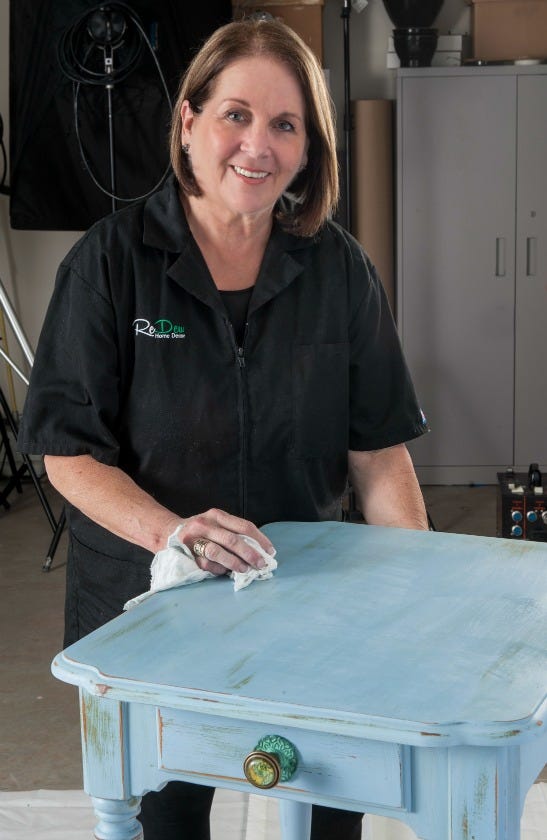
It is such an awesome product and for today's blog post our good friend, Donna Dewberry, is going to share with us how she transformed a thrift store, second hand table into a gorgeous piece of furniture. She recently visited us here at the Plaid and had fun with this table in our photography studio. Anyone of us would be proud to use this table in our homes!
To begin, a painter's drop cloth was spread over the work area floor. Our slightly used table had "good bones," with great turned legs and a center drawer with a wood knob. It was a perfect candidate for a "make-over" using FolkArt Home Decor Chalk! It would look great refurbished in so many different color combinations!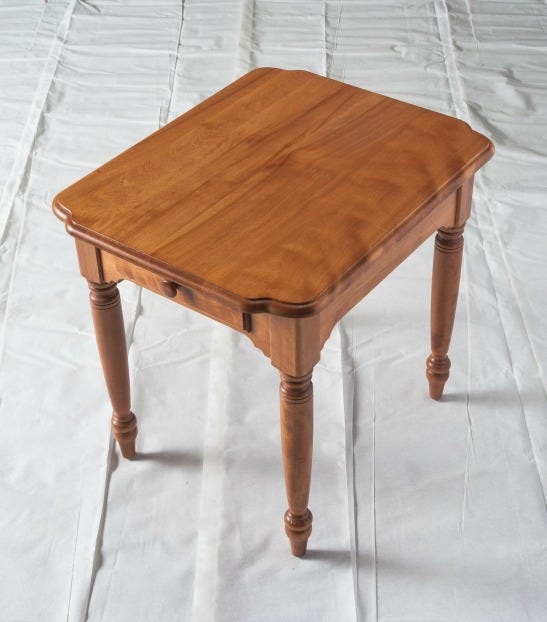
Donna enjoys teaching students that by making simple knob or furniture hardware changes, you can develop a new personality for your furniture! You can see below that we offered Donna many options with a variety of new trendy, decorative knobs made of metal, ceramic, stone, and glass.
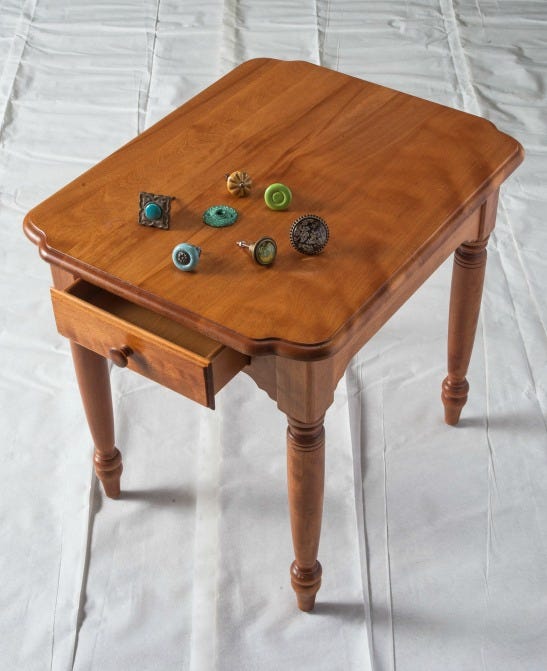
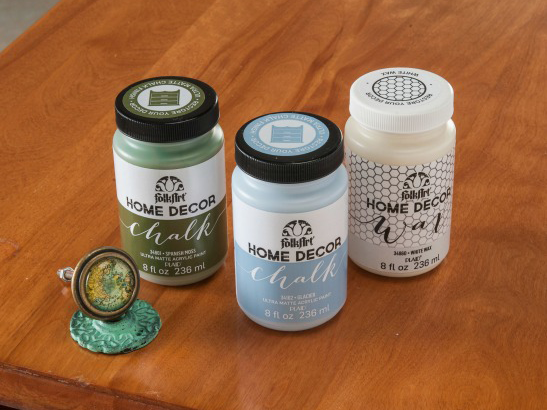
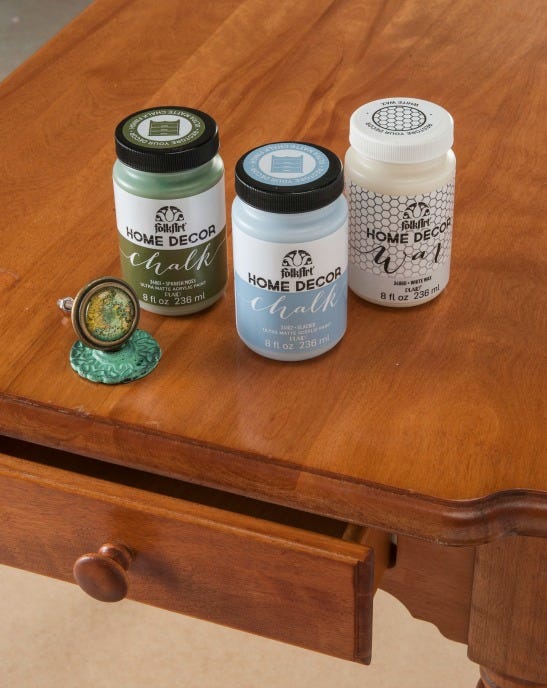
In the end, Donna selected a large glass knob with a global map background. She also selected a metal knob plate with a patina finish. These two new pieces became the color inspiration for the table. Donna selected FolkArt Home Decor Chalk Spanish Moss (34801) and Glacier (34162) as her paint colors and Clear Wax (34170) to add that finishing touch to the completed table. She also used both the FolkArt Home Decor Paint Brush (34907) and the FolkArt Home Decor Wax brush (34908). We also gathered a few miscellaneous supplies such as household glass cleaner, paper towels, soft terrycloth rag, and a clean, soft lint-free cotton cloth. The end result is going to be awesome, come along and follow!
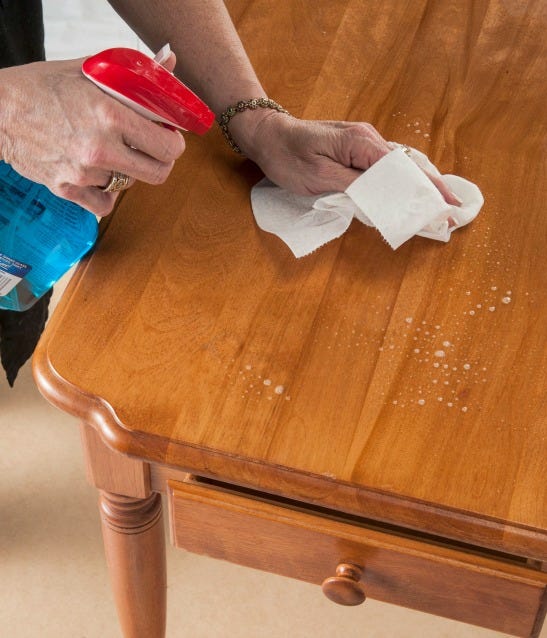
With FolkArt Home Decor Chalk paint, there is no need to stop and strip a finish, prime, or sand. The only preparation that is recommended is to clean the surface of any dust, dirt or grease. To clean the table, Donna used household glass cleaner and a paper towel.
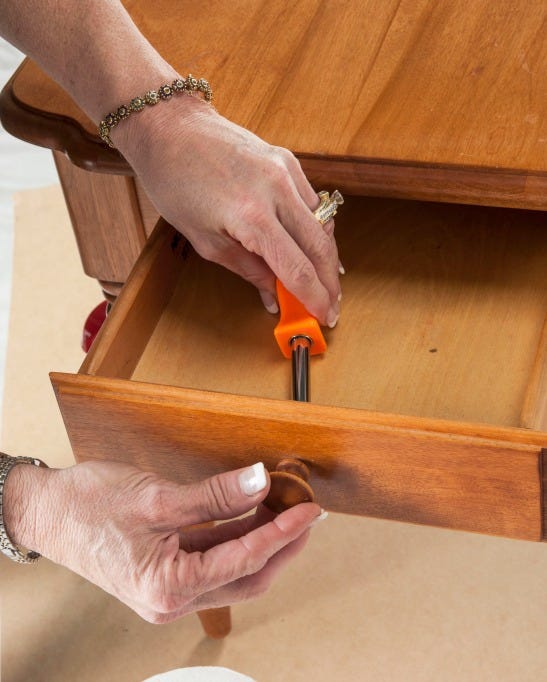
Because Donna chose to change the wooden knob, next she used a screwdriver to remove the wooden knob which would be saved for another project in the future.
So the table has been cleaned, new knob and paint colors chosen, old knob removed, the next step for Donna was to begin painting! So she loaded her FolkArt Home Decor Paint Brush with Spanish Moss and started painting the routed edges of the drawer front. (Donna tells her students that they can load the brush directly from the jar or pour a small amount onto a foam plate as a palette.) Once the routed edges were covered, she painted across the front of the drawer and then sent it aside.
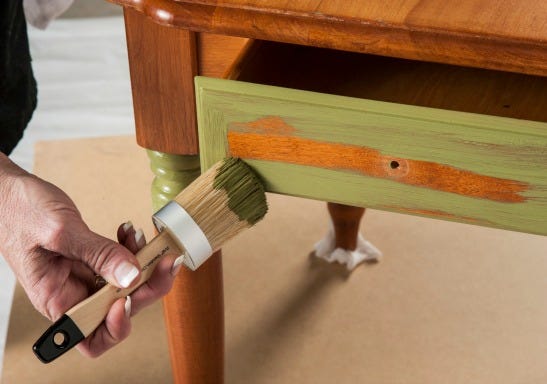
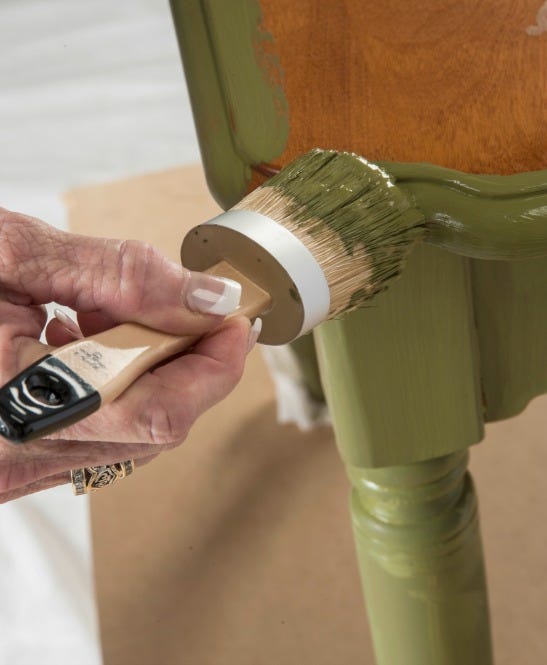
When painting with FolkArt Home Decor Chalk for the first time, immediately, you notice that a small amount of paint goes a very long way. You may also notice that you can paint with long, smooth strokes or short choppy ones with extra paint to create texture. Donna painted the spindle legs next ; and here's her tip .. paint the knobby or detail areas first. You can see that she moved the brush around the leg making sure the bristles were reaching every tiny groove.
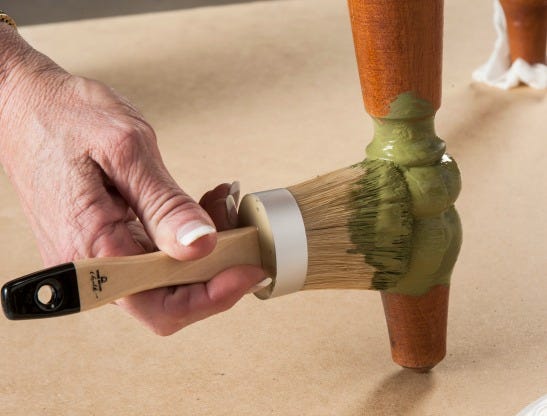
Donna then painted the length of the leg using long vertical brushstrokes.
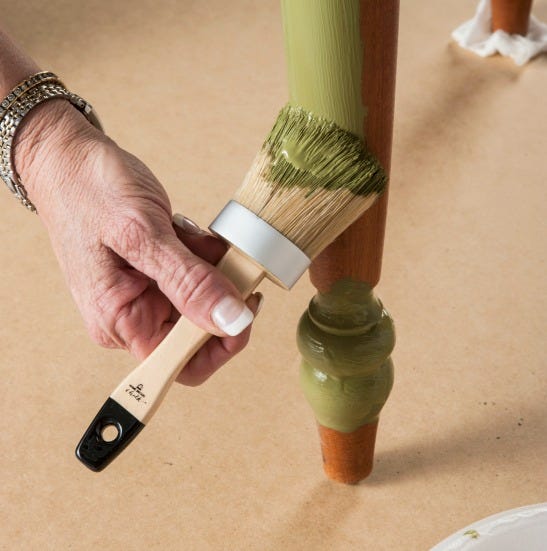
After painting the legs, Donna then painted the table apron.
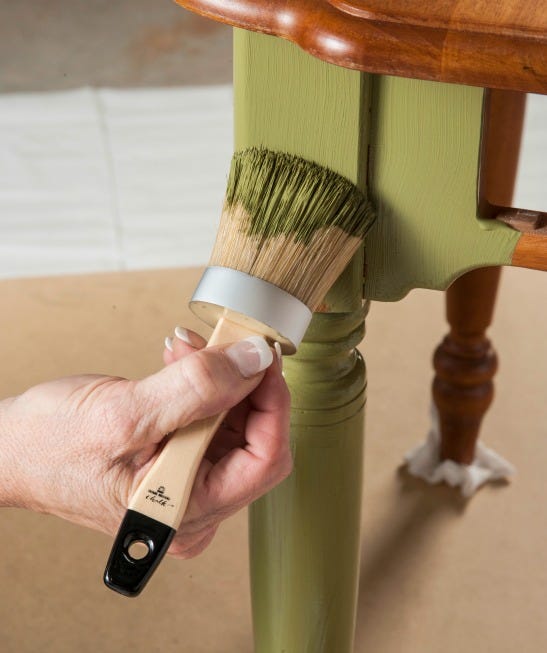
Moving up the table, Donna then painted the routed edge of the table top, again making sure the tiny grooves were painted.
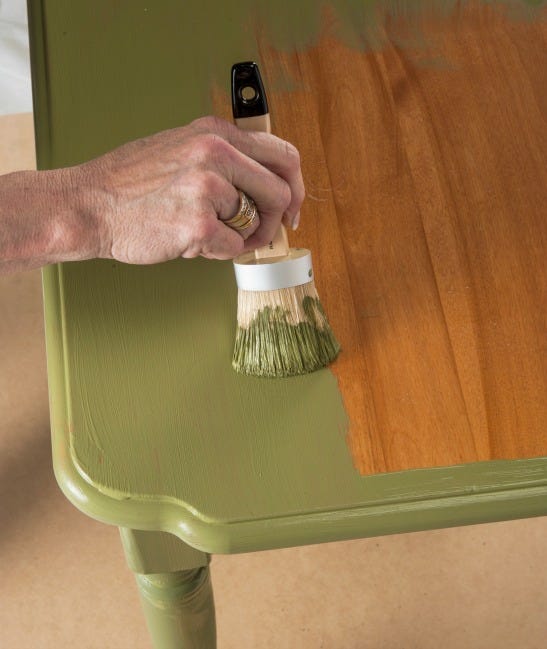
The last part of the Spanish Moss basecoat was the table top. On the top, you can see that Donna used long, smooth strokes trying not to leave too much texture.
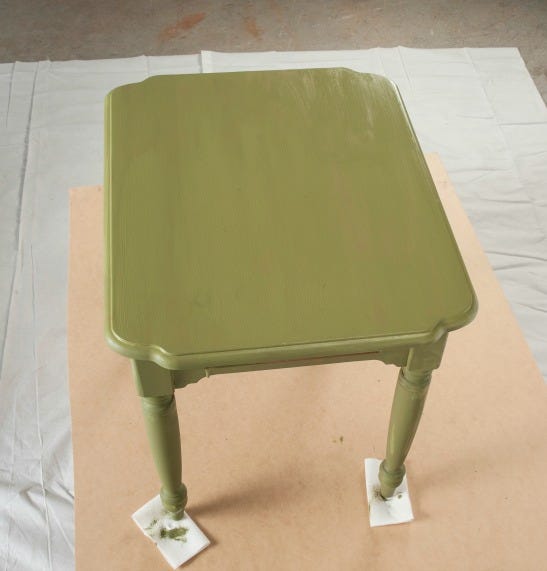
And here's a look at her table basecoated with Spanish Moss. It is recommended that you wait two hours prior to applying the top coat. When thoroughly dry, FolkArt Home Decor Chalk will dry to an ultra matte finish. And do be sure to wash your brush out thoroughly in warm, soapy water like Donna did!
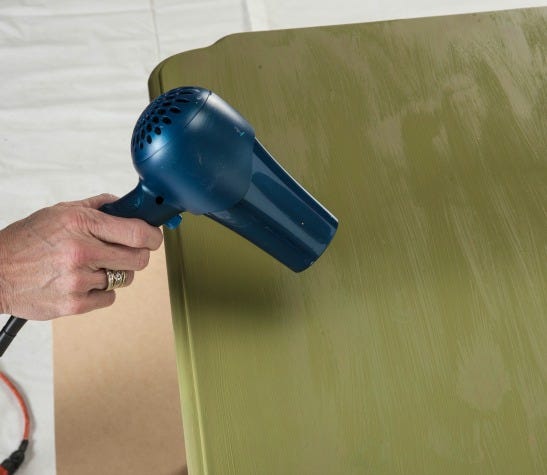
When painting with FolkArt Home Decor Chalk, you will notice that the paint dries to the touch very quickly, however, if you want to speed up the drying process or if your paint application is heavy, you can us a hair dryer.
Donna's next step was to repaint the table using FolkArt Home Decor Chalk Glacier which is a beautiful light blue. So she loaded the same large FolkArt Home Decor Chalk paint brush and went at it!
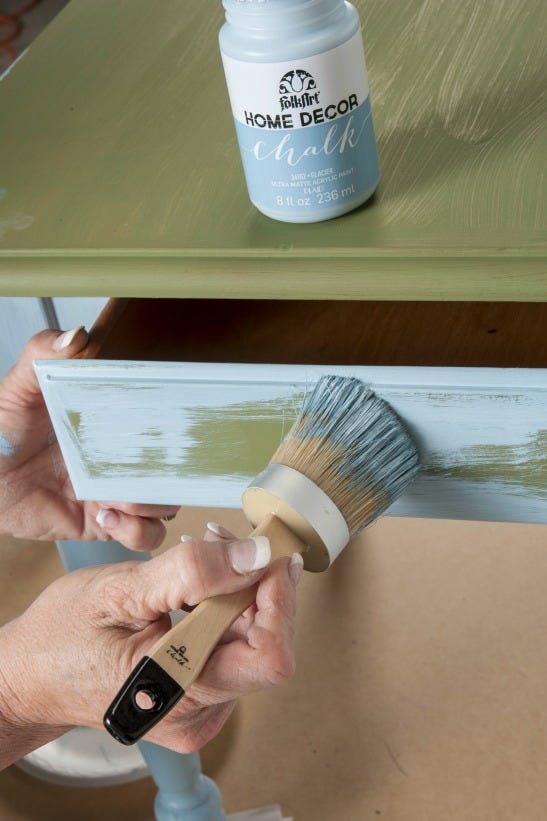
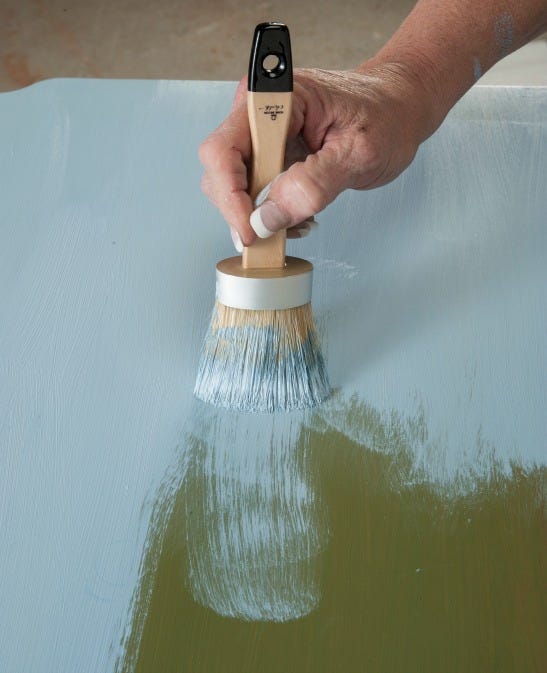
Donna painted the drawer front, legs, apron and then finished with the table top. Again it is recommended to wait two hours to be sure the paint is thoroughly dry. Donna cleaned her brush a second time and it is now ready for another use, another day!
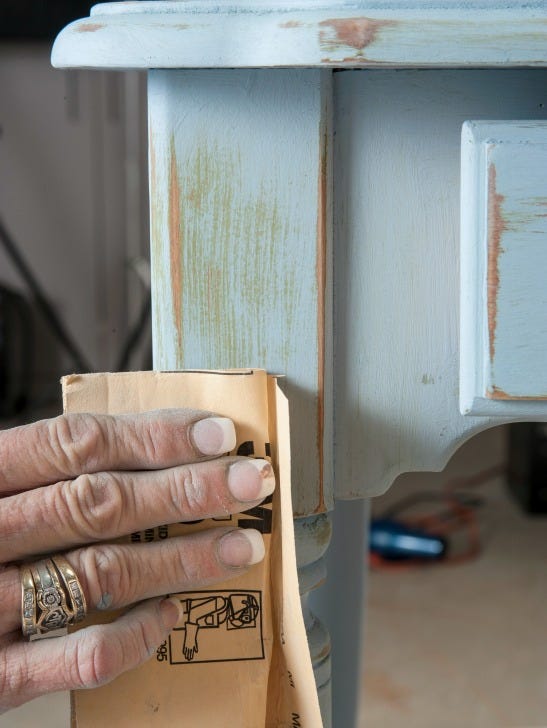
Once completely dry, it was time to sand to distress the table. Donna used a piece of medium grit sandpaper to sand the surface of the table where normal wear and tear would exist such as the table top edges, sections of the legs and around the drawer front and knob area. Keep in mind that you can lightly distress to expose small areas of the basecoat or you can heavily distress to expose the Spanish Moss basecoat as well as the pine table finish under the basecoat.
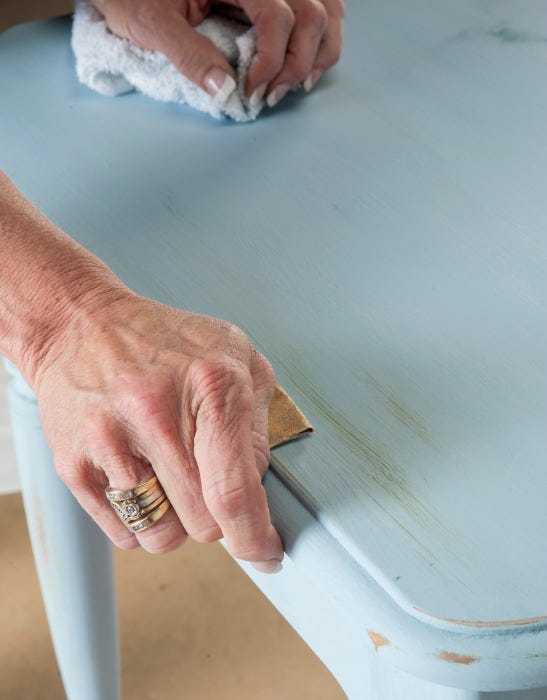
One of the cool things about FolkArt Home Decor Chalk paint is that when distressing with sandpaper, it will not "gum up" your sandpaper. The top coat of paint will sand to a lightweight fine powder. . . .
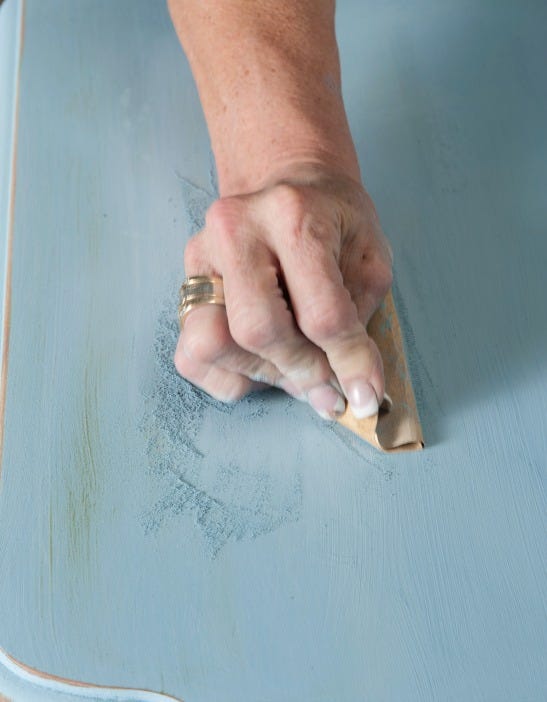
which is easily wiped away using a damp terrycloth rag or a tack cloth.
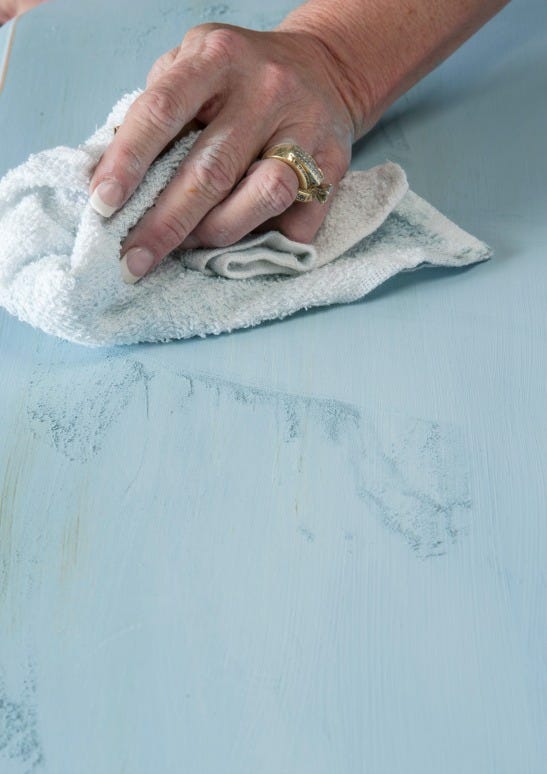
Donna continued distressing the table. You can see close up here where Donna distressed the top coat to expose the Spanish Moss basecoat as well as the original pine finish of the table.
For the next step, Donna loaded her FolkArt Home Decor Chalk Wax brush with FolkArt Home Decor Clear Wax and brushed a coat of the liquid wax over the entire table. . . . from the table top to ....
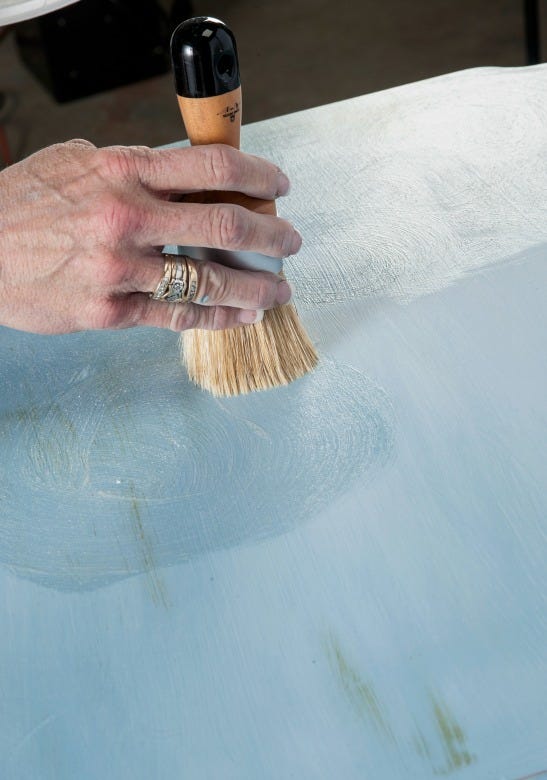
... the legs!
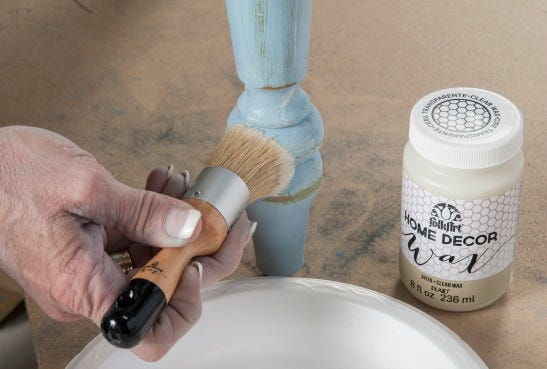
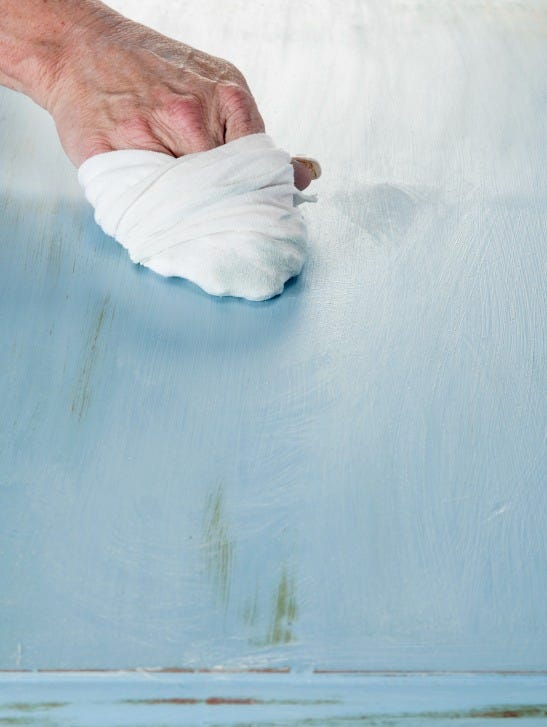
It's best to allow the wax to thoroughly dry overnight. Then buff the waxed surfaces using a clean, soft, lint-free cloth to the desired sheen. The longer you buff, the higher he sheen.
Donna's last step was to attach the new drawer knob. And here is a close up of that knob which offered the color inspiration for the entire table! Isn't this cool?
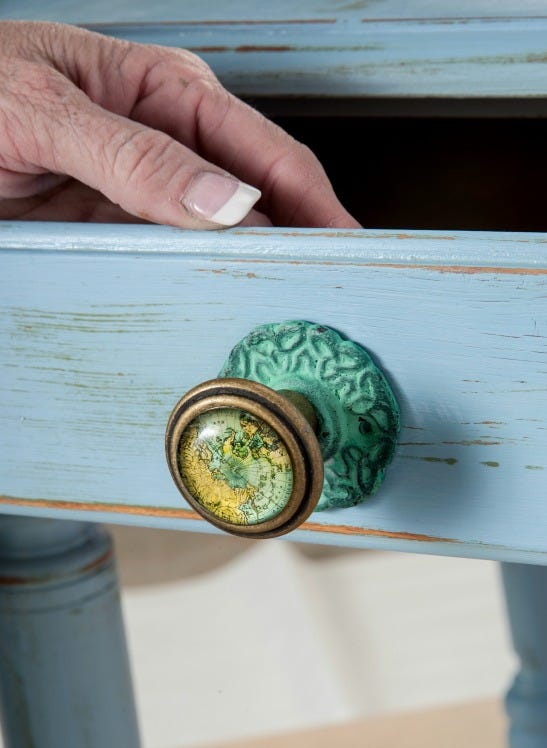
I love old world maps, but I LOVE more how Donna's table turned out. Don't you?
