Email Signup

Subscribe to the Plaid Crafts Newsletter for craft project ideas, product news, our live events, and more!

Free Gallery Glass Pattern - Garden Buzz

Download this pattern and easily resize to fit your project with the below instructions. Then trace your design and add color to create the look of real stained glass.


supplies

Plaid Supplies

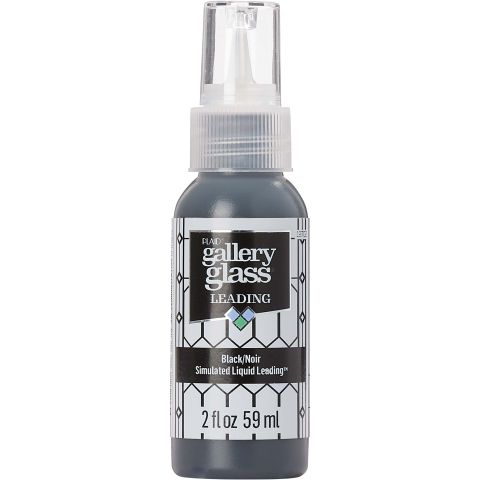
Gallery Glass ® Leading - Black, 2 oz. - 19702

Number Needed: 1 $4.49
Item not for sale on Plaid Online.

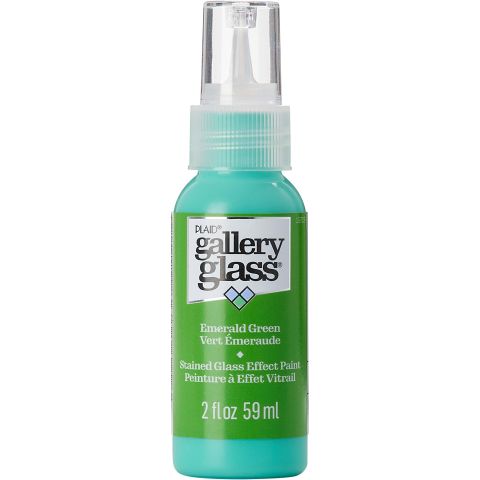
Gallery Glass ® Stained Glass Effect Paint - Emerald Green, 2 oz. - 19709

Number Needed: 1 $3.99
Item not for sale on Plaid Online.

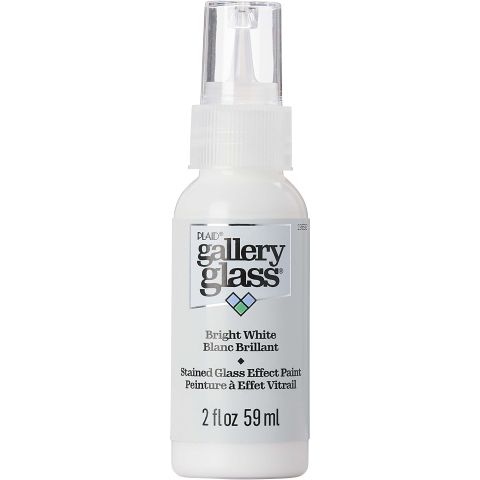
Gallery Glass ® Stained Glass Effect Paint - Bright White, 2 oz. - 19692

Number Needed: 1 $3.99
Item not for sale on Plaid Online.

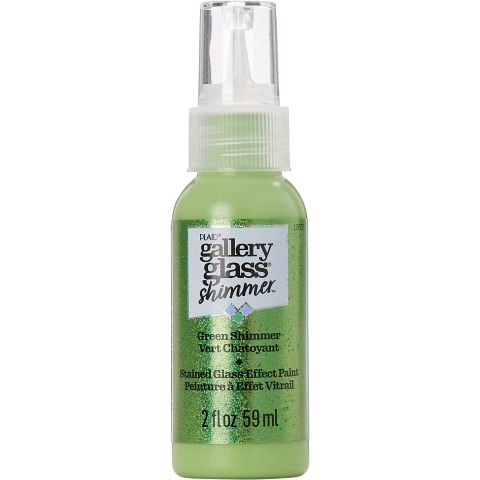
Gallery Glass ® Shimmer™ Stained Glass Effect Paint - Green, 2 oz. - 19689

Number Needed: 1 $3.99
Item not for sale on Plaid Online.

Gallery Glass ® Stained Glass Effect Paint - Citrus Yellow, 2 oz. - 19731

Number Needed: 1 $3.99
Item not for sale on Plaid Online.

Gallery Glass ® Stained Glass Effect Paint - Magenta Rose, 2 oz. - 19694

Number Needed: 1 $3.99
Item not for sale on Plaid Online.

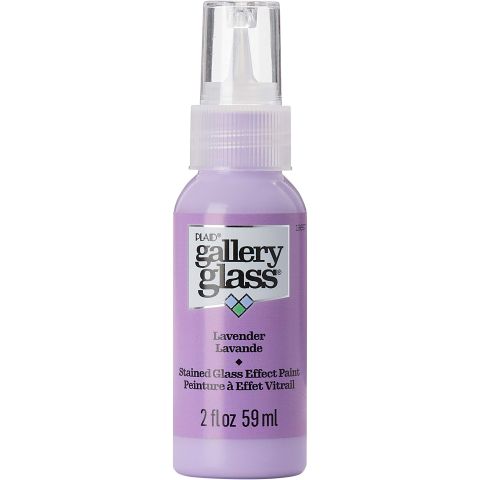
Gallery Glass ® Stained Glass Effect Paint - Lavender, 2 oz. - 19697

Number Needed: 1 $3.99
Item not for sale on Plaid Online.

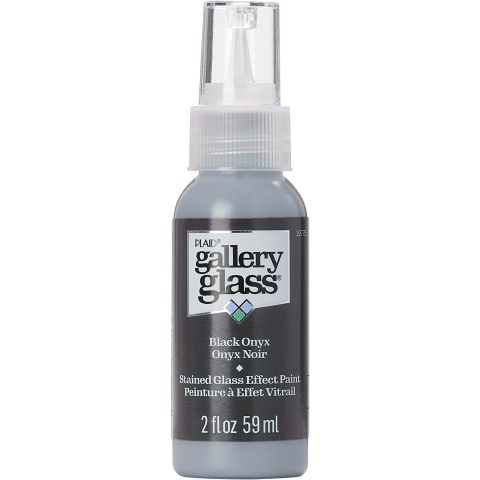
Gallery Glass ® Stained Glass Effect Paint - Black Onyx, 2 oz. - 19775

Number Needed: 1 $3.99
Item not for sale on Plaid Online.

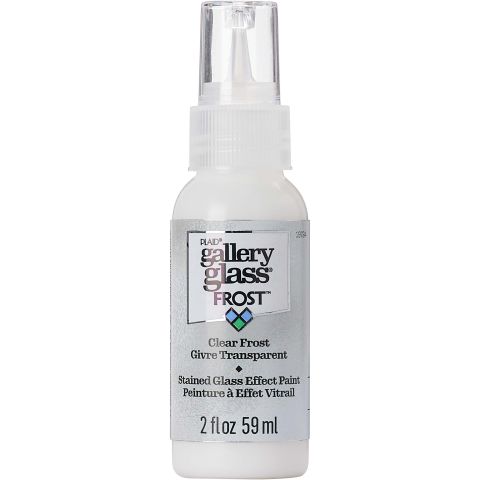
Gallery Glass ® Stained Glass Effect Paint - Frost Clear, 2 oz. - 19724

Number Needed: 1 $3.99
Item not for sale on Plaid Online.

G/G 2 OZ. FROST SAND

Number Needed: 1 $3.99
Item not for sale on Plaid Online.

Other Supplies

  • Window cleaner
  • Paper towels
  • Newspaper
  • Tape
  • Nutpick

instructions

FOR BEST RESULTS, READ ALL INSTRUCTIONS BEFORE BEGINNING. Download as PDF

  • Clean surface with window cleaner.
  • Work on a flat surface protected with newspaper. Tape pattern to backside of surface.
  • For ease, cut to separate patterns from the large pattern sheet.
  • Tape desired pattern to backside of project surface.
  • Two simple steps: Outline and Fill
NOTE: The colors on the pattern sheet correspond to the colors recommended for these projects. These are just recommendations and any colors from the Gallery Glass line can be used.


OUTLINE: LEADING HOW-TO’S

  • Apply Liquid Lead from the center of the design working outwards, until all pattern lines
    have been leaded; if necessary, turn the project as needed.
  • While keeping the nozzle tip one inch above the project surface, apply even pressure to
    create a uniform line of Liquid Leading. Allow the Liquid Leading line to drape onto the
    pattern line.
  • Continue until all elements of the design have been outlined.
  • Leading must dry for 8 hours before painting. Do not dry in an oven or microwave.


FILL: PAINT HOW-TO’S

  • Squeeze Gallery Glass paint bottle to begin applying paint on the leaded design. First apply
    the paint to the perimeter of a leaded design section, then fill in.
  • Add a generous amount of paint equal to the leading line level. Be sure to apply the paint onto
    the leading, using it as a bumper. Failure to do so will create light holes. NOTE: paint applied
    on the leading will not show when the project is cured.
  • To remove bubbles:
    • Combing: use the pointed end of a nutpick to "comb"
      back and forth quickly in straight lines through the
      paint to smooth the texture and pop any bubbles. Clean
      nutpick when changing colors.
    • Tapping: Lift and hold the project surface firmly in one
      hand and then tap directly under the combed section
      with the flat end of the nutpick.
  • Window Color dries transparent in 24 hours and cures in 72 hours.
  • Drying time may vary due to humidity, temperature and thickness of application.


CLEANING

  • If you spill paint on clothing, wash immediately with soap and water.
  • Let project cure at least one week before cleaning.
  • Spray a very light mist of water on a soft cloth and wipe the surface gently to remove dust.


LEADING TIPS

  • Uneven lead lines indicate inconsistent speed when moving your arm.
  • Bumps at the beginning or end of a line indicate too much pressure.
  • Leading can be removed once dry and leading blank can be used again.
  • Once dry, Liquid Leading errors can easily be removed. Use a razor blade or craft knife
    to score unwanted sections, peel off and reapply.


PAINTING TIPS

  1. New colors may be created by inter-mixing any paint colors.
  2. Colors may be lightened by adding Crystal Clear.
  3. Specialty pigments can be used alone or mixed with Gallery Glass colors.
  4. Crystal Clear can be used to go around the outside of the design to finish off the project.
  5. Apply crystal clear with a "swirl" motion to give it texture.


resources

Related Videos

Learn More about Gallery Glass

Learn more about Gallery Glass Stained Glass paint by watching this video.

Watch this Video

Learn more about Gallery Glass Stained Glass paint by watching this video.

Gallery Glass Techniques

Learn how to use Gallery Glass to its fullest potential by watching this video!

Watch this Video

Learn how to use Gallery Glass to its fullest potential by watching this video!

How to Create a DIY Privacy Window

Learn how to create a privacy window using Gallery Glass paint!

Watch this Video

Learn how to create a privacy window using Gallery Glass paint!

Related Resources

Gallery Glass Getting Started Guide

Gallery Glass Getting Started Guide

Read the Gallery Glass Getting Started Guide to learn how to use Gallery Glass stained glass effect

View PDF
Using Free Gallery Glass Patterns

Using Free Gallery Glass Patterns

Review this guide to getting started with our free Gallery Glass patterns.

View PDF
Gallery Glass Frequently Asked Questions

Gallery Glass Frequently Asked Questions

Learn more about Gallery Glass by reading the FAQ.

View PDF

Related FAQs

Apply two or three colors of Gallery Glass paint on a stencil blank. Next, swirl the color by slightly mixing using a palette knife.  Allow to dry.  Once dry, the marbled paint can be cut into shapes using a craft knife and then placed on a glass vase or other 3D surface. The paint will cling to the surface until peeled and removed. This technique is perfect for a modern, colorful seasonal display!
  1. Select your pattern.
  2. Prepare your work surface: work on a flat surface protected with newspaper.
  3. Compare the size of your desired application surface to that of your planned design.
  4. Cut out or copy the pattern from your pattern sheet. For ease, cut to separate patterns from a large pattern sheet.
  5. Tape desired pattern to backside of your project surface.
  6. Simply outline & fill with Gallery Glass.
  • Glass cleaner or rubbing alcohol
  • Masking tape
  • Ruler
  • Scissors
  • Paper Towels
  • Notebook paper
  • A glass surface, such as from a picture frame
  • Toothpicks
  • Gallery Glass Tool Set (optional)
Pumpkin Pie
New!
Pumpkin Pie
Lady Dragonfly & Sir Moth
New!
Lady Dragonfly & Sir Moth
Jellyfish Jubilee
New!
Jellyfish Jubilee
Falling Leaves
New!
Falling Leaves

Disclaimer: The information found in each project is presented in good faith, but no warranty is given, nor results guaranteed, nor is freedom from any patent to be inferred. Since we have no control over physical conditions surrounding the application of information herein contained, Plaid Enterprises, Inc. disclaims any liability for untoward results.

Important: Please be sure to thoroughly read the instructions for all products, paying particular attention to all cautions and warnings shown to ensure the proper and safe use of the product.

Copyright: All Rights Reserved. No part of this Project may be reproduced in any form without permission in writing, except for your personal use, except by reviewer, who may in reviewing this project, quote brief passages in a magazine or newspaper.