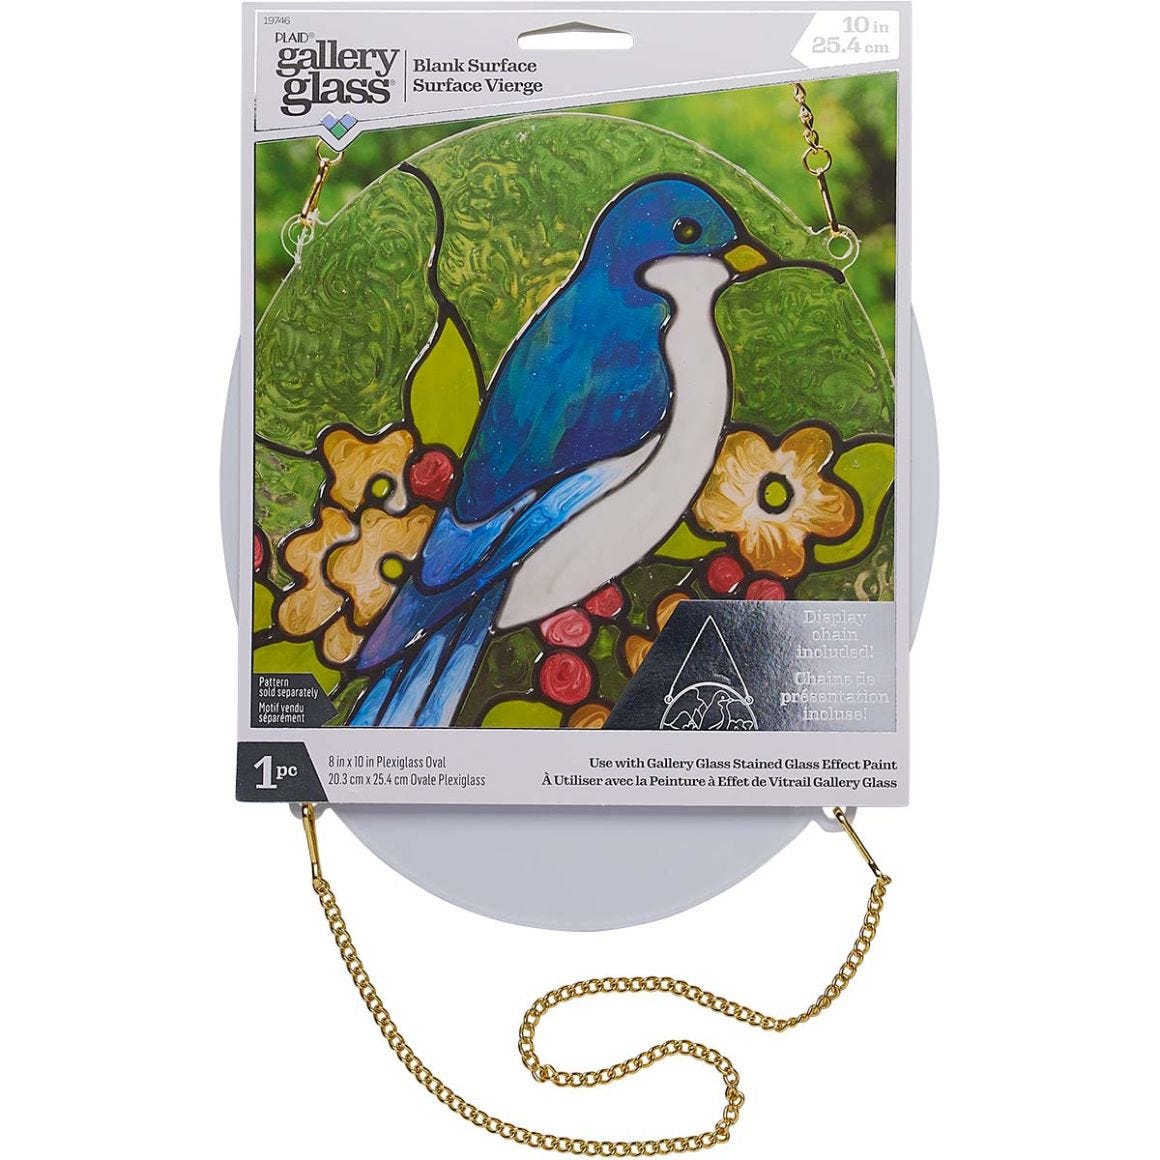
Gallery Glass ® Surfaces - Large Oval - 19746
Gallery Glass
$6.49
Buy 2 Get 1 Free on select Bucilla , 2oz Paints, Craft Surfaces, Brushes & Tools!
calculated in the Shopping Cart & Checkout
Detail
Make your next glass project stand out by crafting on the Gallery Glass Large Oval Surface. This plastic polystyrene surface measures 8" x 10" in diameter and features a gold finished chain that is easy to hang and display your glass art. Use this transparent oval shape to craft stunning designs with Gallery Glass Paper Patterns or create custom freehand designs. Simply outline your design with Gallery Glass Liquid Leading then fill with Gallery Glass Stained Glass Paint to add flair to any of your glass DIYs. From show-stopping window designs to gorgeous glass art accents, and seasonal décor, Gallery Glass is the affordable way to get a realistic stained glass look. Please note that Gallery Glass is permanent on polystyrene. Give your next glass creation a solid foundation by painting on the Gallery Glass Large Oval Surface.
- HANDY SIZE - This transparent oval shape measures 8" x 10" in diameter and is easy to display all your glass arts and crafts
- SIMPLE TO HANG - Hang your creation with the included gold finished chain to decorate your spaces with your favorite Gallery Glass designs
- EASY APPLICATION - Easily apply your Gallery Glass Stained Glass Paint horizontally or vertically on the Gallery Glass Large Circle Oval to simulate the look of authentic stained glass design. Please note that Gallery Glass is not removable from polystyrene
- PAIR WITH OTHER GALLERY GLASS PRODUCTS - Use this surface with the Gallery Glass Paper Pattern Packs as well as the Gallery Glass Tool Set and your favorite Gallery Glass Stained Glass colors
- PROJECT CURE TIME - Let Gallery Glass dry for 24 hours. Fully cures in 7 days. Drying times vary due to humidity, temperature, and thickness of paint. Gallery Glass has a water-based, non-toxic formula. Not recommended for outside use
- PREP - Make sure to clean your glass surface with alcohol or soap before painting. Work on a flat, protected surface. Tape pattern to backside of surface
- BASIC INSTRUCTIONS - Apply Liquid Lead from the center of the design working outwards, until all pattern lines have been leaded. Keep the nozzle tip one inch above the project surface, apply even pressure to create a uniform line of Liquid Leading. Apply the paint to the perimeter of a leaded design section, then fill in. Add paint equal to the leading line level, applying the paint onto the leading, using it as a bumper. NOTE: paint applied on the leading will not show when the project is cured. To remove bubbles: Tap directly under the section with the flat end of the nutpick from the Gallery Glass tool set


