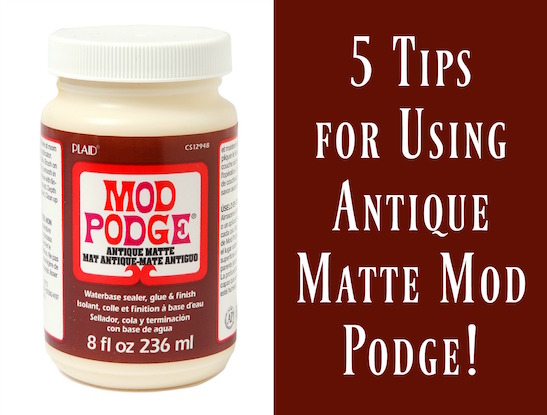

There's a Mod Podge formula that I always love to break out this time of year - it's absolutely perfect for creating an heirloom finish that goes well with fall and Thanksgiving. It's called Antique Matte Mod Podge! This formula is appropriate when you want to "age" a project without using anything additional. You can apply it over any surface, paper, or fabric for a warm, antique look; it gives you that perfect rustic touch you've been looking for in a decoupage medium! Here are five tips for using it.
1. Apply this formula as you would classic Mod Podge. Antique Matte Mod Podge works as a glue, sealer, and finish just as most of the other Mod Podge formulas. You can glue items down with this formula or use it along with Classic Mod Podge. It's really up to you, but if you purchase this bottle alone, it's all you need!
2. Use on light surfaces. The antique effect only shows up on lighter colored surface like book pages or white fabric. If you paint this on a dark paper or fabric, you will not be able to see it.
3. Adjust your level of "antique-ness" by applying more layers of medium. The more layers you add, the more antique and rustic your project will look. You can add as few or as many as you like. I find I'm typically pretty happy with 2 - 3 layers, but I'll leave that up to you!
4. Keep in mind that the more layers can obscure the design below. You'll have to find the carefully balance between tips 3 and 4! My suggestion is to apply a layer, let dry 20 minutes, observe your project, and repeat as desired after you've observed how your project looks.
5. Apply a matte sealer on top if you desire. Antique Matte Mod Podge is self sealing so you don't have to add a sealer on top. However, some will choose to add an additional sealer to make their project waterproof, etc. In that case, choose a matte sealer to match the finish of this formula!
Want to learn more about how to antique with Mod Podge? Check out the video below from Cathie and Steve!

