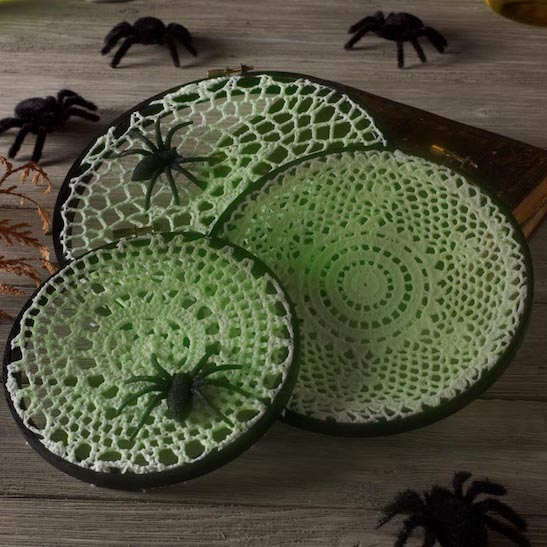

I don't know about you, but I'm ready for Halloween! Halloween is the official start of the holiday crafting season, and it's actually my favorite of all time. What other holiday allows you to eat unlimited sugar, craft with black and purple paint, and dress up as any character you like? There's something else I love about Halloween when it comes to crafting: Glow in the Dark Mod Podge. This formula does exactly as described; add a glowing finish (when charged in the light) to your craft Halloween - or any other - projects. It's truly awesome.
Just like most craft supplies, there are some tricks to using this formula for success. I'll share my tips with you in Q&A form, so that you too can have fun and fabulous glowing Mod Podge projects in minutes! Once you get hooked on this formula, you'll want to make everything glow. That I promise you!
1. How should I apply Glow in the Dark Mod Podge? First you will prepare your surface, then apply a medium coat of the Mod Podge (Gloss or Matte) with a soft-bristled brush. Apply your paper or fabric. Let dry for 15 - 20 minutes, then use your brush to apply Glow in the Dark Mod Podge to the top of your project in a medium layer. Let dry and apply three - four more coats, letting drying in between coats. You'll need to charge the Glow in the Dark Mod Podge to get it to glow (see #4).
2. Can I use this formula to decoupage items to the surface in addition to being a top coat? Yes you can - but I don't recommend it. If it's the only formula you have, it works perfectly as a glue in addition to being a sealer . . . but I like to save my Glow in the Dark Mod Podge to be a top coat only, so that I can use it on more projects! I use regular Mod Podge like Gloss or Matte to apply paper or fabric to a surface.
3. How many coats should I use? I highly recommend three to four coats of this formula. Let each coat dry before applying the next. The more coats you apply, the better the glow.
4. How do I charge Glow in the dark Mod Podge? Charge in the sunlight or in indoor light for 30 minutes. The length of the glow will depend on how many finish applications were applied, as well as the length and intensity of the charge. Sunlight is the best for charging.
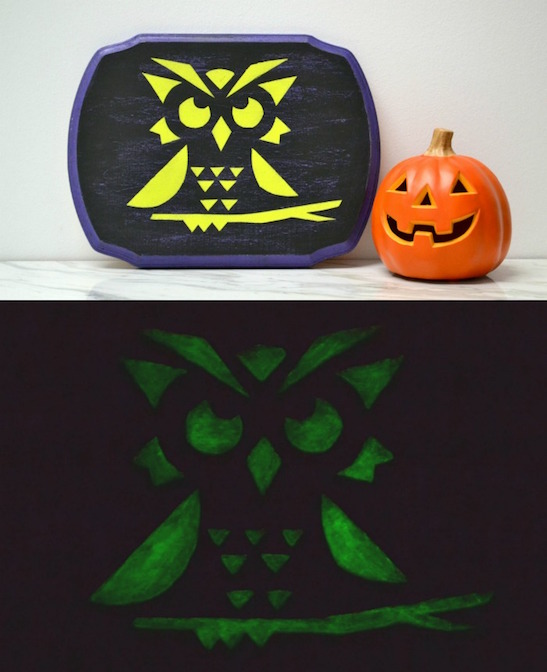
5. What does the finish look like when it's not glowing? It's clear with a slight yellow-ish, phosphorescent finish. This provides the glow. On a dark surface, it's hard to notice that it's on there when the lights are on. You will see some of the yellow on a lighter surface. I don't think it impedes with the project, it's just something to be aware of.
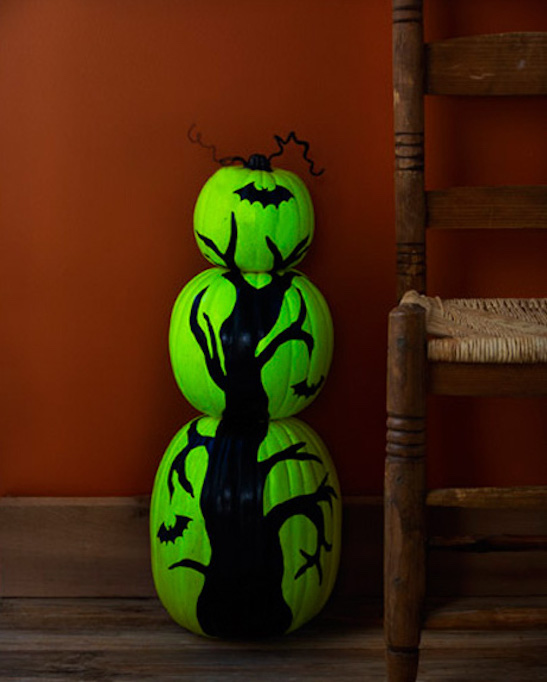
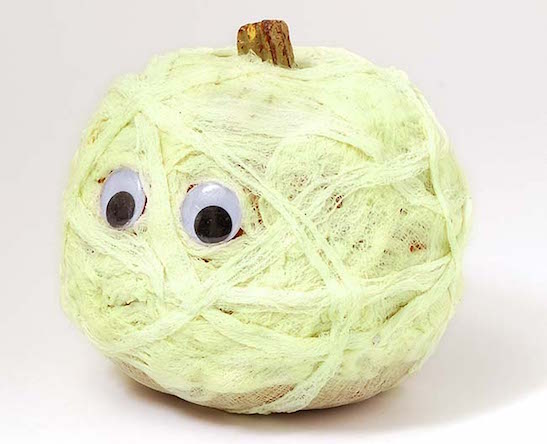
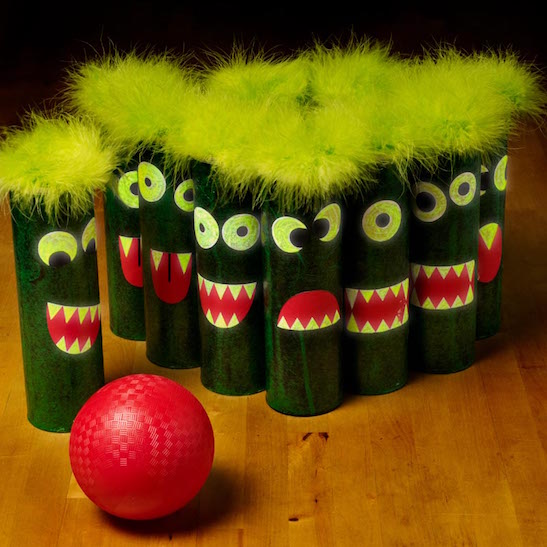
Interested in some project ideas using Glow in the Dark Mod Podge? Check out these festive Halloween crafts below!
