
Decoupage as an art form has been around for ages. Years ago it was a very slow, methodical art form requiring days to complete a project while applying many, many layers of lacquer-base decoupage mediums to surfaces.
Today with the help of Mod Podge, decoupaging is made much easier! Mod Podge has been around for over 45 years, long enough to have been developed into a product family including many different formulas such as: Matte and Gloss (the two original formulas), Satin, Sparkle, Outdoor, Fabric, Hard Coat, Paper, Brushstroke, Furniture, Antique Matte, Glow-in-the-Dark, Diswasher Safe, Kids Washout, and Extreme Glitter! Mod Podge is a waterbase, non-toxic glue, sealer and varnish all in one that is made in the USA! You can’t beat that!
I laugh too, because Mod Podge has been around and used by thousands of craft enthusiatists though the years, so much so, the noun and title of the product has also become a verb … “I Mod Podge’d today” … “Let’s Mod Podge this paper down” …. “She has Mod Podge’d fabric to those old metal file cabinets and they’re gorgeous!”
Did you know that when the product was developed, the name Mod Podge actually came from the term “Modern Decoupage” because the product is waterbase and quick drying which cuts down on the time it takes to complete a project and the clean up is simple with soap and water!
Today, I am going to share with you a step-by-step project showing you just how easy it is to Mod Podge. Let’s get started ….
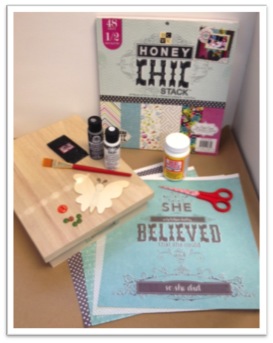
Supplies:
•Wood Box
•Wood Butterfly Cutout
•FolkArt Multi-Surface Paint – Wicker White
•FolkArt Multi-Surface Paint – Medium Gray
•Mod Podge Matte
•Mod Podge Brushes
•Home Chic Paper Stack by DCWV
•Miscellaneous Supplies: Pencil, Craft knife, Metal ruler, Scissors, 3/4" Flat brush, Squeegee, Buttons, White craft glue, Foam plate, Paper towels, Brush basin or container for water, Waxed paper
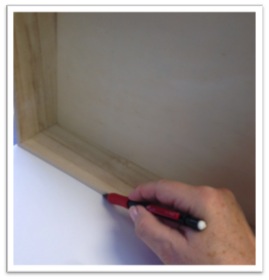
From the paper stack I selected four different yet coordinating patterned papers then I created the paper pieces for all sides of the box and lid. I started by laying a section of the box down on the backside of the paper and traced the shape using a pencil. Repeat this step for all sections of the box and lid. I also traced paper patterns for the wood butterfly cut out.
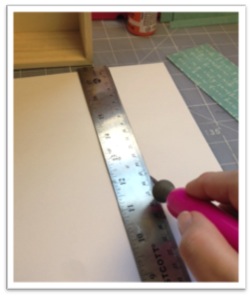
The next step is to cut the paper pieces you just penciled using either a craft knife or a pair of scissors. TIP: When I have long straight lines to cut, I prefer cutting them with the assistance of a metal straight edged ruler and a craft knife with a sharp blade. You can cut an easy breezy straight cut each and every time!
The next step I am going to tell you is totally optional. I know as many crafters that do complete this next step as those who may not take the time to do this. I paint the surface I plan to Mod Podge. I personally feel it adds a more finished touch to my project because in the event my cut paper pieces are slightly shorter than the surface edge, I won’t see the unfinished wood. So … I paint the surface, allow it to dry, and sand it smooth before I Mod Podge.
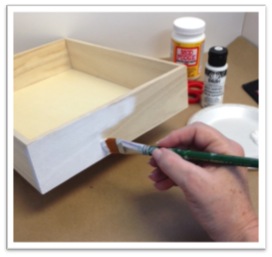
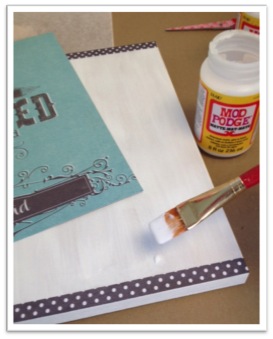
The technique of Mod Podging is very simple once all the paper pieces are cut and surface is prepped. Using a 3/4" bristle brush (some folks like to use a 1” foam applicator), brush a coat of Mod Podge onto the prepared surface.
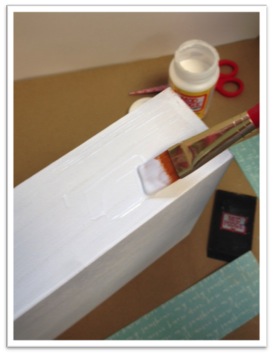
Next, I brushed a coat of Mod Podge onto the back side of the paper piece. TIP: you will see in the photo below that I placed a section of waxed paper on my work surface under the paper being Mod Podge’d. It will keep my work surface clean and I can easily toss the waxed paper when I am done.
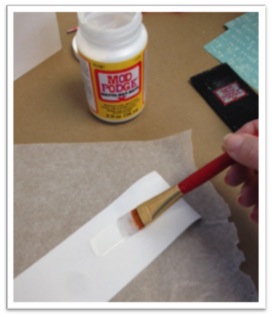
Working quickly, flip the paper over and position it onto the Mod Podge’d surface placing glue to glue. Press and smooth the paper in place.
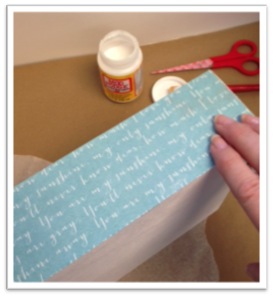
This next step will remove caught air pockets and excess Mod Podge. TIP: Here is a fabulous trick I learned from a friend; lay a clean piece of waxed paper over the paper in place. Then continue using a Mod Podge squeegee (or brayer) to press and smooth the paper. As shown in the photo below, this step will squeeze out any air pockets and excess Mod Podge. Keeping the sheet of waxed paper between your patterned paper and squeegee will also keep your decorative paper clean while removing the excess.
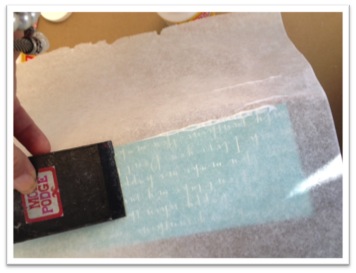
Continue using this same technique adding a section of paper at a time to all sides of the box.
Mod Podge papers to the wood butterfly cutout. To jazz up the butterfly, I added a second layer of butterfly wings; simply decoupage two layers together for more stability. I painted buttons Medium Gray to add dimension; both the buttons and layered wings were attached using white craft glue.
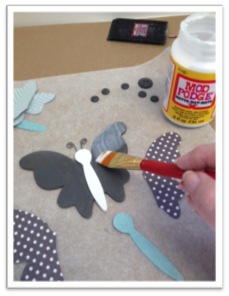
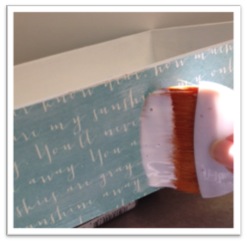
Once all the paper has been attached to each section of the box, I brushed a smooth, even coat of Mod Podge over the entire box. This application will seal and protect.
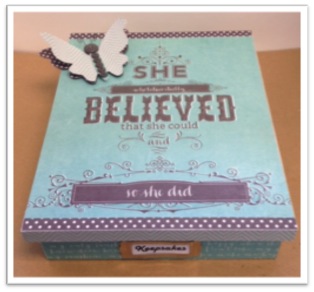
And there you have it! If desired, a second or even third application of Mod Podge can be brushed over your crafted surface being sure each application is thoroughly dry before adding the next. The wood butterfly was attached to the box lid using white craft glue.

If desired, Mod Podge’d projects can be spray sealed with a clear acrylic sealer once thoroughly dry to add an additional protective coat. And if you live in a humid climate, spray sealing will also remove the tacky feel. Care and cleaning of Mod Podge’d projects is simple; if dusty, easily wipe clean with a damp cloth.
Check out the inside of my Mod Podge’d box… I added paper butterflies! Cute, eh?

And don’t forget to try some of the many formulas of Mod Podge that I mentioned earlier. Did you enjoy learning “how-to” Mod Podge? What will be your first project? Will it be a simple box like mine or will you give new life to a thrift store find? Whatever it is, have fun and enjoy the marvels of Mod Podge!

