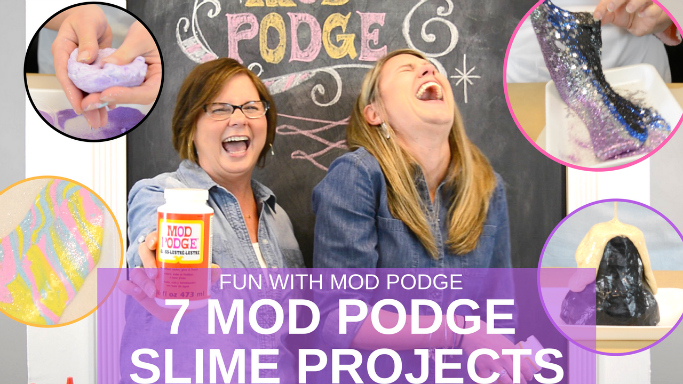
In this week's Fun with Mod Podge, Anna and Suzanne show you step-by-step how to take your Mod Podge Slime to a whole new level! After teaching the ins-and-outs of the basic Mod Podge Slime recipe, they get right into how you can use ingredients like paint, glitter, shaving cream, contact lens solution, and balloons to create SEVEN super fun Mod Podge Slime projects! If you're looking for a recipe for Mod Podge Fluffy Slime, Glitter Slime, Unicorn or Rainbow Slime, Galaxy or Nebula Slime, Sand Slime, Glow in the Dark Slime, and more, this is the video to watch! Find the full instructions, tips and tricks in the video or the instructions written below.
BASIC SLIME RECIPE
All of your Mod Podge Slime projects will start with your "basic" slime recipe, below. Without any acrylic paint added, the result is an opaque white slime. If you would like to add color, just about a teaspoon of paint will do. You can choose to mix the paint into the Mod Podge Matte before mixing it with the borax-water solution, OR you can fold the paint in with your hands once the slime is made. The latter option is a bit messier, but messier can be fun!INGREDIENTS:
- 4oz (or 1/2 cup) of Mod Podge Matte
- 1 TB Borax
- 1 cup warm water
Optional:
- FolkArt or Apple Barrel Acrylic Paint in desired color
- Glitter
TOOLS:
- Two large plastic bowls
- measuring cups
- Tablespoon
-Popsicle stick
- Plastic spoon
INSTRUCTIONS:
1. Pour 1 cup warm water into a large bowl.
2. Slowly add 1 Tablespoon of Borax to warm water, stirring as you go. Stir until combined and set aside.
3. In another bowl, combine 1/2 cup Mod Podge Matte and a couple of drops of FolkArt or Apple Barrel Acrylic paint of desired color. Use popsicle stick to stir together until mixture has reached desired color.
4. Pour Borax-water solution into Mod Podge and paint mixture. Stir using popsicle stick. Slime will start to form!
5. After stirring slime solution for about a minute, pour out excess water into first bowl and discard.
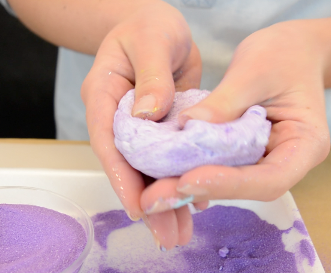
6. Pick up slime, and kneed and squeeze it over bowl to remove excess water. Knead for a few minutes.
7. Get ready to play! Add glitter, googley eyes, and more!
DISCLAIMER: This project is to be completed with adult supervision. None of the products are for eating or drinking. Review and comply with all warnings on borax, including keep out of reach of children, avoid contact with eyes, and do not take internally.
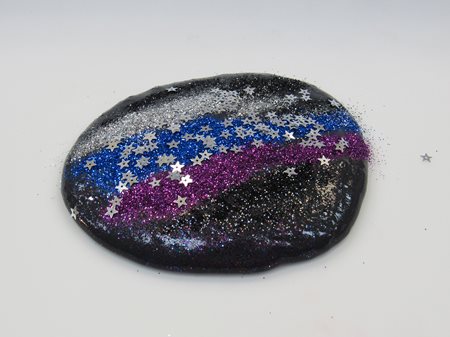
1. GALAXY SLIME
2. RAINBOW UNICORN SLIME
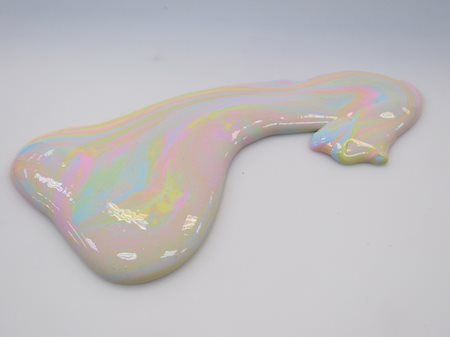
Create two or more different colors of your basic Mod Podge Slime recipe. In the project pictured above and in the video, we made three colors--yellow, pink, and blue. Once your slimes are complete, add your choice of glitter to each of the slimes, and then use your hands to twist, fold, and braid the different colors together to your liking. What will result is a magical marbeled effect!
3. SENSORY SAND SLIME
Using standard Colored Sand-Art Sand, gradually add sand to your finished Mod Podge Slime and fold in with your fingers until you've reached the desired texture. It should feel more firm than normal slime, and slightly gritty, but the final consistency is up to you ! It's as simpe as that!
4. FLUFFY SLIME
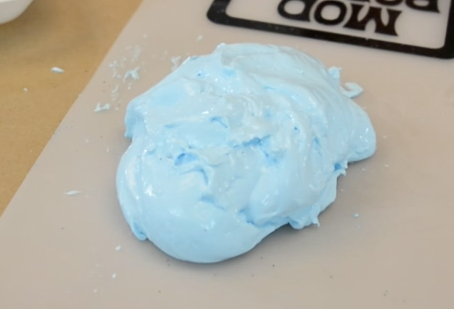
Fluffy slime is perhaps the messiest slime, but squshing the ingredients in your hands as you watch them combine and form is totally worth it! This slime results in an almost cloud-like material, super stretchy and VERY soft. An added bonus? It will smell just like whatever shaving cream you use. Take your basic slime recipe in whatever color you want, then after your mod podge is complete, measure out exactly half a cup of Shaving Cream into a 1/2 Cup measure. Scoop this onto your Basic slime, and begin to fold in with your hands. As you fold in the fluffy slime, gradually add a bit of saline solution (or contact solution) to the mix. This will help the ingredidents merge and keep the slime from sticking to your hands! After a few minutes of kneading and playing, you should have fluffy cloud-like slime!
5. MOLTEN LAVA SLIME 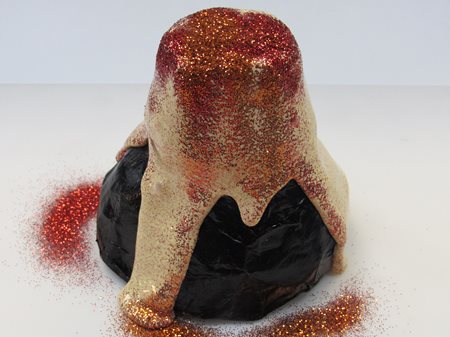
Let your creativity run wid with this molten lava slime. Start with a base of one color, like in the Galaxy slime, or a base of multiple lava-esque colors twisted together, like in the unicorn slime. Add loads of red, orange, yellow, and gold glitter, and get ready for fun! We used our empty Mod Podge Bottle as a base for this paper mache volcano, sealing it with Mod Podge Gloss. Using Gloss will allow you to easily peel off the Mod Podge Matte-based slime and let your lava flow dwon the volcano over and over again!
6. GLOW IN THE DARK SLIME
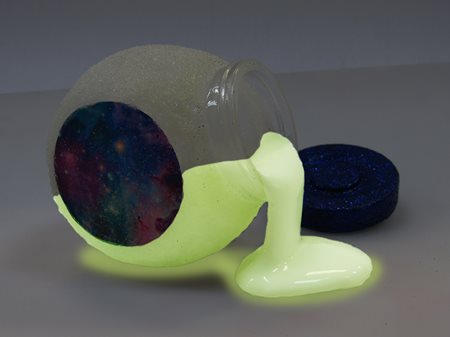
Okay, this might be our favorite. After creating your basic slime (sans color added), squeeze about a teaspoon or FolkArt Glow in the Dark Paint. For a really great charge, try NEW Folkart "Super Glow." Mix this in well by hand by kneading and folding the slime and paint together. After it is mixed, "charge" your slime by patting it flat (or letting it "melt" to that state naturally) on a flat surface. Lay your slime underneath a bright light for a few mintues. The longer you leave it, the stronger your charge will be! Test it out in a dark room (but be sure to bright a flashlight! Glow in the Dark Slime glows wonderfully, but it certaintly won't light the way!)
7. SLIME STRESS BALLS
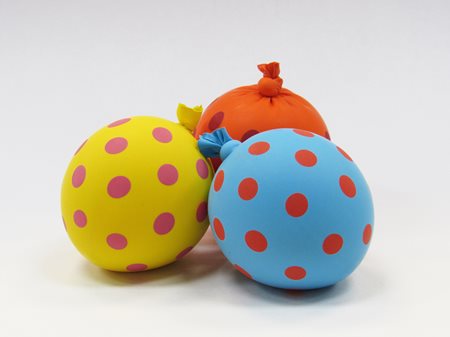
Slime provides an AWESOME texture for stress relief, but can get a bit messy if you want to play with it in an office setting. These stress balls are the perfect solution! Get some sturdy, fun latex balloons, fill them up with your basic slime, tie off, and squeeze away. In the video, you'll find Suzanne's fun hack for filling the balloons.
Using an old plastic bottle, cut off the top to make a makeshift funnel. Attach your balloons to the open screw-top of the bottle, and squish the slime down into the balloons with your fingers. Ones through the funnel, use your other hand (or the hands of a friend) to pinch the slime down into the balloon. For a rounder stress ball, keep pinching the slime down until it reaches your desired shape! Pro tip: Squeeze away, but don't over-over squeeze, to avoid popping the ballon. The sturdier your balloon material, the better!
Did you like this video tutorial? Be sure to follow Plaid on Youtube, Facebook, Twitter, Pinterest, and Instagram for more!


