
It's summertime! We all are carrying tote bags with us loaded with our summertime supplies ... snacks for the kids, library books or pool and beach supplies. Why not carry a one-of-a-kind fashionable tote that you created? Well, you can! And you can create that fashionable tote in just a couple hours using Plaid's new Fabric Creations Block Printing Stamps and Fabric Inks!
Creative block printing or stamping is so easy and fun! After creating just one project, you will be inspired to create more! Fabric Creations color combinations and block printing stamps are limitless! Come follow along with me as I create a fun, fashionable and functional summertime tote bag .....
Here's a look at the supplies I used on today's project.
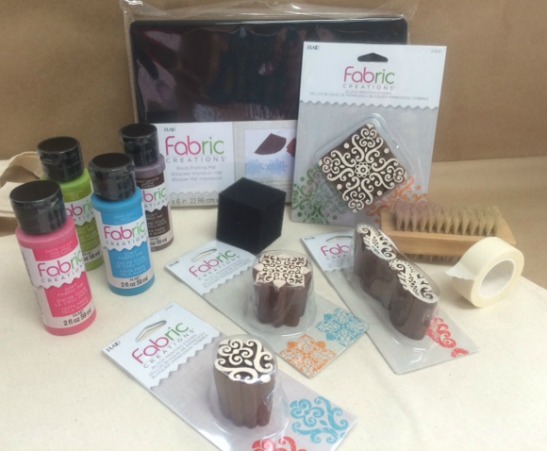
- Plaid canvas tote bag
- Fabric Creations Fabric Inks: Hot Pink, Ganache and Lime (In the photo, you see Aqua. However, as I created my tote bag, I decided not to use it.)
- Fabric Creations Block Printing Stamps: Small Baroque Flourish, Small Baroque Floral, Border Baroque Scroll, and Medium Baroque Medallion
- Fabric Creations Foam Printing Mat
- Fabric Creations Sponge Cubes
- Fabric Creations Cleaning Brush
- Miscellaneous Supplies: Brush Basin or container for water, Foam Plate, Paper Towel, Stencil or Painter's Tape
Let's get started ... first I highly recommend always washing your fabric items to be block printed to remove the manufacturer's sizing. TIP: If decorating denim, it would be best to wash your project surface a couple times. When laundering, remember NOT to use fabric softeners, dryer sheets or spray starches.
Next, I inserted the Fabric Creations Foam Printing Mat inside the tote bag. The foam printing mat will provide you a soft yet firm surface to stamp against.
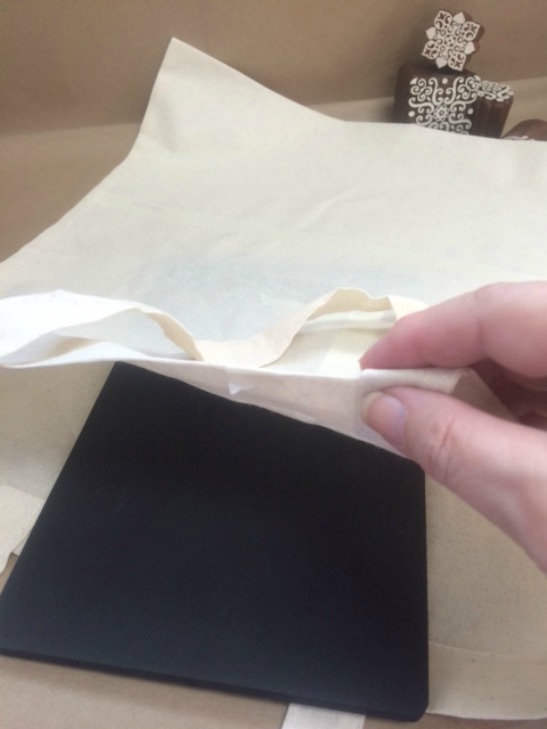
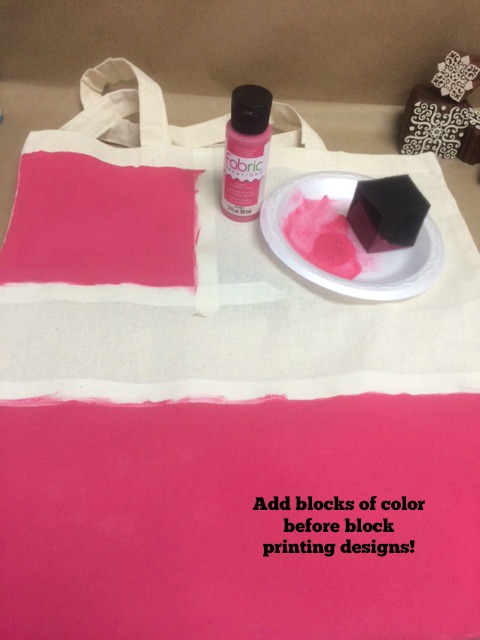
One technique I am sharing today is how you can create a color block first and then layer a block print design over the basecoat once dry. To create the block of color with straight lines, I first taped off areas to be basecoated; (a horizontal border approximately 5 1/2" tall at the bottom of the bag and a 5 1/2" square of color on the upper left corner of the tote.) You can see I used stencil tape to mask these areas, however, you can also use painter's tape.
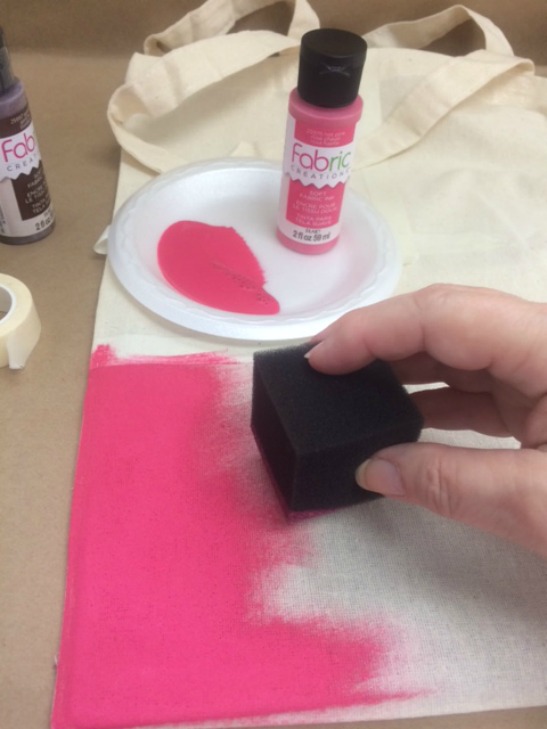
Next, I added a small puddle of Fabric Creations Hot Pink Fabric Ink to my foam plate. Then I loaded my sponge cube by dabbing into the puddle of fabric ink. You can see in this pic that I began painting the masked areas with the loaded sponge cube. Once painted, I allowed the base color to dry to the touch before adding my print block design.
Here you can see the two areas, I color blocked. While I waited for the base color to dry, I planned out the rest of my design ....
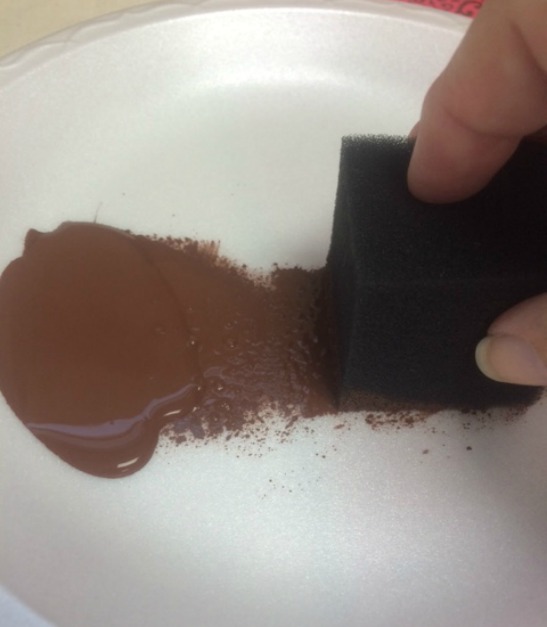
Fabric Creations Fabric Ink Ganache is a fabulous, warm chocolate brown color and works so well with Hot Pink so I loaded up my palette with Ganache, then loaded my sponge cube. TIP: Be sure to "off load" a bit by dabbing on the foam plate.
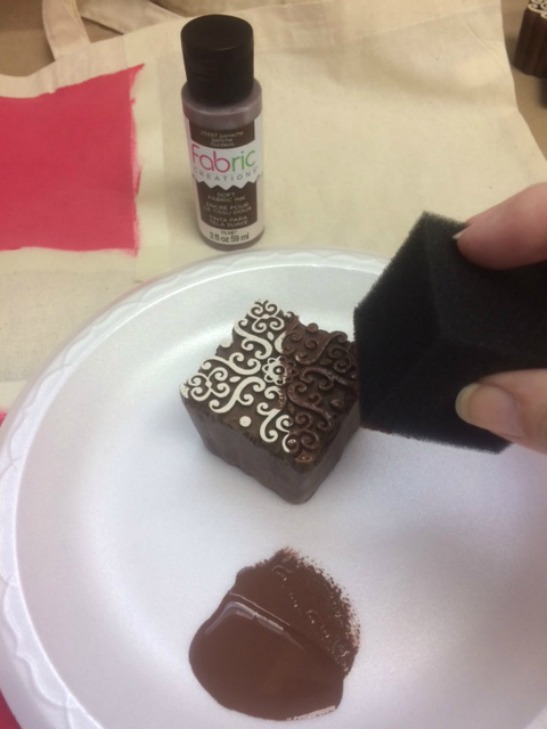
I then loaded my Medium Baroque Medallion block stamp by dabbing the flat surface with the loaded sponge cube. TIP: Apply the fabric ink so that just the top part of the design is covered; be careful not to overload the block print stamp or fill the recessed areas.
Once the block stamp was loaded with Ganache fabric ink, I then began block printing my design. Beginning in the center, I stamped one Baroque Medallion, reloaded my stamp with additional fabric ink and re-stamped creating my overall pattern. I then repeated the process until the entire color blocked area of the tote bag bottom was completed. I then removed the stencil tape to reveal the straight painted and block printed edge!
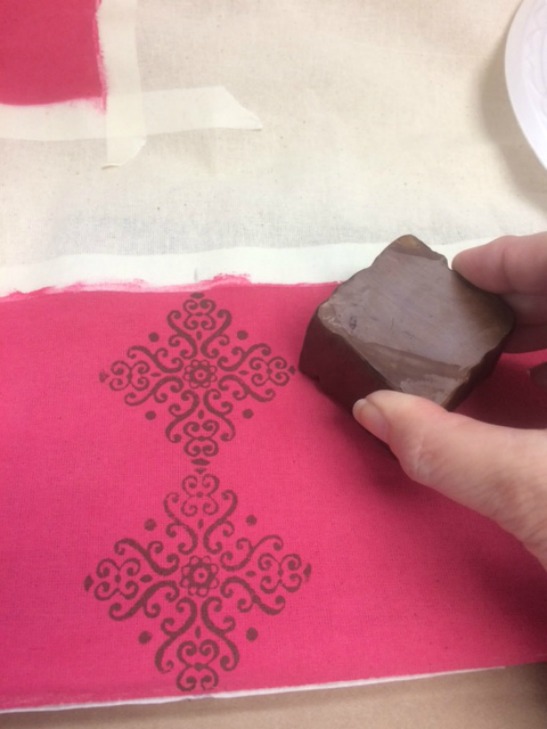
Flipping the bag upside down so that the second color blocked area was closer to me, I then began creating that block print using the same color and block print stamp. This time, I created a completely different look, by stamping each block side by side rather than only touching at the points. It's fun to see how completely different patterns can be created even when using the same colors and same block print stamp!
TIP: I will also place paper towels along the taped edge to catch any stamped pattern that overflows the color blocked areas.
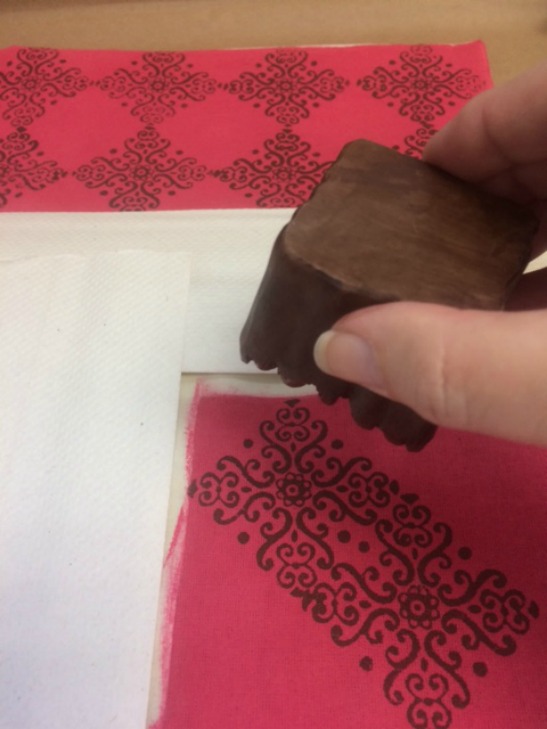
I continued to repeat this process creating a closely-stamped overall block print pattern; then removed the stencil tape. I LOVE the clean, crisp straight edge, don't you?
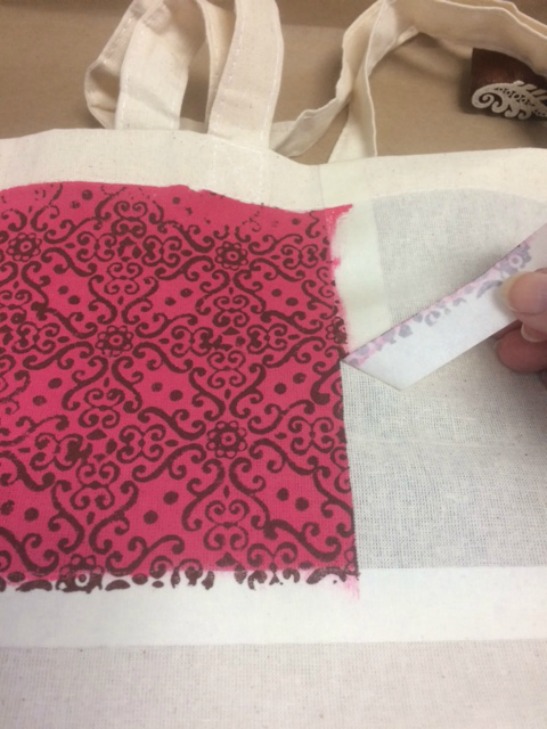
Still working with Ganache, I loaded the Border Baroque Scroll block print stamp and stamped a reverse "L" border around the boxed color blocked area.
I also taped off a narrow horizontal strip just above the bottom color blocked area and added Ganache creating a narrow brown horizontal stripe.
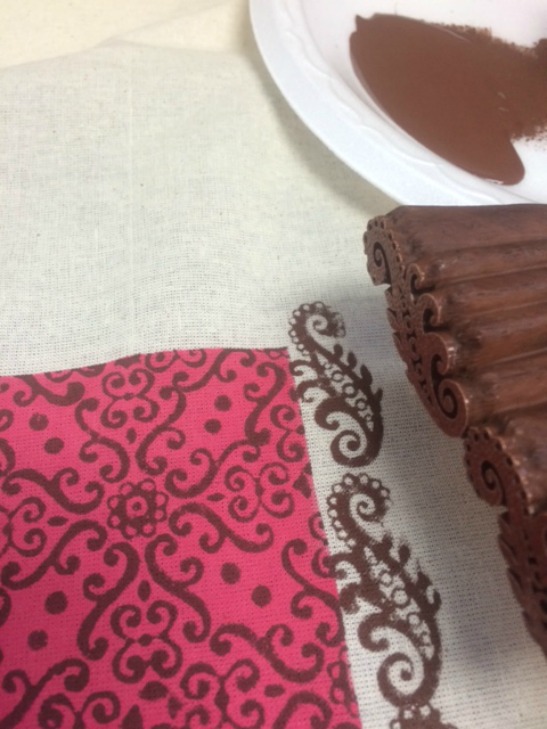
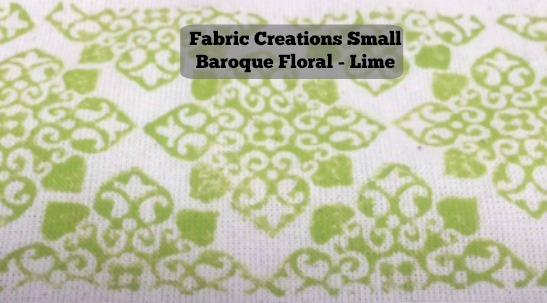
To create the next patterned area, I taped off a 2 1/2" tall horizontal border just above the Ganache stripe. Within this border I block printed an overall pattern using the Small Baroque Floral block stamp.
So, I loaded my palette, sponge cube and block stamp with Lime for a pop of color and ......
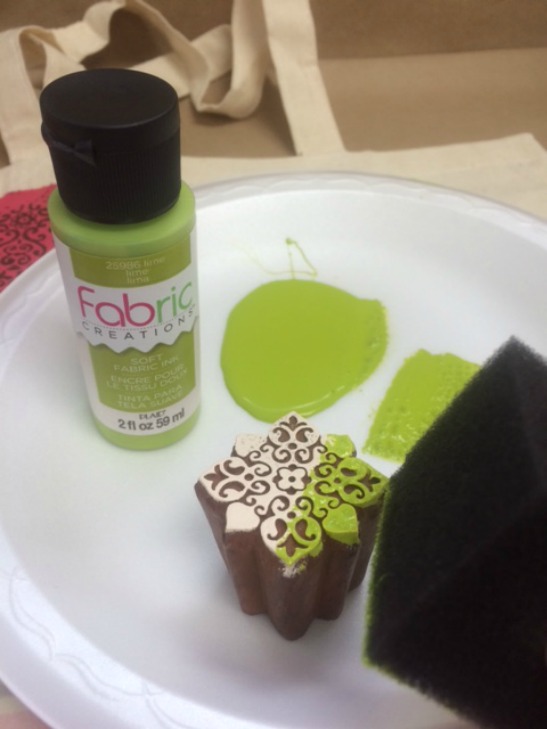
.... began block printing away! TIP: Again, see that I used paper toweling to assist in protecting the tote bag.
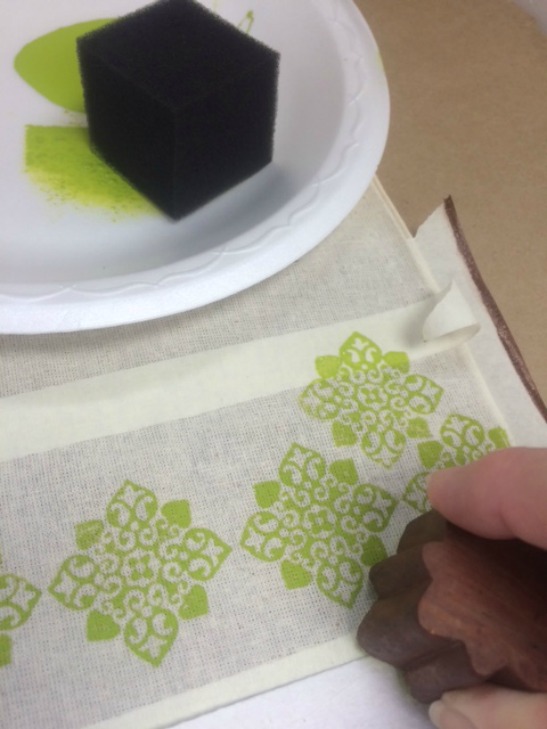
Voila! Removing the tape to reveal a beautiful block printed design!
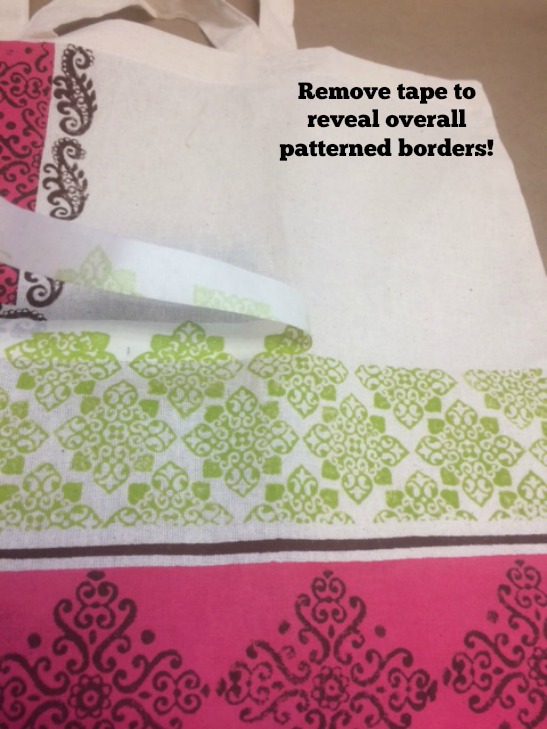
My patchwork of block printed designs is coming together isn't it? I then added yet another 2 1/2" wide color blocked area in the upper right hand corner of Lime to continue that pop of color!
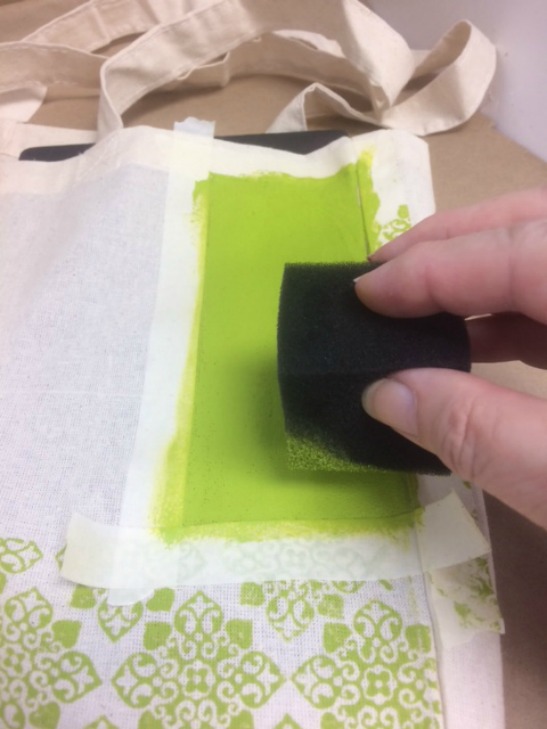
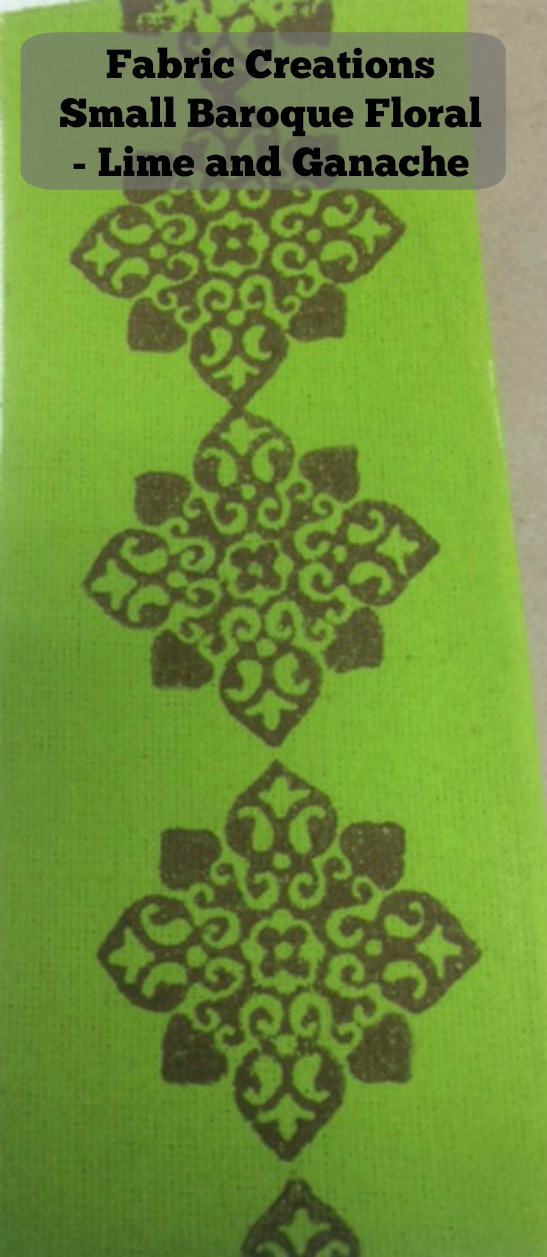
Once the Lime color block was dry, I stamped Ganache using the Small Baroque Floral vertically. Remember to use paper toweling to assist in masking these areas! Ganache over Lime is a wonderful color combination! These three colors of fabric inks go so well together!
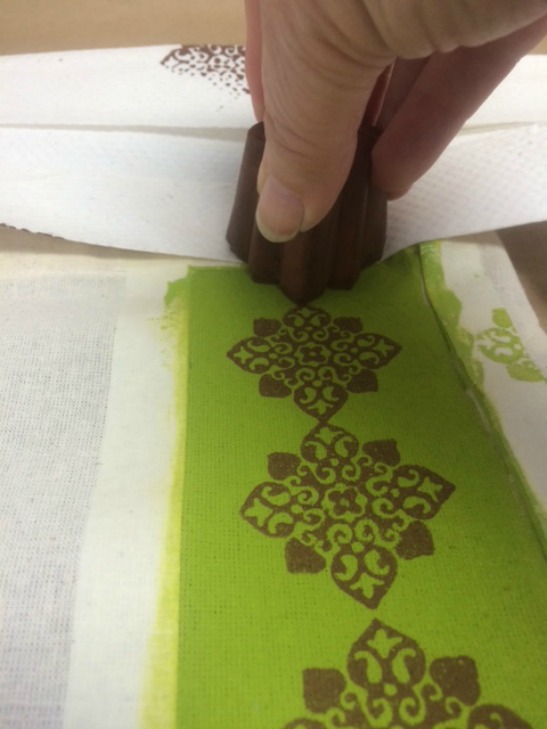
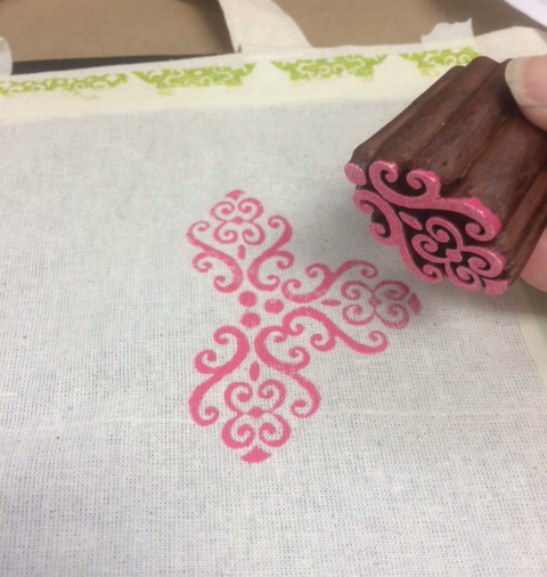
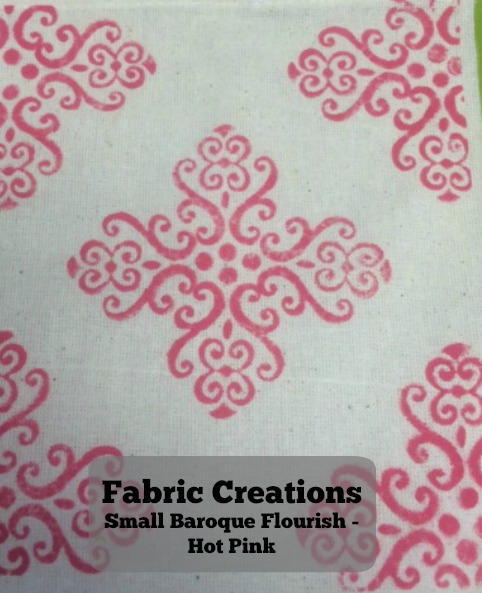
One last section remains .... to fill this section, I chose to block print with Hot Pink directly on the tote bag and I created a larger medallion shape using the Small Baroque Flourish block print stamp. This will show you how you can create larger patterns when you only have a small stamp.
You can see here that I created a "plus sign" using the dot as the center point when stamping each time. I continued repeating this process until the entire remaining space was stamped.
Clean up is so easy, simply rinse well under running water and my sponge cube can be used and re-used many times. To clean my block printing stamps, I use the Fabric Creations Cleaning Brush with soft bristles under running water which ensures me that I remove all fabric ink build up on my stamps. TIP: NEVER soak your block stamps in water. If exposed to water for an extended period of time, the stamps protective coating will soften.
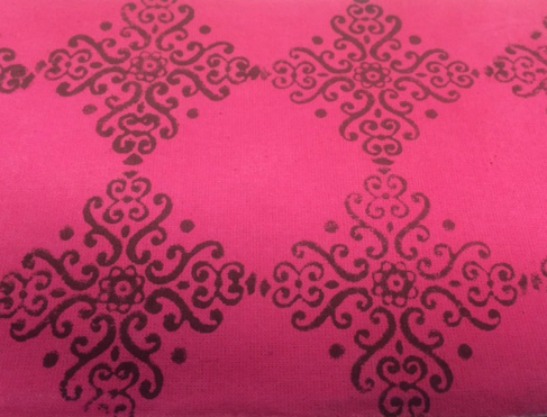
Now, let's take a look at each block printed section of my tote bag ... there are so many possibilities of color combinations or block print patterns to be created. Here are a few that I used on this project. Hot Pink color blocked section embellished with Ganache block printing using the Medium Baroque Medallion!
And here a closely-block stamped overall pattern on a color block ....
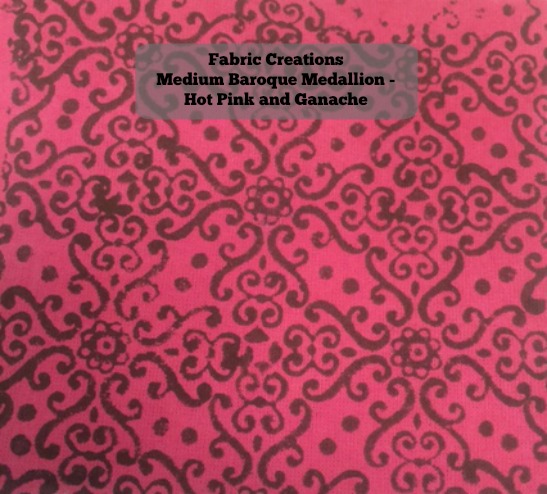
... or a closely block stamped pattern directly on the tote ...
... and here I block stamped a vertical row of single block prints on a color block ...
... and in my last patterned section, I created a larger stamped pattern using a smaller block print stamp by repeating it.
In all of my patterned sections I created today, I am showing you how to manipulate color and stamp placement. In future blog posts, I'll gladly share a few more design tips!
My completed tote bag will air dry within a couple hours up to 24 and will be cured within 72 hours. I then will need to heat set my tote bag before washing. To heat set, I'll lay a pressing cloth over the decorated areas using a dry, hot iron - no steam - pressing for 30 seconds over each decorated area. If I need to launder my tote bag, I'll either hand wash and line dry or gently machine wash with mild detergent.
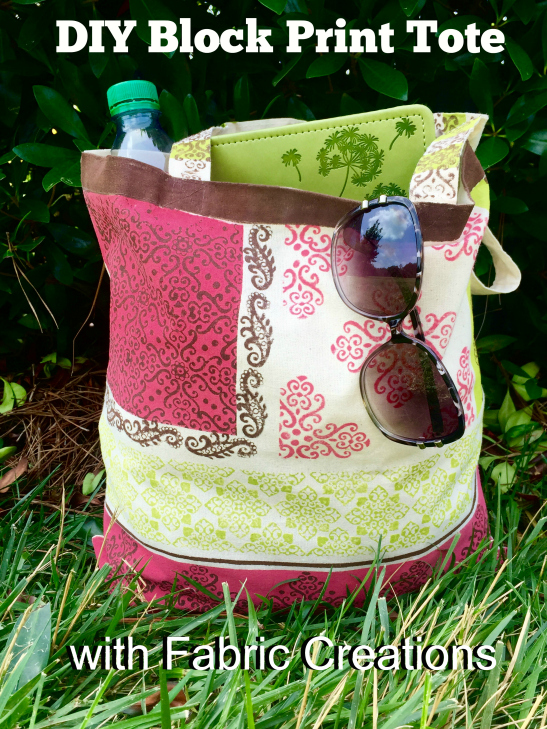
Tell me, what do you think of my finished tote bag? In this photo, you can see that I added color to the bag hem at the top as well as taped and painted stripes to the handles! Now my "show-stopping" bag is ready for my summertime activities!


