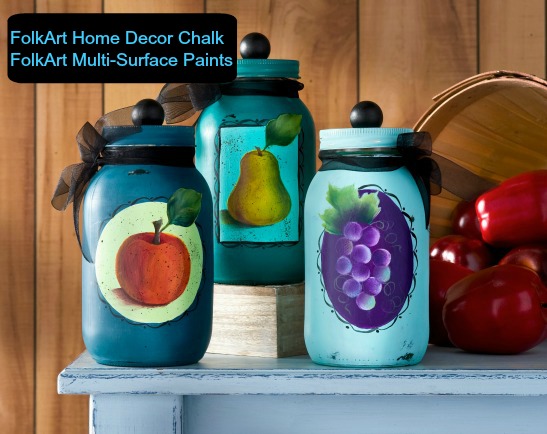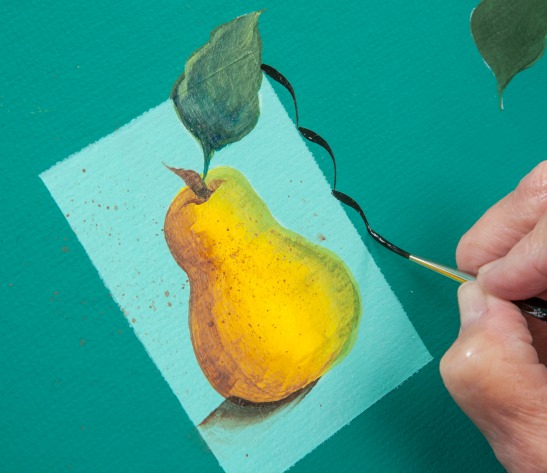
Learning to paint is not only fun, it is relaxing and a stress reliever! Today, our resident Master Decorative Artist, Priscilla Hauser, shows us just how easy it is to paint a pear step-by-step. This concludes our project of three glass canning jars adorned with painted fruit using FolkArt Multi-Surface Paints. Don't you think these would look awesome in a kitchen and filled with coffee, tea, or candies?
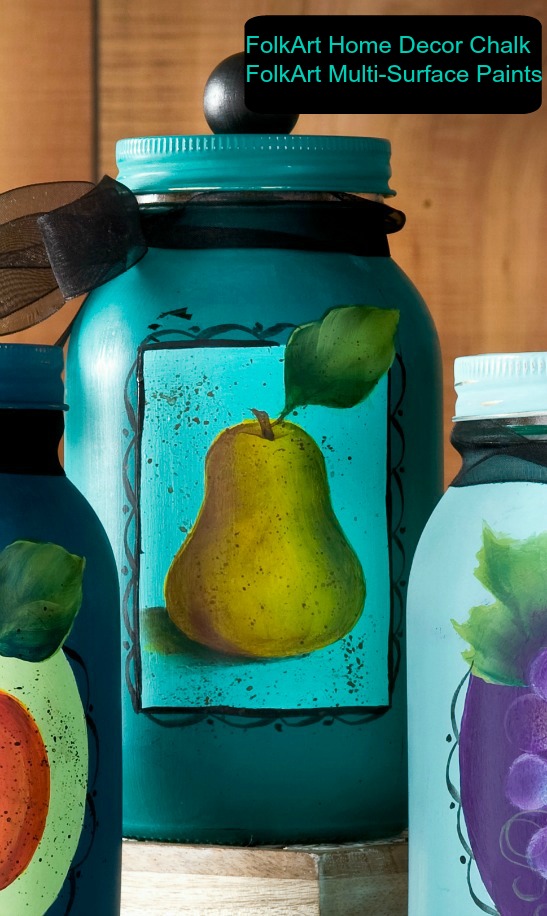
Let's begin by gathering the necessary supplies:
- Large glass canning jar
- 34158 FolkArt Home Decor Chalk - Grotto
- 2951 FolkArt Multi-Surface Acrylic - Patina
- 2925 FolkArt Multi-Surface Acrylic - Ink Spot
- 2942 FolkArt Multi-Surface Acrylic - Fresh Foliage
- 2915 FolkArt Multi-Surface Acrylic - Citrus Green
- 2907 FolkArt Multi-Surface Acrylic - Bark Brown
- 2918 FolkArt Multi-Surface Acrylic - Thicket
- 2912 FolkArt Multi-Surface Acrylic - Daffodil Yellow
- 2934 FolkArt Multi-Surface Acrylic - Licorice
- 2938 FolkArt Multi-Surface Acrylic - Titanium White
- 868 FolkArt Blending Gel
- Miscellaneous Supplies: Brush Basin or container for water, Paper Towels, Foam Plate for palette, 3/4" Flat Brush,No. 12 Flat Brush, No. 1 Liner Brush, Tracing Paper, White chalk, Stencil Tape, Old Toothbrush, Fine Grit Sandpaper, Small Wood Knob, Black Organza Ribbon, White Craft Glue
If you have been following this series of posts, you may have already learned how the large glass canning jar was prepared using FolkArt Home Decor Chalk. In the event you had missed these instructions, please learn how to use FolkArt Home Decor Chalk to prepare these canning jars here.
After preparing the glass jar, the next step is to trace the pear pattern found here onto tracing paper. Flip the traced pattern over and retrace the backside of the pattern lines with white chalk. Flip the pattern over once more (chalk side down) and tape the pattern to the glass jar; trace over the rectangle background shape. Remove the pattern.
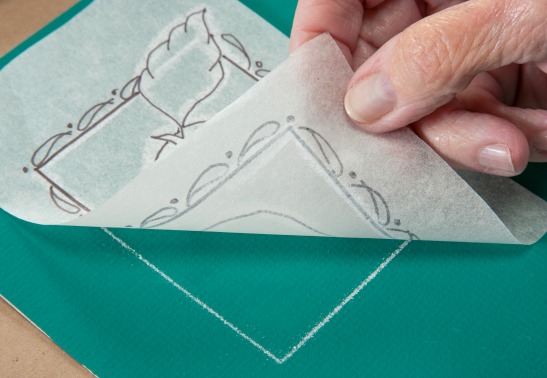
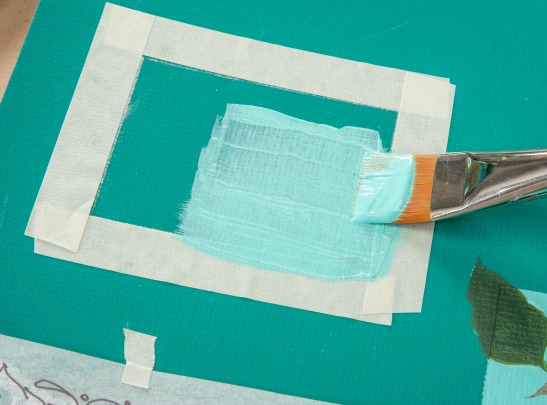
To keep the rectangle lines straight, place stencil tape alongside each chalked line and press in place. Load a large flat brush with Patina and neatly basecoat the rectangle shape. Allow to dry. If necessary, reapply to create an opaque background.
Once dry, carefully remove the stencil tape. Reposition traced pattern over the painted rectangle (chalk side down); transfer the pear, stem and leaf pattern.
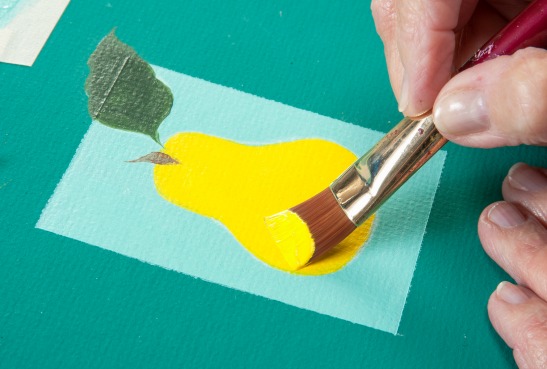
Colorbook paint the pear - Daffodil Yellow, the stem - Bark Brown, and the leaf - Thicket. Allow to dry and reapply to create opaque coverage.
To begin shading the pear, load a large flat brush with Blending Gel. Side load the brush with Bark Brown and paint along the pear shape to create shading to the left side of the pear. When painting, keep Bark Brown to the outside edge of the pear and Blending Gel to the pear interior.
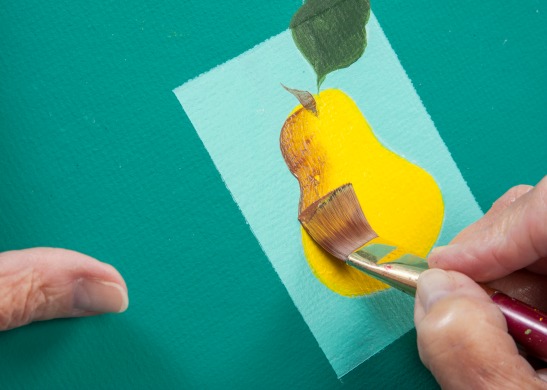
Complete shading the left side of the pear then rinse to clean the brush. Load the same large flat brush with Blending Gel again. Side load the brush this time with Citrus Green and/or Fresh Foliage. Keeping the Blending Gel to the interior of the pear, paint green highlights along the right side of the pear.
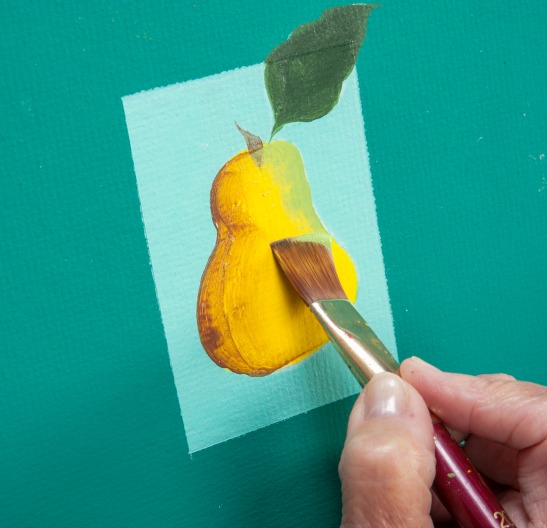
Next side load a smaller flat brush with Bark Brown. Flip your work upside down and paint the smile on the pear keeping the Bark Brown side of the brush towards the bottom of the pear. TIP: When painting, always feel free to turn your work around because stroking towards you rather than away from you is easier.
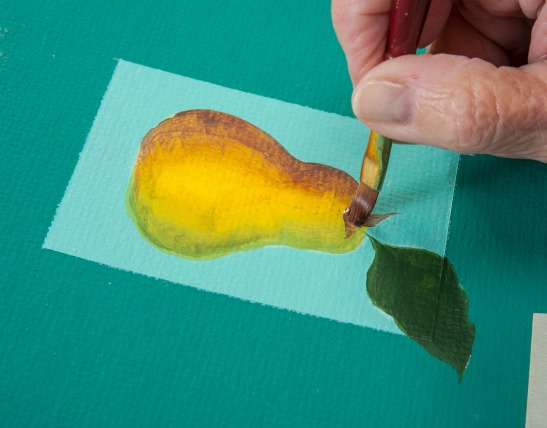
Once again, flip your work around, side load the same small flat brush with Licorice and shade the base of the Bark Brown stem.
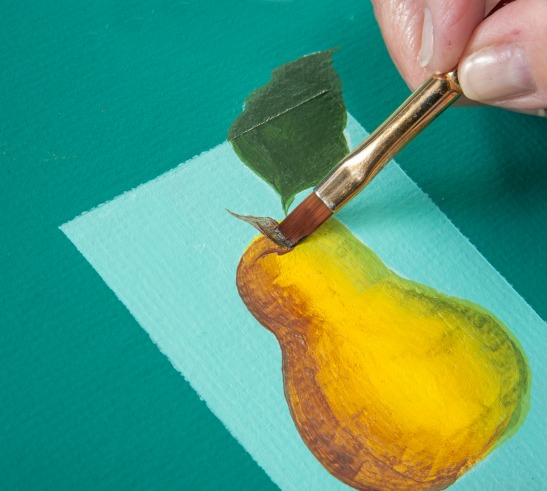
Priscilla next paints the leaf. Load the large flat brush with Blending Gel; lightly paint Blending Gel at the base of the leaf. Side load Ink Spot on the same brush and begin shading the base keeping the Blending Gel to the interior of the leaf and Ink Spot to the base of the leaf.
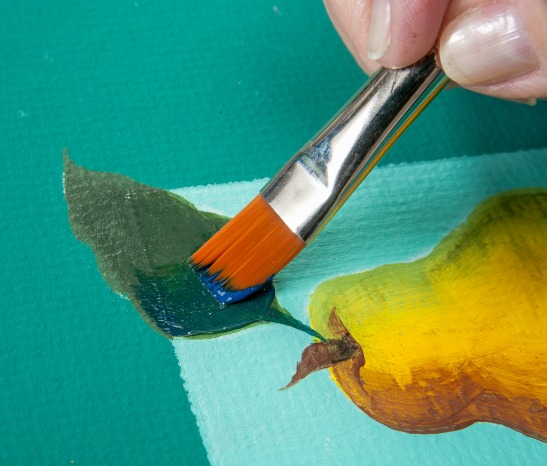
Next wet the remaining area of the leaf with Blending Gel. Load the same flat brush with Fresh Foliage or Citrus Green and paint highlights. Using the chisel edge of the brush, touch the leaf edge, apply pressure, pull and lift quickly allowing the Fresh Foliage to lightly blend into the darker areas of the leaf.
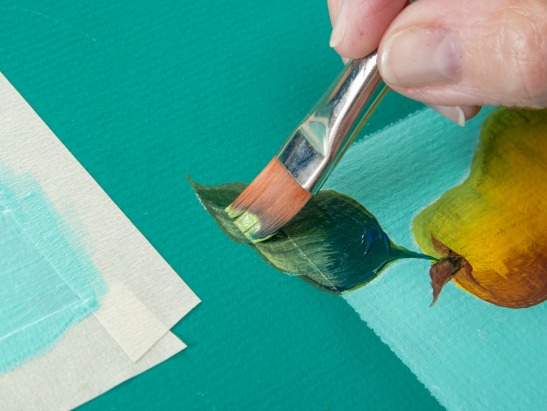
The next step is to create a shadow so that the pear is no longer "floating" in space. To paint the shadow, load the large flat brush with Blending Gel. Side load the brush with Bark Brown and a touch of Licorice; paint a shadow keeping the paint side of the brush closest to the pear.
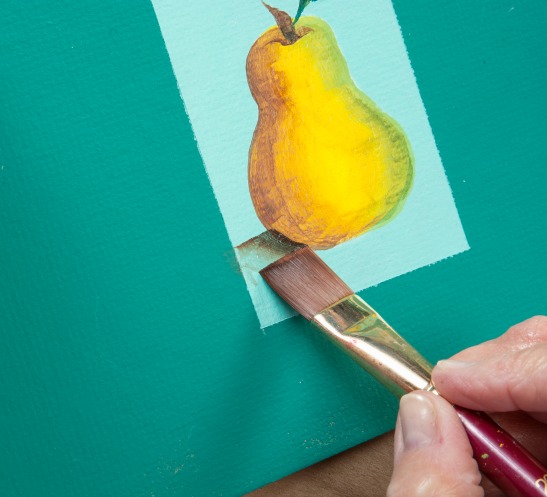
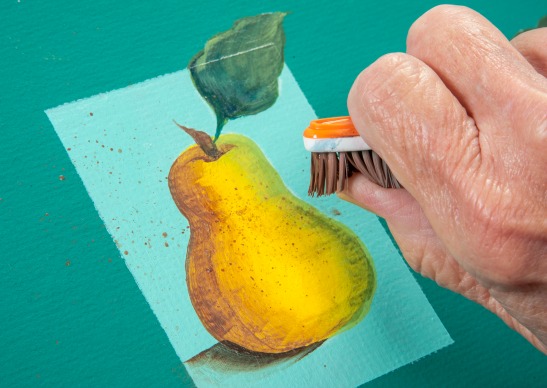
Additional painting fun comes next! Embellish your painted pear by "flyspecking" or splattering Bark Brown. To flyspeck: thin Bark Brown with a small amount of water to an ink-like consistency. Load an old toothbrush with thinned paint. Holding the brush with the bristles toward your artwork, run your thumb over the toothbrush bristles and watch the tiny flecks of color fly over your surface!
Lastly, paint a Licorice brush stroke trim around the background rectangle shape. Load a No. 1 Liner brush with thinned Licorice; thin with water to an ink-like consistency. Paint a simple comma stroke border. If desired, paint a comma stroke border on the jar lid too.
Complete the jar by painting a small wood knob Licorice. When dry, glue the knob to the jar lid and tie a black organza ribbon around the neck of the jar.

If you would like to create all three painted fruit jars and missed the previous tutorials, you can follow along and learn how to paint an apple here. And learn how to paint Priscilla's bunch of grapes here. I hope you enjoyed learning how to paint an apple, a pear and a bunch of grapes with Priscilla; she is the BEST!
