.png)
Here are seven tips from our craft experts on how to make sure your napkin decoupage project comes out perfect every time. These are great tips for beginners to experts!
-
Cut your napkins before separating plies.
When cutting out shapes from napkins, it is much easier to cut the napkin before you remove the extra napkin plies. After removing the additional layers, the napkin becomes thin and fragile, making it trickier to cut! -
Always separate the plies.
Always remove the extra layers from your napkins before Mod Podging them to your surface. Be sure to remove even the sneaky layers! -
Use double-sided tape to help separate plies.
Use double-sided tape to remove the extra layers from your napkins! Stick a small piece of double-sided tape to your table and place the edge of your napkin piece to the tape. Use your nail or a scraping tool to remove the top layer of napkin from the rest of the layers. -
Never apply Mod Podge directly to the napkin.
When Mod Podging napkins, always apply the Mod Podge directly to the surface instead of the napkin. Napkins are thin, and when you add moisture, they will fall apart. -
Always use a wet brush.
After you've applied Mod Podge to your surface and have placed the napkin over it, use a brush that is wet with Mod Podge to smooth your napkin into place. If you use your fingers or a dry brush, the napkin could wrinkle or tear! -
Create your own patterns!
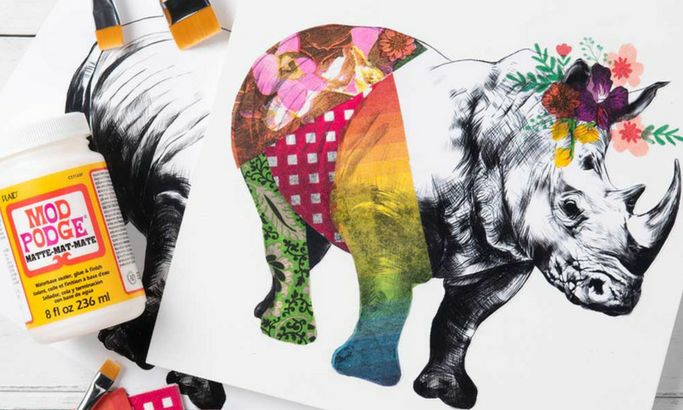
Use cut-outs of different napkins to create your own patterns! When Mod Podging the napkin pieces to your surface, simply piece the napkins together like a puzzle! Also, try overlapping and layering! -
You can sand napkins!
When Mod Podging napkins to wood, you can use a fine-grit sandpaper to sand the napkins after they are completely dry. This will give them a distressed antique look!
Post your own Napkin Mod Podge tips and share how you use napkins in your decoupage projects!

