Instructions
Surface Preparation Instructions
The project surface is actually chipboard which requires no prep. However, if a wooden arrow plaque is used, follow the instructions below.
- Using the large flat brush, apply a smooth, even coat of All-Purpose Sealer.
- Allow the sealer to dry and then sand with fine grit sandpaper.
Painting Instructions
- Secure painter’s tape through the center of the arrow.
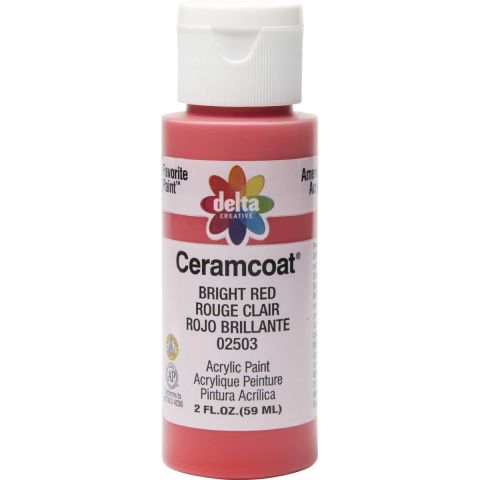
- Paint the arrow Bright Red using the medium flat brush. Allow to dry; then remove the tape.
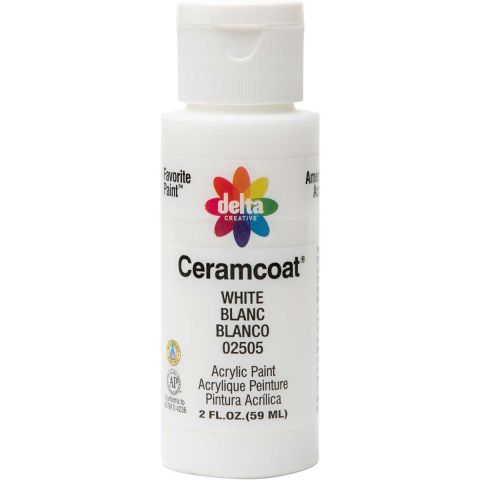
- Next, place painter’s tape directly over the red areas along the paint edge. Paint the exposed center of the arrow White using the medium flat brush. Allow to dry; then remove the tape.
- NOTE: If opaque coverage is desired, a second application of paint may be required.
- Trace and then transfer the lettering pattern in the center of the arrow.
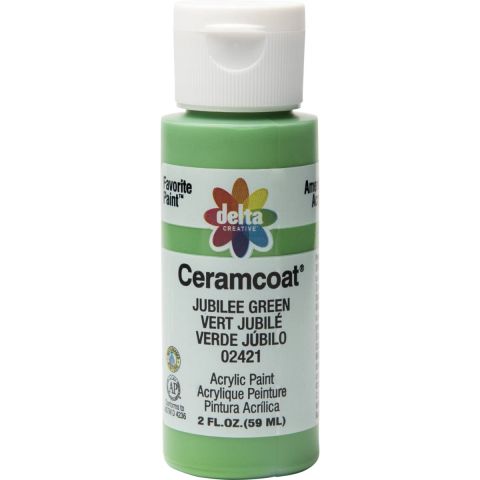
- Paint the lettering Jubilee Green using a No. 1 script liner.
Stenciling Instructions
- Once lettering is thoroughly dry, position an arrow stencil in the center of the White and secure in place with painter’s tape.
- Stencil the arrow design Jubilee Green using a cosmetic wedge sponge. First load the sponge with paint, then offload by dabbing up and down on a palette.
- NOTE: Do NOT stencil over the painted lettering. If needed, refer to the project photo for placement.
- Stencil an accent of Jubilee Green leaves in the corner section using the arrow with a leaf design.
- Embellish the painted leaves with Jubilee Green stems painted with a No. 1 Script liner. Accent Bright Red dot berries using a stylus or the end of a paintbrush handle.
Finishing Instructions
- Apply a couple coats of Delta Ceramcoat Satin Interior Varnish using a medium flat brush to seal and protect.


