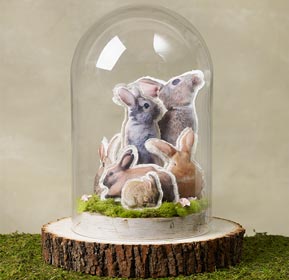
Bring your Easter projects to life by creating a 3-D effect with Photo Transfer.
Instructions
- Cut out and arrange a selection of bunny image poses and sizes. Use the size of your cloche as a guide for sizing height and width.
- One at a time, lay a bunny image on top of a sheet of wax paper print side up. Generously paint a smooth layer of Mod Podge Photo Transfer Medium over the image. You should barely be able to see the bunny.
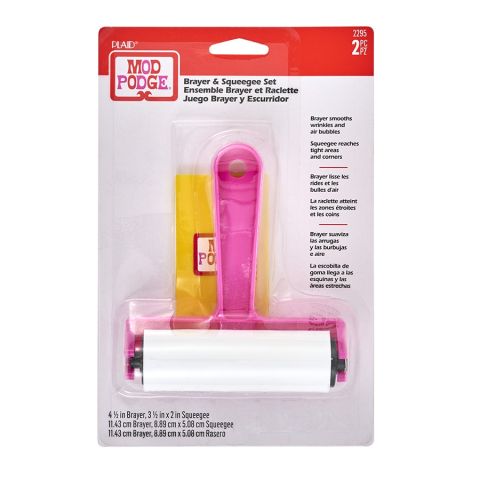
- Bend the wax paper away to release the prepared image and carefully lay the image on a clean piece of wax paper. Gently lay a piece of fabric over the image. Press softly. Flip the fabric over and carefully squeegee the image to the fabric. Press along the edge with your finger to ensure good contact. Let dry 24 hours.
- Repeat steps 2-3 for each bunny.
- To reveal image, press a damp sponge over the image and let sit for 2 minutes. Gently begin rubbing the paper off in circular motions. This will take 2-4 times letting the image dry in between rubbings.
- To create a 3D bunny, pin the prepared image fabric to a piece of fleece. Do not trim the fabric yet. Sew a simple running stitch around the bunny close to the image. Leave the bottom of the bunny open to insert the stuffing. Stitch closed.
- Trim the fabric around your bunny. Repeat step 6-7 for each image.
- Place your largest bunny first on the wood slice and place a mark that is the center of the bottom of the bunny. Drill a small hole and insert the dowel. Cut a small hole in the bottom of the bunny. Slide the bunny onto the dowel. This will help the bunnies stay upright. Trim the dowel as necessary for the height of your selected bunny.
- Cover the wood slice with moss. Arrange and prop you bunnies together. Cover with the glass cloche.


