
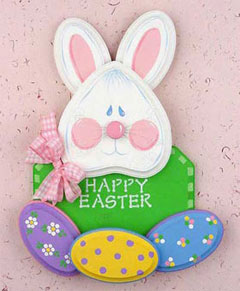
Hop up Spring with this charming little bunny and Delta Ceramcoat!
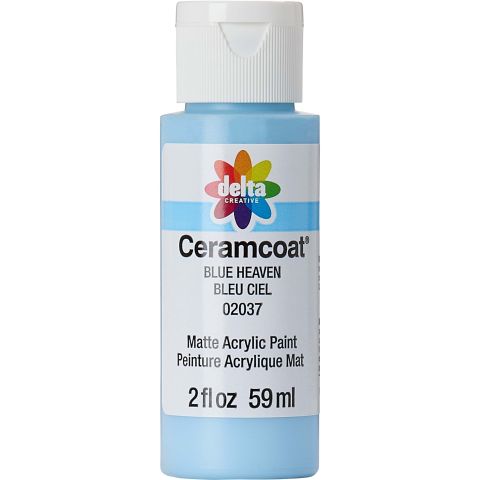
Delta Ceramcoat Acrylic Paint - Blue Heaven, 2 oz. - 020370202W
Delta Ceramcoat
2 oz
+ 100 colors
$1.29

Delta Ceramcoat Acrylic Paint - Lisa Pink, 2 oz. - 020840202W
Delta Ceramcoat
2 oz
+ 100 colors
$1.29
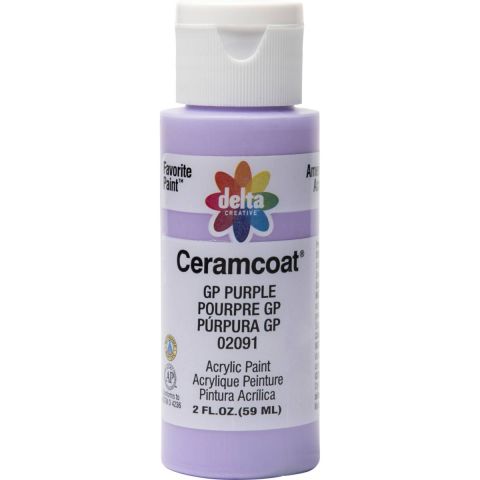
Delta Ceramcoat Acrylic Paint - GP Purple, 2 oz. - 020910202W
Delta Ceramcoat
2 oz
+ 100 colors
$1.29
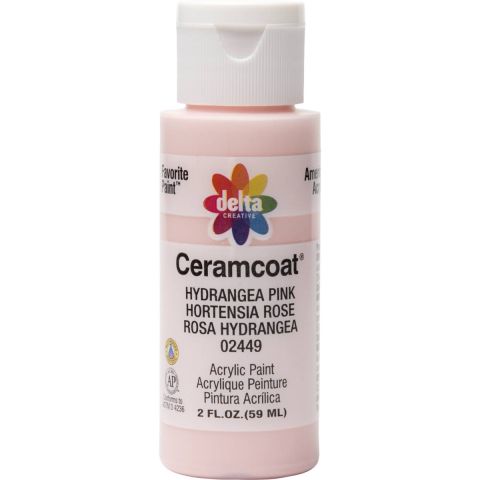
Delta Ceramcoat Acrylic Paint - Hydrangea Pink, 2 oz. - 024490202W
Delta Ceramcoat
2 oz
+ 100 colors
$1.29
Delta Ceramcoat Acrylic Paint - Crocus Yellow, 2 oz. - 024590202W
Delta Ceramcoat
2 oz
+ 100 colors
$1.29
Delta Ceramcoat Acrylic Paint - Lime Green, 2 oz. - 024890202W
Delta Ceramcoat
2 oz
+ 100 colors
$1.29
Instructions
- With the 3/4" flat brush apply a coat of All-Purpose Sealer onto the wood pieces, let dry and sand smooth.
- Paint in the following pieces:
Lime Green - plaque
White - heart and two ovals
GP Purple - oval
Blue Heaven - oval
Crocus Yellow - oval
Lisa Pink - wood button - Plaque Mix equal amounts of Lime Green and White on plate.
- Use this mixture and the #12 flat brush to paint the stripes along the edges on the plaque.
- Spray adhesive to the back of the stencil following label instructions.
- Referring to photo, position the first letter into place, and press to secure. The adjoining letters can be masked off with tape.
- Cut the sponge in half lengthwise and then again, this will make sponging easier.
- Tap a flat end of the sponge into the White paint and tap excess off on the plate. Lightly pounce the sponge on the stencil.
- Carefully remove stencil. Let the paint dry, a blow dryer will speed this step and continue stenciling the remaining letters.
- Bunny Trace the pattern on the tracing paper. Position the face pattern on the heart and tape to secure.
- Slip the graphite under the pattern and lightly re-trace the lines with a pencil, this will transfer the pattern. Remove pattern.
- Use the #12 flat brush and Hydrangea Pink to paint in the center of the ears and cheeks. Add detail lines on the inner ears and cheeks with the liner brush and Lisa Pink.
- Brush mix Blue Heaven and White. Use this mixture and the liner brush for the line around the face, ears, mouth and hair, the eyes are Blue Heaven.
- Add White highlights on the cheeks, nose and eyes.
- Eggs paint the edges of the ovals with a contrasting color.
- Add cotton swab dot flowers of White with Crocus Yellow centers.
- Use the liner brush and Lime green for the leaves. Use four colors for groupings of dots on one of the eggs. Swirling the cotton swab will make the larger single dots.
- Varnish all pieces with the Satin Varnish. Let dry.
- Cut four 7" pieces of the white wire. Twist together in the center swirl ends to resemble whiskers - refer to photo.
- Glue ears to the back of the head and the head onto the plaque. Glue the nose in place over the wire whiskers and glue eggs into place. Let glue dry.
- Tie a bow of the ribbon and glue into place on the side of the face.
- Add hanger to the back and hang on door or a wood stake can be added to the back for a yard sign.
