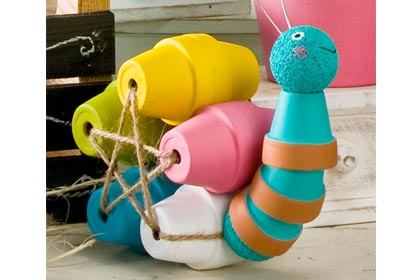
Make this smiling snail a part of your garden decor with clay pots and FolkArt Acrylic paint. Enjoy the fun of creating this summertime garden creature with your family!

Instructions
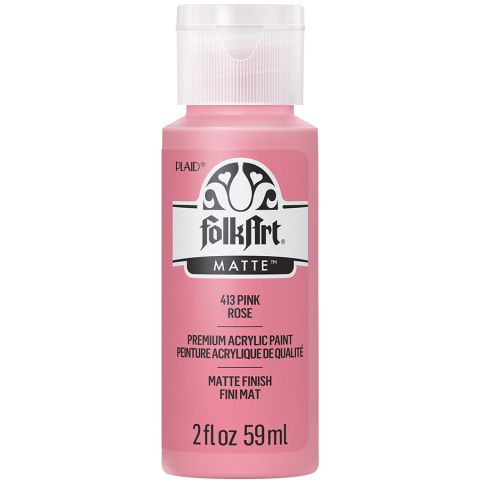
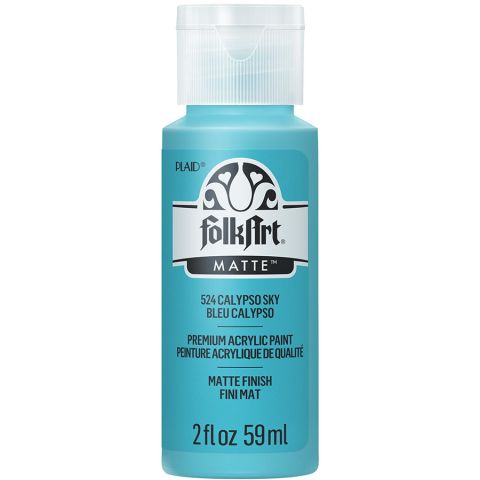
- Base coat two each of the 2” clay pots with Pink, Medium Yellow, Yellow Citron, Calypso Sky and Wicker White. Let dry.
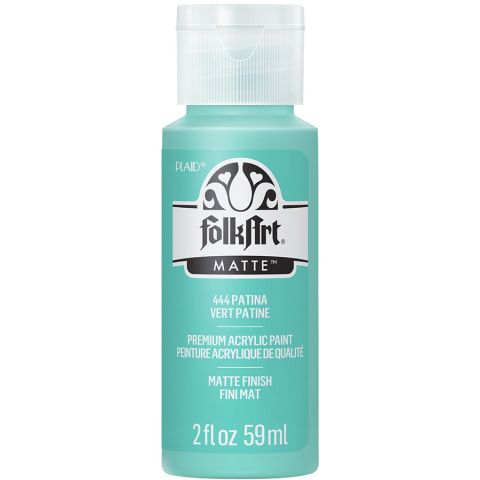
- Paint bodies of the three 1 ½” pots Patina. Also paint two foam balls Patina and let dry.
- Cut the third foam ball into quarters. Insert one piece into smaller clay pot and glue. Stack second clay pot inside first at an angle and glue. Repeat with third pot to create neck of snail.
- Glue painted foam ball to end of neck. Create eyes by dipping opposite end of paint brush into paint. Stencil cheeks with Pink and paint mouth with liner brush.
- Glue matching colors of larger pots together rim to rim. Place glued pots on one end to create a circle. Glue together at rims and turn to place them upright as shown.
- Cut a length of wire and bend at tone end to create a needle. Thread a long piece of jute through eye of “needle” and weave jute in and out of pot openings until a star is created. Glue two ends of jute to rim of bottom front pot where neck will be placed.
- Cut two lengths of wire and curl at ends. Insert into snail head with glue.
- Flatten one side of last painted foam ball and glue round side into last pot of neck. Glue flat side to rim of pot with glued jute ends.
Tip: Embellish pots of snail “shell” with paint, trims or rhinestones for a more decorative look.