
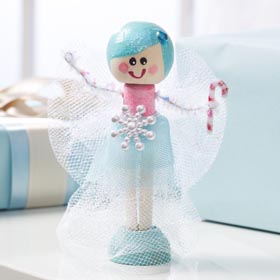
Make fairy dolls with scrap fabrics, sparkle trims and wood craft clothespins and parts.
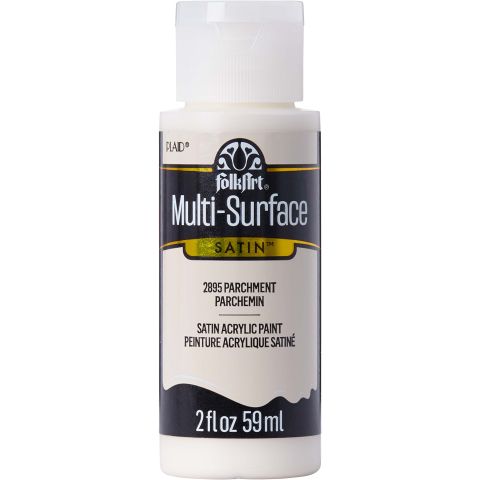
FolkArt ® Multi-Surface Satin Acrylic Paints - Parchment, 2 oz. - 2895
FolkArt
2 oz
+ 73 colors
$1.99
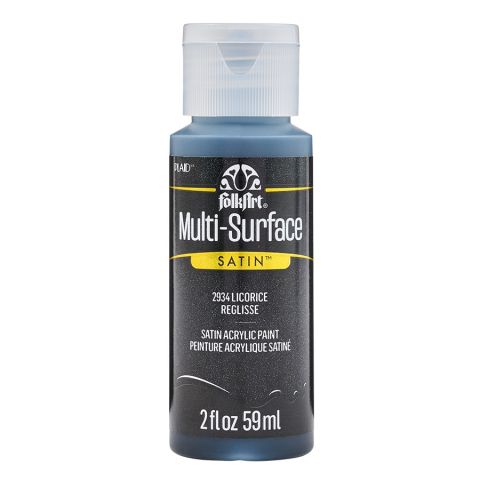
FolkArt ® Multi-Surface Satin Acrylic Paints - Licorice, 2 oz. - 2934
FolkArt
2 oz
+ 73 colors
$1.99
FolkArt ® Multi-Surface Satin Acrylic Paints - Baby Pink, 2 oz. - 2940
FolkArt
2 oz
+ 73 colors
$1.99


Instructions
- Position the clothespin on your work surface so you are so seeing one side of the leg. In the upper shoulder area, drill a hole from side to side to create arm holes. Thread a pipe cleaner through the holes. Trim the pipe cleaner and twist back the edges so you don't have any sharp edges.
- Glue the doll head to the top of the clothespin using the Mod Melter. Don't glue the doll into the base if you want to be able to remove her.
- Paint the doll: Paint the top of the clothes with Baby Pink. Once dry top-coat with Neon Pink Extreme Glitter. Paint the hair and stand Patina. Paint the Cheeks a combination of Parchment and Pink Mellon. Paint the smile Pink Mellon. Paint the eyes Licorice with dots of Parchment. Once the paint is dry, top coat the hair portion with Mod Podge Glitter.
- Use the melter to glue an outfit and wings to the doll. Use tulle or lace scraps for wings and the skirt. Add ribbons and embellishments. This is the fun part!
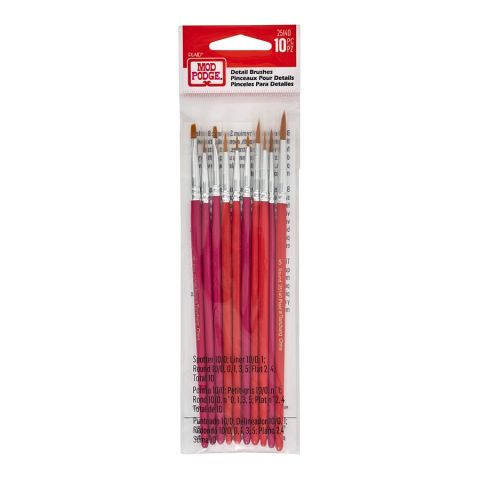
- PROJECT TIP: Painting faces can be tricky at first, use the Mod Podge detail brushes to paint all the small details. Pencil a design onto your ball before you paint.

