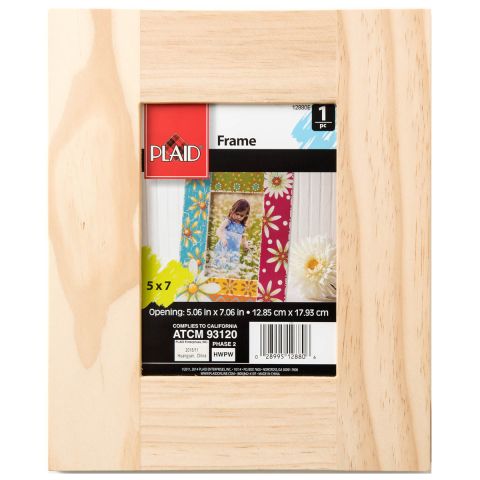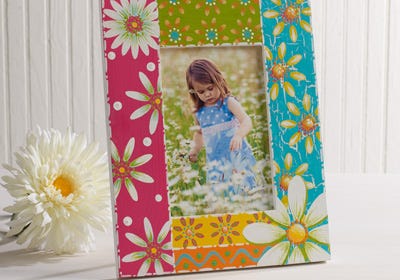
What could be more fun than to create and enjoy a “daisy-filled” photo frame? Using the Plaid Daisy stencil as a guide to paint daisies is only the beginning. Adding decorative dots and lines to shade and embellish just adds to the fun of this project!
Instructions
Stenciling Instructions
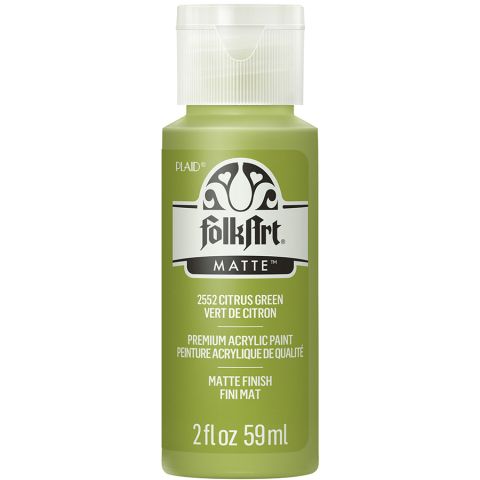
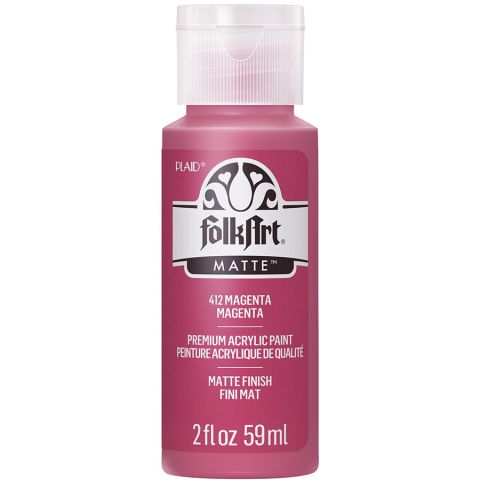
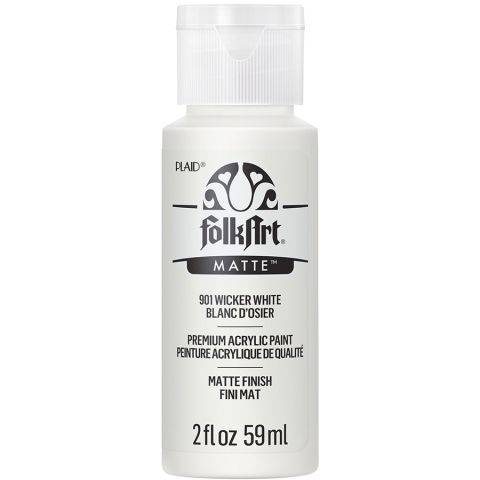
- Magenta Section: Stencil Wicker White daisies randomly. When dry, add a Medium Yellow dot in the center surrounded by Citrus Green tiny dots.
- Add Citrus Green line work on each petal stroking from the petal base towards the petal tip.
- Accent open Magenta areas with a large Wicker White polka dot.
- Citrus Green Section: Stencil daisies Medium Yellow. Allow to dry.
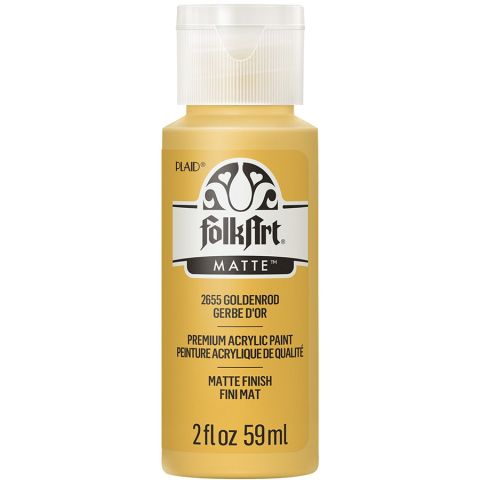
- Shade yellow petals with Goldenrod.
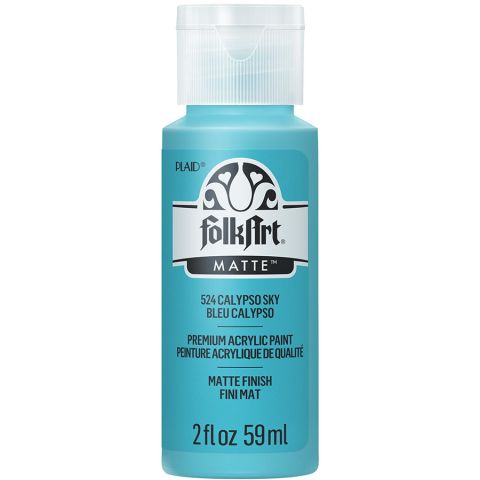
- Paint large dot centers of Calypso Sky and highlight with smaller Wicker White dots.
- Medium Yellow Section: Stencil Goldenrod daisy petals. All to dry.
- Paint a Citrus Green stroke over the orange petals. Add a large dot of Goldenrod in the center with accents of tiny Citrus Green dots.
- Goldenrod Section: Stencil wiggle line in Calypso Sky, stencil dots with Citrus Green.
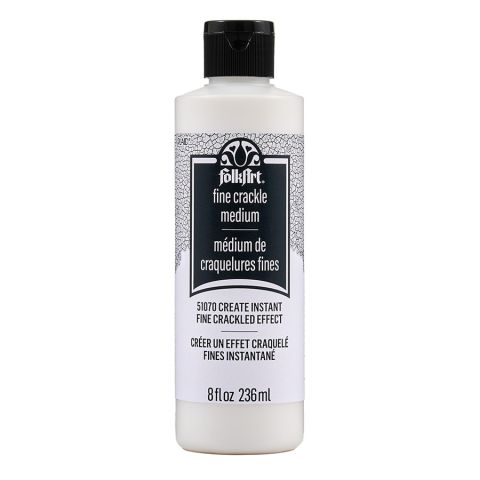
- Accent dots with Calypso Sky.Calypso Sky / Wicker White Crackle Section: Stencil Medium Yellow daisy petals and center.
- Highlight petal tips with Wicker White.
- Shade daisy centers with Goldenrod.
- Add dots of Wicker White and Magenta around daisy center
- Large Daisy: Stencil daisy petals Wicker White and center Medium Yellow.
- Shade petals with Citrus Green.
- Accent daisy center with a highlight of Wicker White and Goldenrod dots around center
Finishing Details:
- To bring all the sections together, paint a Wicker White “line- dot – line pattern” around each section and the outer edge of the frame.
- If desired, seal frame with a coat or two of FolkArt waterbase varnish or a spray acrylic sealer.


