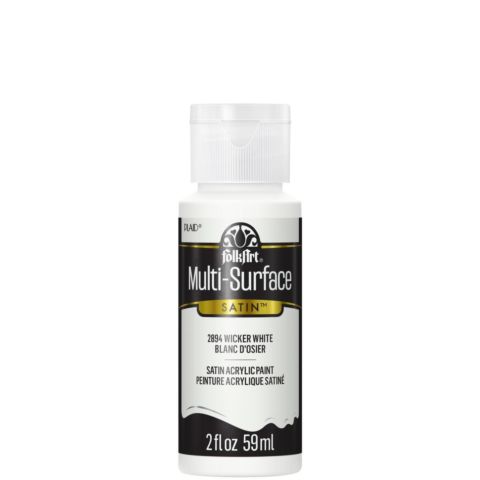
FolkArt ® Multi-Surface Satin Acrylic Paints - Wicker White, 2 oz. - 2894
FolkArt
2 oz
+ 73 colors
$1.99
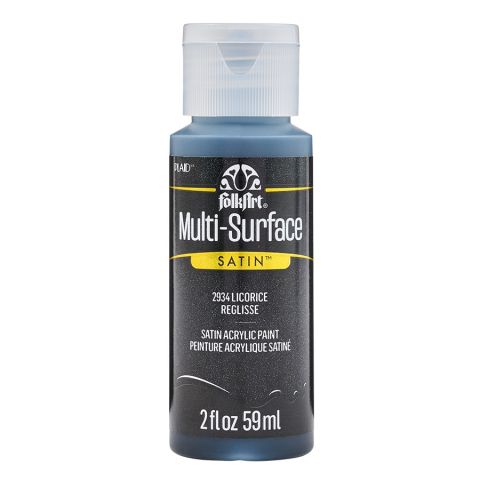
FolkArt ® Multi-Surface Satin Acrylic Paints - Licorice, 2 oz. - 2934
FolkArt
2 oz
+ 73 colors
$1.99
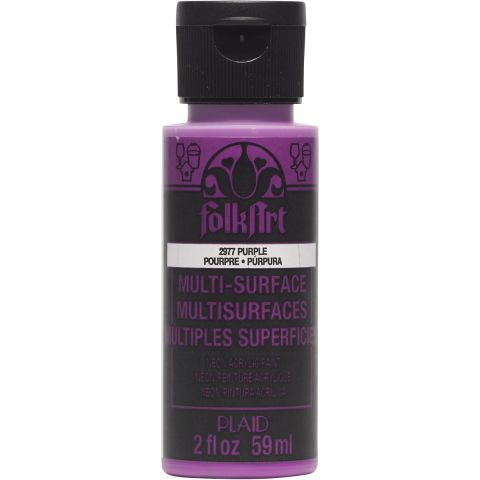
FolkArt ® Multi-Surface Neon Glow Acrylic Paints - Purple, 2 oz. - 2977
FolkArt
2 oz
Special Price $1.49 Regular Price $2.49

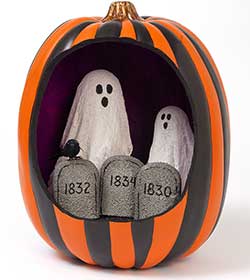
Instructions
Get everything you need to create this project from your local Michaels!
- Cut an oval opening from the front of the pumpkin using the craft knife.
- Basecoat the inside of the pumpkin with FL Glow Purple.
- Insert a dowel into the Styrofoam ball and stick into the scrap Styrofoam. Repeat for each ball. Cover the balls with plastic wrap to keep the cheese clothe from sticking.
- Cut four rectangles from the cheesecloth for each ghost. Place the rectangles into the sandwich bag and then add the Stiffy. Close the sandwich bag and squeeze until the clothe is completely saturated.
- Remove the cheesecloth and drape across the balls to form ghosts. Allow to dry completely.
- Cut out an 8” circle from the 1” Styrofoam.
- Paint the circle with Licorice. Allow to dry.
- Cut tombstones out of ½” thick Styrofoam. Mix Licorice and Wicker White to make gray. Basecoat the tombstones. Allow to dry. Add a little more Licorice to the gray to make a darker gray. Dry brush around the outside edges. Allow to dry. Using the liner brush write the 1830, 1832 and 1834 on the tombstones. Outline the edges.
- Remove the Styrofoam balls from the ghost. Paint the eyes and mouths with Licorice.
- Glue the 8” circle into the bottom of the pumpkin. Glue the ghost in place and then the tombstones.
- Paint Licorice stripes on the outside of pumpkin.
Project Tip: Insert toothpick into the bottom of the tombstones and then glue into the base (8” Circle).

