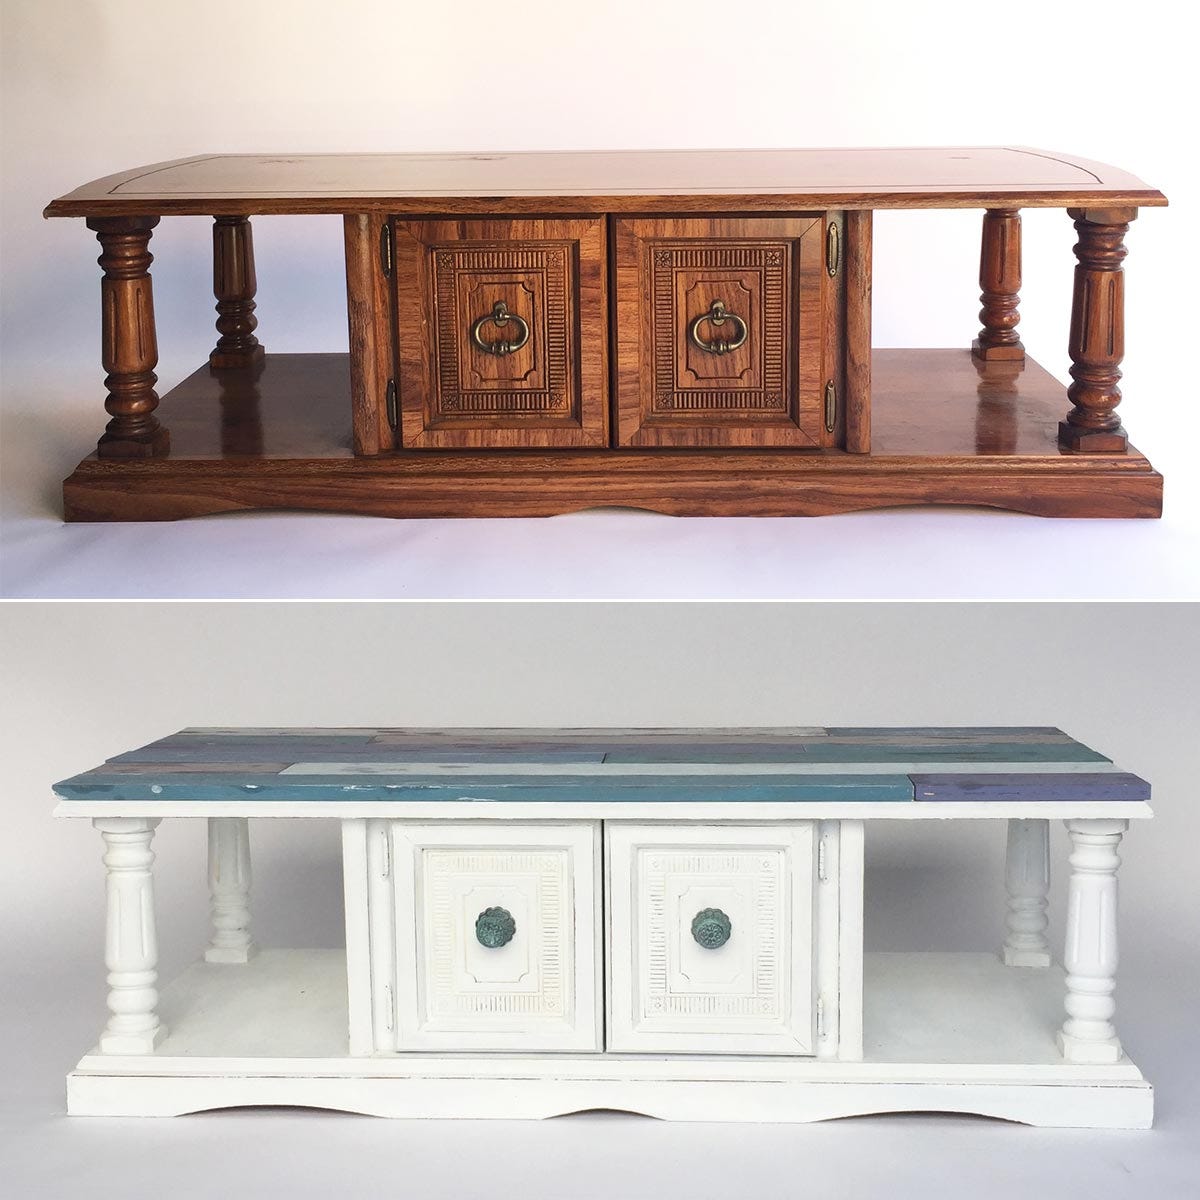
Revamp an old coffee table with FolkArt Milk Paint and distressing tools.
Instructions
- Clean and remove any handles from the coffee table. Use a damp paper-towel to wipe away any dust.
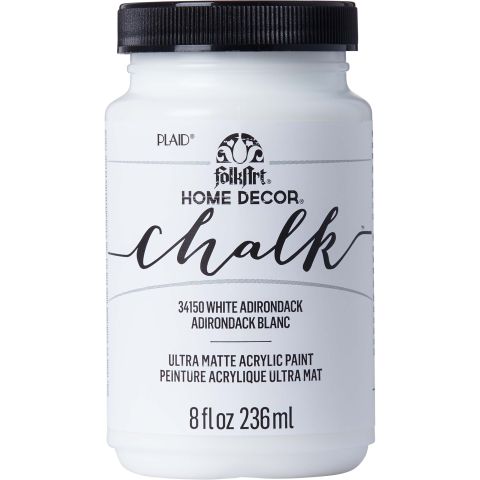
- Paint 3 coats of Chalk White Adirondack to the bottom of the coffee table. You don’t need to paint the top because it will be covered. Make sure you allow for proper dry time in between coats of paint. Darker colors of Chalk might only require two coats.
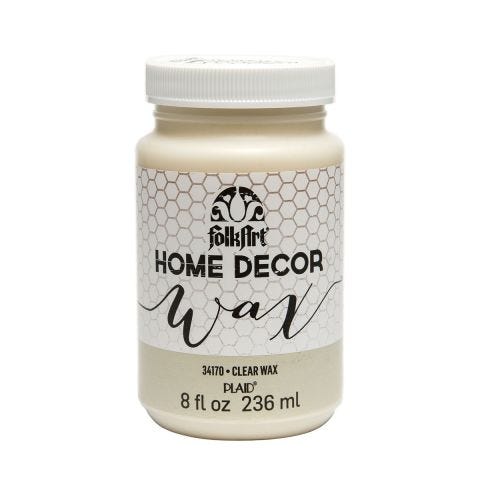
- Using the scrapers, scrap the edges of the coffee table to remove a small amount of paint and reveal the original coffee table color. Wipe clean to remove any paint shavings. Next, apply a coat of wax over the Chalk. This will seal the paint.
- Measure the top of the coffee table. Create a pattern for the top using 1”x4” wood boards. Cut the boards into random lengths. Organize a pattern of short, medium and long boards.
- Paint half of the boards with Covered Bridge and Milky White. Once dry, rub petroleum jelly along the edges of the boards and to random spots on the tops of the boards.
- Determine a design plan for painting the boards. We are using a series of 6 different colors of Milk Paint. We selected our colors to have a beach feel. Of course you could just use one color. Apply the different Milk Paint colors to the painted wood boards. You will paint directly over the petroleum jelly. Use 1 to 2 coats depending on the coverage. Allow to dry.
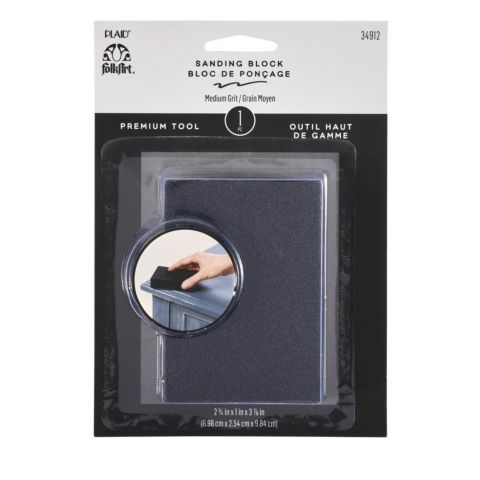
- Use the scrapers to scrap over the petroleum jelly areas. This will reveal the base color. Use the sanding sponge to add a little more distressing. Wipe clean to remove any paint shavings.
- Spray seal the top using Mod Podge Clear Acrylic Sealer in Matte.
- Replace any handles or hardware.


