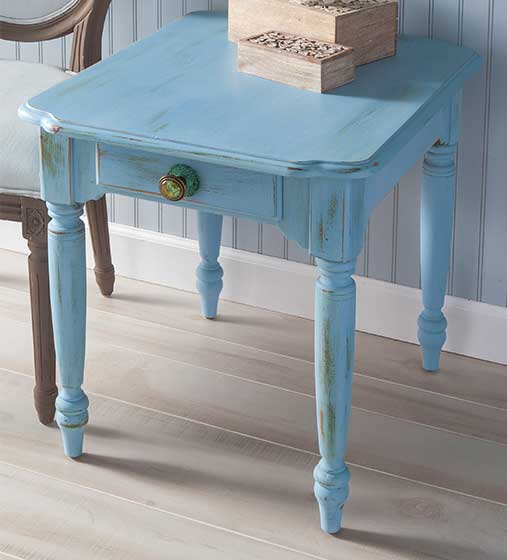
Turn a gently used thrift store end table into trendy, colorful and functional home decor!

Instructions
- Spread a painter’s drop cloth over the studio floor and then position your thrift store table over the drop cloth.
- Clean the table surface well using household glass cleaner and a paper towel or dry lint-free cloth.
- Remove drawer pulls and other hardware from the table.
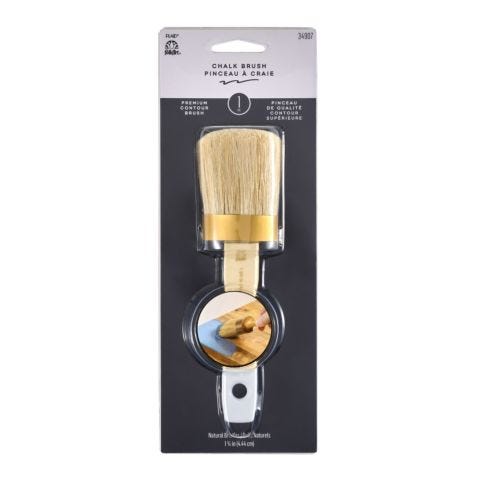
- Once opened, FolkArt Home Decor Chalk Paint should be stirred rather than shaken to fully incorporate the paint. Using a foam plate as a palette, pour a small amount of paint and load your brush by dipping into the puddle of paint and paint over the entire surface of the table and drawer.
- Paint the knobby or detail areas first. Paint these areas by moving the brush around the leg making sure the bristles reach every tiny groove. When painting with FolkArt Home Decor Chalk paint, you will notice that a small amount of paint goes a very long way and it is not necessary to reload your brush often. Also you can basecoat with smooth brush strokes or apply texture to your project without smoothing out brushstrokes.
- Paint the length of the legs next using long, vertical brushstrokes.
- Once one leg is complete, it is a good idea to paint the three remaining table legs. Smooth out your brushstrokes as you paint unless a textured surface is desired.
- Next, painted any routed edges on the table top.
- Paint the table top using long, smooth strokes.
- If desired, apply a second basecoat after allowing the first coat to dry for two hours. If you like to speed up drying time, a household hair dryer can be used.
- After painting, cleaned your paintbrush in warm, soapy water to remove the remaining paint from the brush. Rinse it well and allow the brush to dry.
- Once fully dried, repeat the painting process by applying Glacier over the base color.
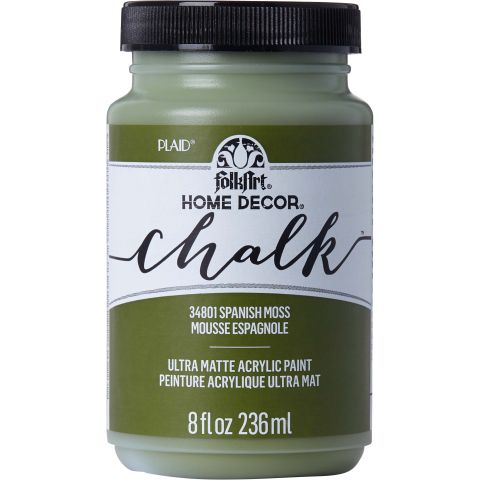
- Continud painting the entire table Glacier over the Spanish Moss basecoat ending with the table top. For best results, allow the topcoat to dry for two hours prior to distressing.
- Once the topcoat has thoroughly dried, use a piece of medium grit sandpaper to sand over the surface removing the topcoat in heavily worn areas exposing the basecoat which created a time worn look.
- As you distress a surface using sandpaper, the first thing you will notice is that the top application of paint will not “gum up” the sandpaper; instead it forms a soft, lightweight powder. Sanding to distress is usually created on the edges, over dimensional embellishments or carved areas as well as general spaces that may have worn down over the years such as chair arms, seats, or on drawer fronts near pulls or handles.
- Once the distressing is complete, a clean cotton rag or a tack cloth can be used to remove the sanding dust.
- Once happy with the desired sheen, attach the drawer-pulls and other hardware.
- Lastly, polish and buff the table top one more time.
