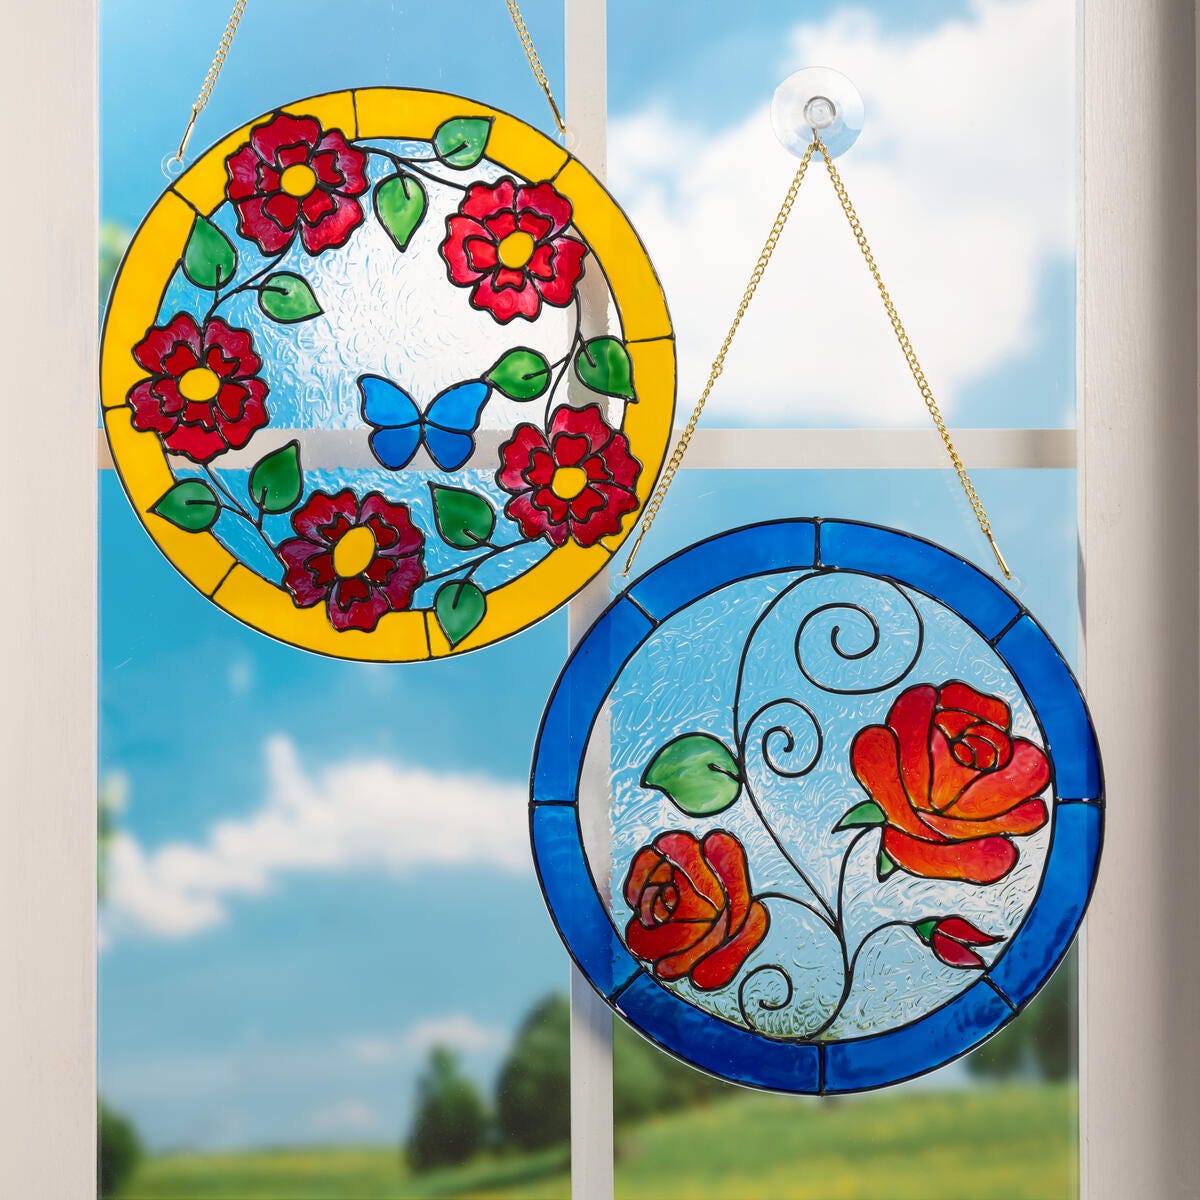
Dive into the world of DIY with our step-by-step guide to crafting two breathtaking red floral suncatchers using Gallery Glass. Perfect for beginners and experts alike, this project brings vibrant blooms to life, transforming your windows into a colorful masterpiece. Follow our easy instructions to create eye-catching designs that are sure to brighten any space.


Other supplies
- Paper towels
- Tape
Instructions
- Clean your surfaces with alcohol to ensure they’re free from dust and grease.
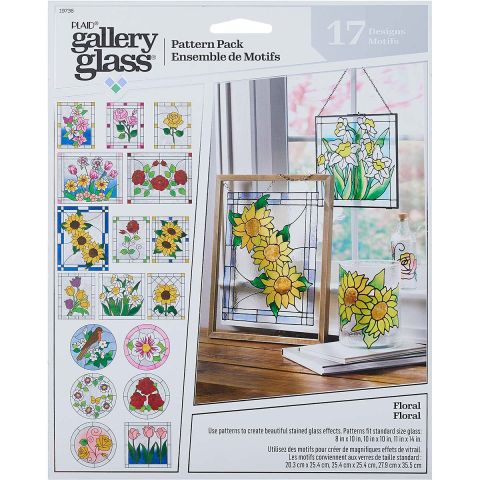
- From the Floral Pattern Pack, choose two designs that fit your large circle surfaces.
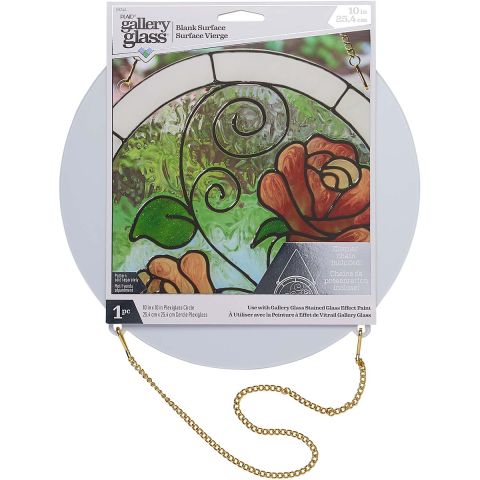
- Place the pattern under the plexiglass surface and secure it with tape.
- Using the Gallery Glass Liquid Leading, trace the outlines of your chosen floral patterns on the circles.
- Allow the leading to dry completely overnight before proceeding to the next step.
- Using the Gallery Glass Tool Set, fill in the petals of the flowers with Ruby Red paint.
- Add other colors from the set for leaves or additional details as desired.
- Use the pick from the Tool Set to pull the paint against the lead.
- Allow the paint to dry for at least 8 hours. For a fully cured finish, let it sit for 7 days.
- Once dry, your suncatchers are ready to be displayed. Hang them in a sunny window to let the vibrant colors shine through.
