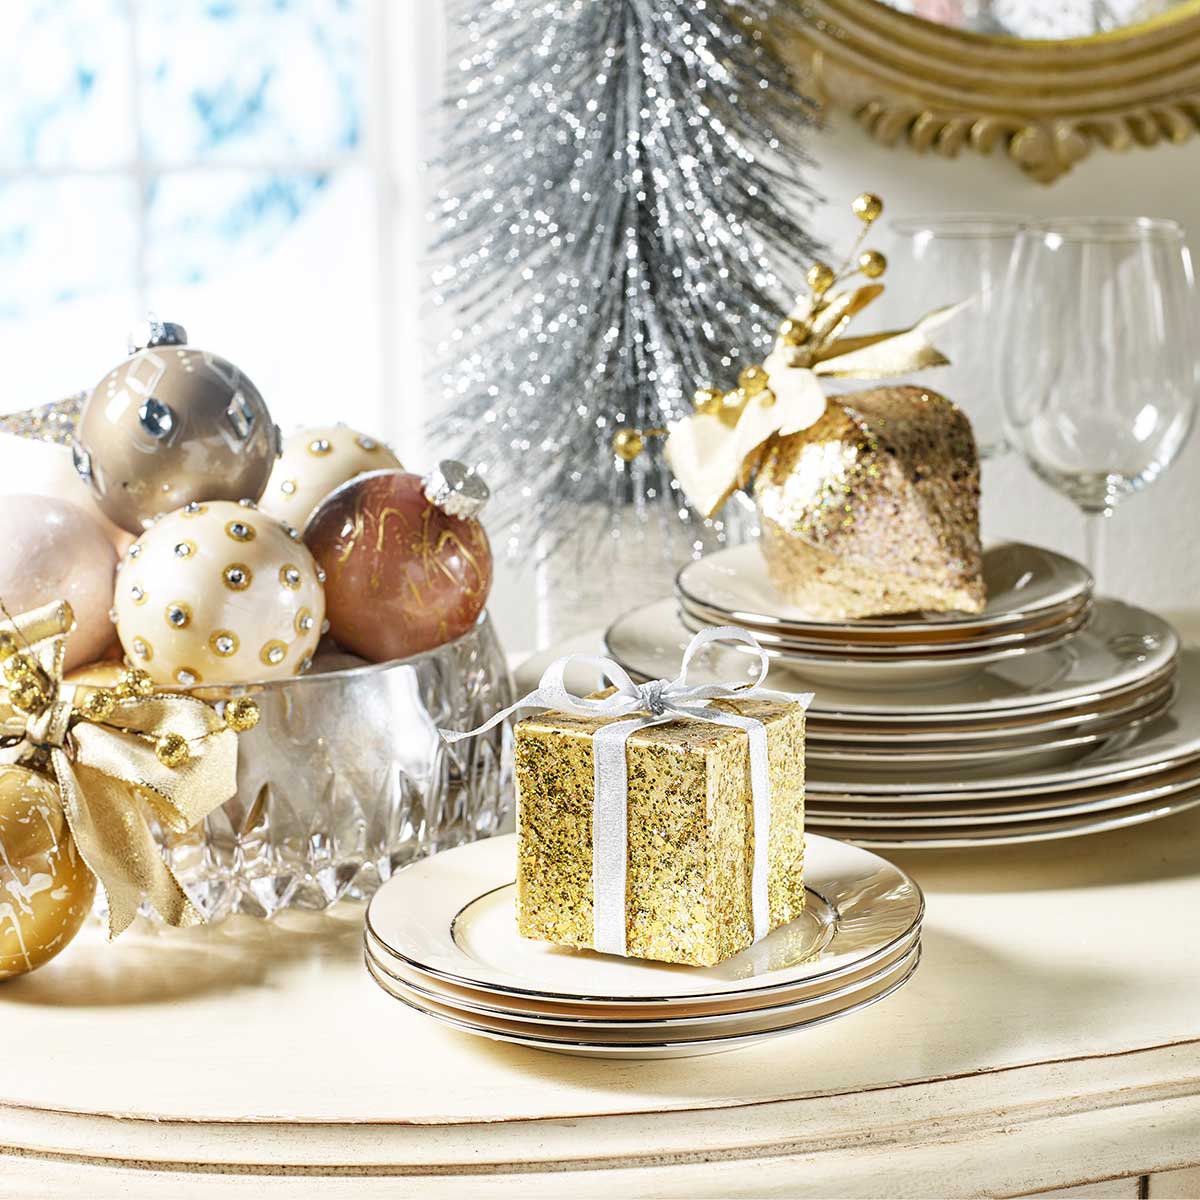
Add some sparkle to your Christmas tree with this set of beautiful holiday ornaments.

Instructions
Glitter Ornaments
- Using a flat brush, basecoat different shaped paper mâché ornaments in Bright Gold, Rose Gold, and Champagne.
- Plan which areas of the ornaments are going to be glittered, and paint those areas in a matching metallic color. This will allow you to achieve a more sparkly effect using less coats of Glitterific.
- Using a brush or palette knife, apply FolkArt Glitterific to the areas that you would like to be glittered. Match the Glitterific colors to the matching metallics to achieve extra sparkle and shine. Let dry.
Splattered Ornaments
- Remove the hooks from the glass or plastic ball ornaments and set aside.
- Clean the surface of the ball ornaments with isopropyl alcohol to remove any oils.
- Set a sheet of aluminum foil under a baker’s cooling rack. This will act as a drying rack for the ornaments.
- Fill the ornaments about a quarter of the way with various metallic paints—i.e., Champagne, Taupe, Rose Gold, Bright Gold. Swirl the ornaments around until the inside of the ball is evenly coated with paint. Pour excess paint back into its bottle.
- Set the ornaments up side down on the bakers rack and allow any additional excess paint to drain from the ornaments. This will ensure that the inside of the ornaments are able to dry completely.
- Pour some metallic paint into a small disposable cup. Choose a color that you are planning to splatter onto an ornament.
- When the ornaments are dry, place one on the end of a paint brush (this should be the ornament that you have chosen to be splattered with the color in the cup). Hold the paint brush with one hand. With your other hand, dip your thumb, index, and middle finger into the cup of paint. Using your fingers, flick the paint onto the ornaments. Continue this until you are pleased with the splatter effect you have achieved. Continue this for all of the ornaments you wish to splatter, changing colors to coordinate with different colored ornaments and cleaning your hands between colors. Pour excess paint back into their original bottles.
- Allow the splattered paint to dry, then place the hooks back onto the ornaments.
Jeweled Ornaments
- Remove the hooks from the glass or plastic ball ornaments and set aside.
- Clean the surface of the ball ornaments with isopropyl alcohol to remove any oils.
- Set a sheet of aluminum foil under a baker’s cooling rack. This will act as a drying rack for the ornaments.
- Fill the ornaments about a quarter of the way with various metallic paints—i.e., Champagne, Taupe, Rose Gold, Bright Gold. Swirl the ornaments around until the inside of the ball is evenly coated with paint. Pour excess paint back into its bottle.
- Set the ornaments upside down on the bakers rack and allow any additional excess paint to drain from the ornaments. This will ensure that the inside of the ornaments are able to dry completely.
- With a small Lettering and Detail brush, paint designs and patterns onto the ornaments using a coordinating metallic color. Let dry.
- Place the hooks back onto the ornaments.
- Using Sobo glue, adhere jewels of various shapes and sizes to the hand painted areas to add extra sparkle. Let dry.


