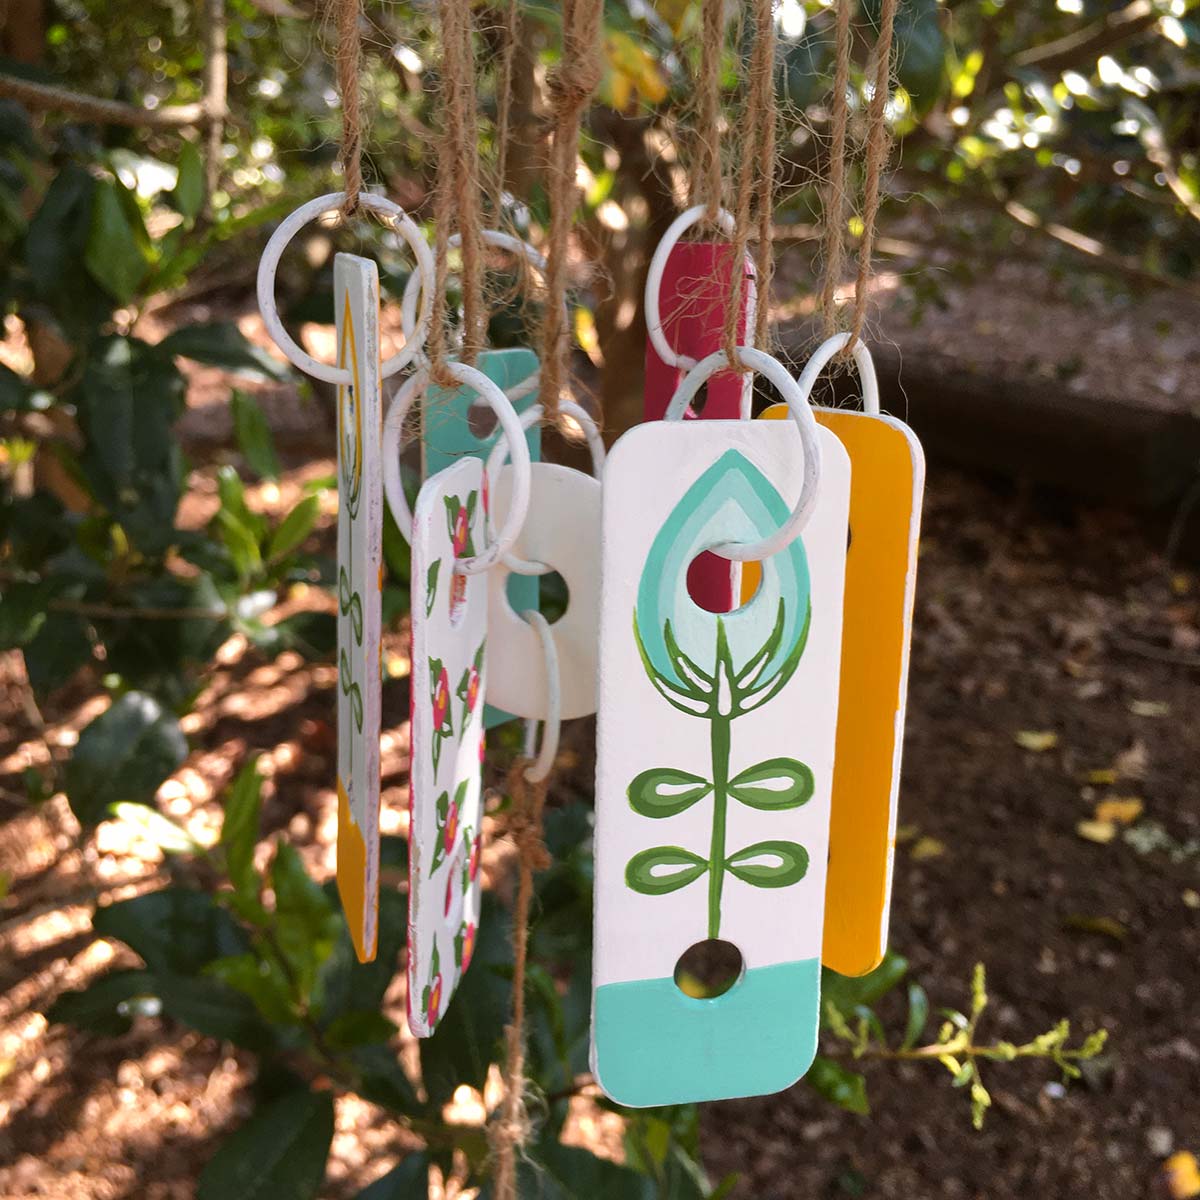
Turn a toy xylophone into the perfect Mother's Day gift! Make beautiful and colorful wind chimes that mom can enjoy each time she steps outside. This is one Mother's Day gift she will never forget!


Instructions
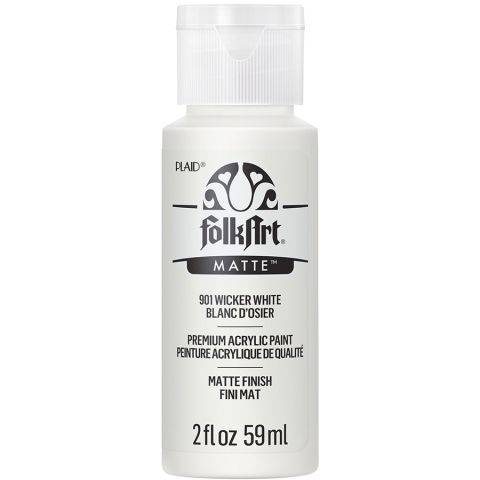
- Basecoat circles, washer and keys Wicker White.
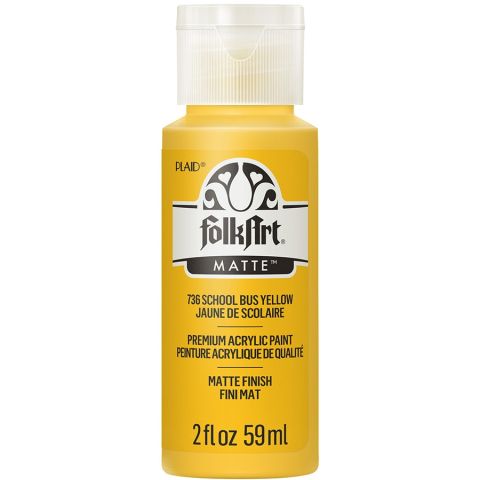
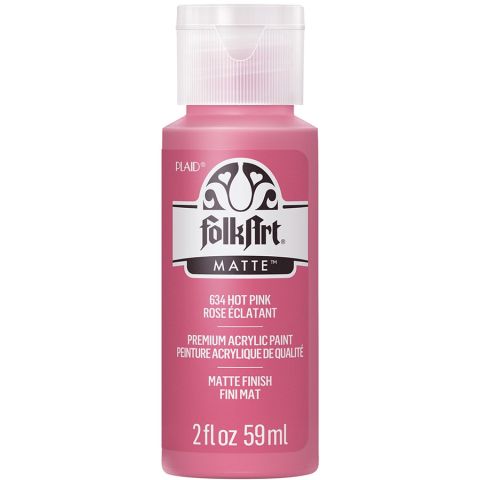
- Paint three keys, one with a Hot Pink teardrop, the second with a School Bus Yellow teardrop and the third with a Patina teardrop.
- Mix a little Wicker White with each color and paint a smaller teardrop inside.
- Mix a little more Wicker White with each previously mixed color and paint another teardrop inside of the second teardrop.
- Using the liner brush paint Grass Green the stem of the flowers.
- Paint comma strokes in Grass Green using the liner brush to make sepals.
- Paint Grass Green teardrop leaves.
- Mix a small amount of Wicker White with Grass Green and paint a smaller teardrop inside larger teardrop.
- Add a Wicker White comma stroke in the center of the leaves.
- Add Wicker White comma strokes to the sepals.
- On the other three keys paint School Bus Yellow, Hot pink and Patina circles. Paint Grass Green leaves and dots for the center of each flower.
- Highlight leaves and flower with Wicker White.
- Paint the backs of each key with coordinating colors.
- Using the patterns transfer MOM and flowers onto the 2” circle.
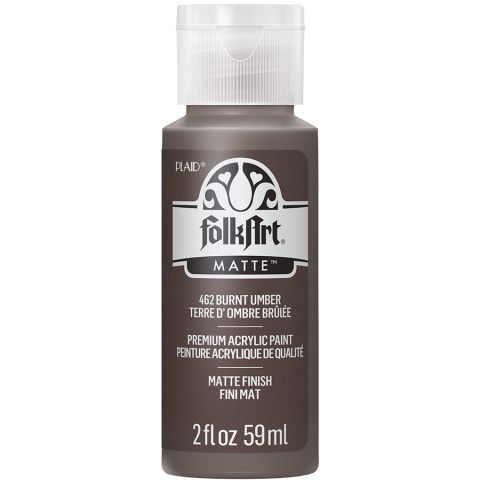
- Using the liner brush paint MOM in Burnt Umber.
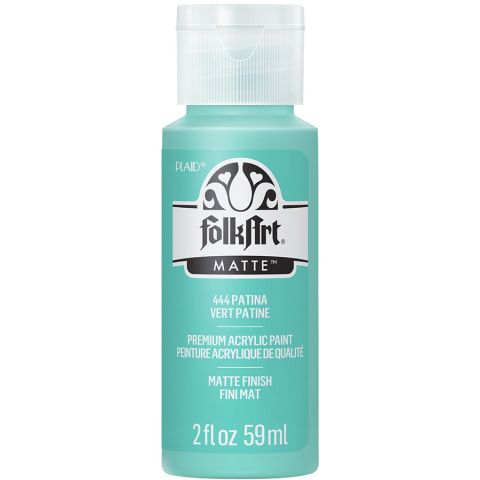
- Paint the flower stems Grass Green and the flower buds Hot Pink, Patina and School Bus Yellow. Add the leaves to stem and highlight leaves and flowers.
- On the large circle drill a hole in the center of circle and six equally spaced sets of holes around the edge of circle.
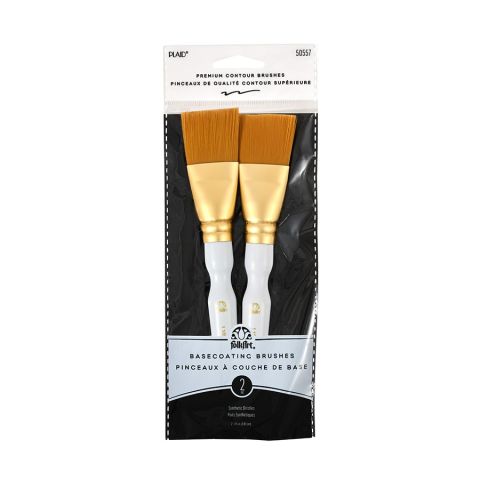
- Wrap wire around the basecoating brush to make rings for the chimes.
- Remove spring shaped wire from handle and cut through the circles to make individual rings. Make a total of eight rings.
- Paint rings Wicker White. Once dry insert rings through the holes on the chimes and add two to the washer.
- Start feeding the twine through the holes close to the edge from the bottom of the large circle and out the top and back down again. Feed one of the chimes and then repeat the same process until you have all chimes on circle. Pull on twine to make all chimes hang evenly. Cut twine and then tie both ends together into a knot.
- Cut a 28” piece of twine. Fold twine about 9” and tie a knot. Pull the loop through the hole until it stops at the knot. Tie another knot at the base of the loop on top of the large circle. The rest of the twine should still be attached on the bottom side of circle.
- Underneath the large circle where the center string is located make a small loop and tie a knot. This loop should hang right in the middle of where the chimes are located when hanging. Insert looped twine onto one of the ring on the washer.
- Cut 15” piece of twine and make a loop on one end. Insert loop into second ring.
- Drill a whole into the smaller circle and feed twine through the hole and the tie knot a knot.
7.0.1