We are excited to announce that Arteza has joined Plaid Enterprises, expanding our portfolio of trusted creative brands alongside Bucilla, Delta, Apple Barrel, and more.
We are excited to announce that Arteza has joined Plaid Enterprises, expanding our portfolio of trusted creative brands alongside Bucilla, Delta, Apple Barrel, and more.
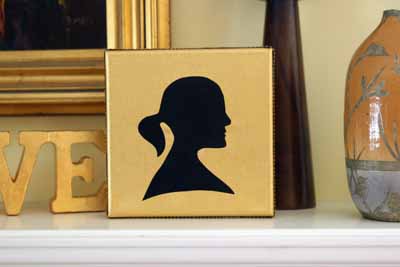
Take a profile photo of your subject. Using a computer, adjust the size to fit the size of your canvas. Print the photo.
Using detail scissors, cut the subject from the printed image. Cut a curve into the upper chest area. Place the cut image, on the backside of the black paper, trace with a pencil and cut out.
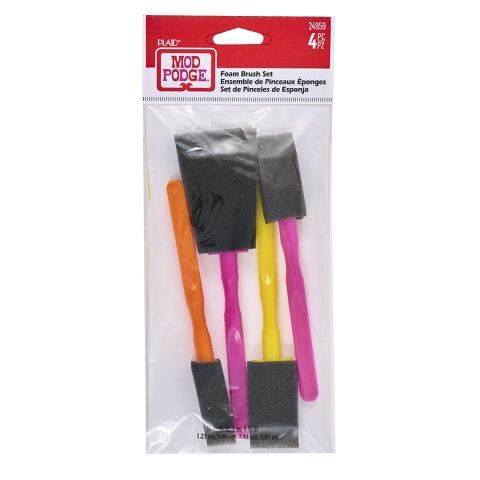
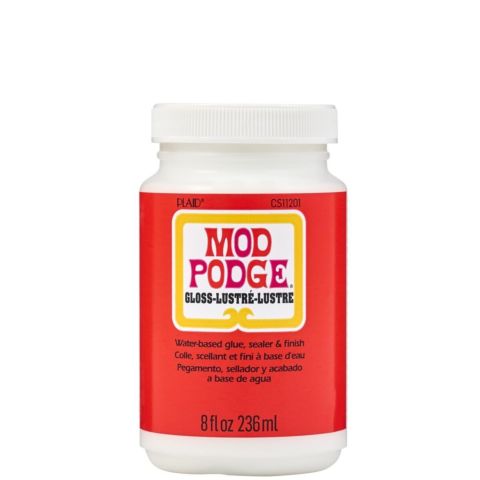
Apply Mod Podge to the back of the black paper cut out. Place in the center of the canvas. Smooth with your fingers to remove any air bubbles. Wait about 15 minutes.
Top-coat with a layer of Mod Podge. Cover the black paper and the entire canvas. Allow to dry about 1 hour.
Using a Mod Melter, attach decorative trim around the outer edge of the canvas.
PROJECT TIP: Add 3 dimensional embellishments like gems or flowers to add some pop to your design.