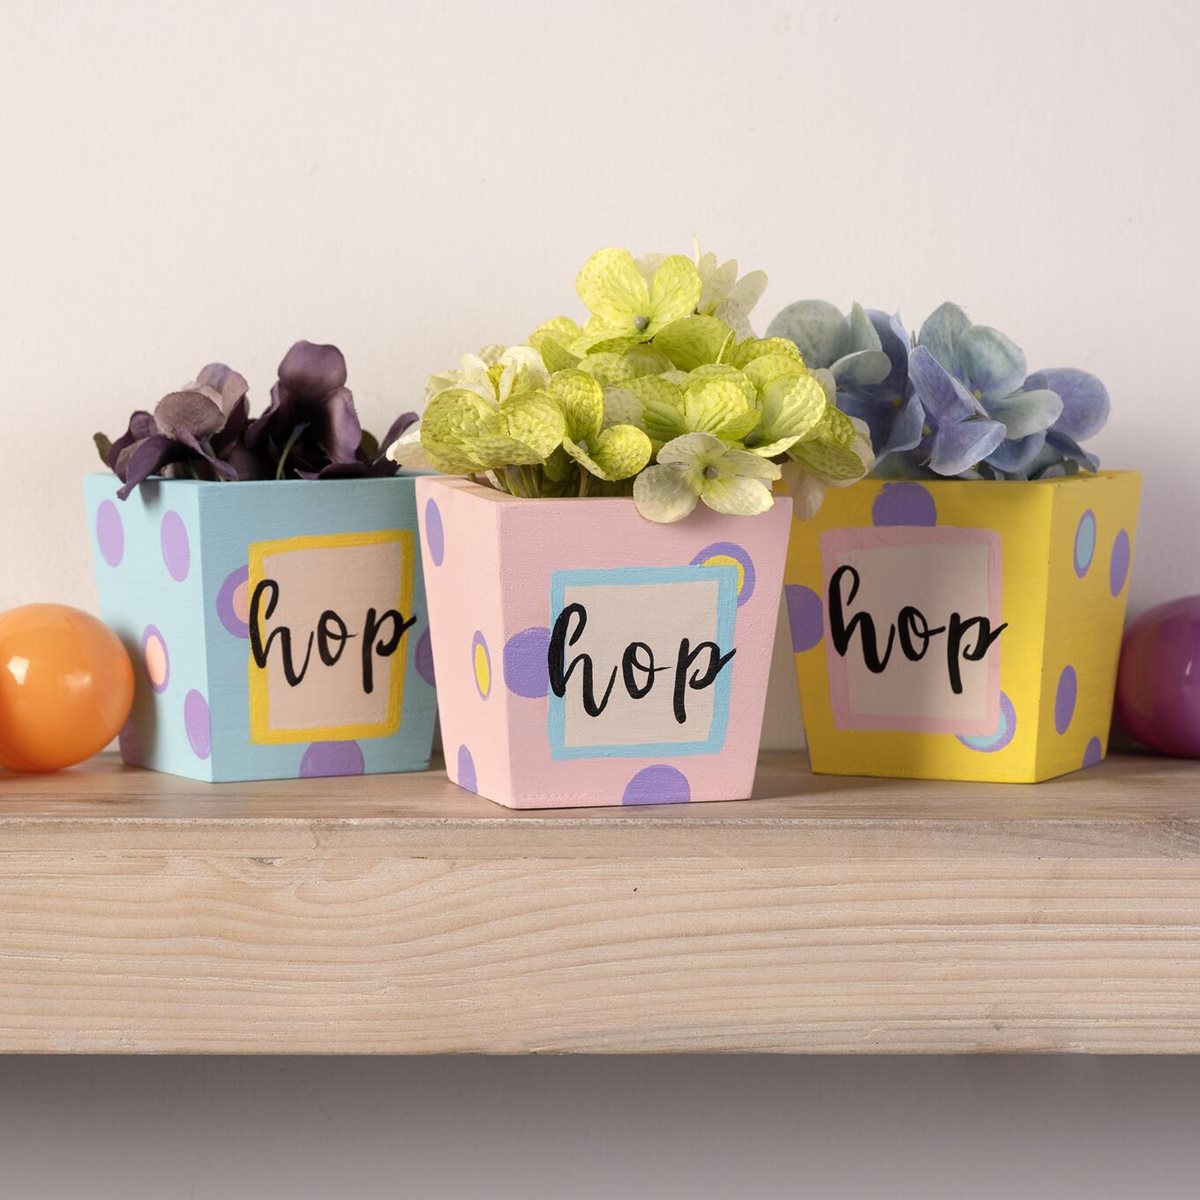
A quick DIY for a cute Easter centerpiece!
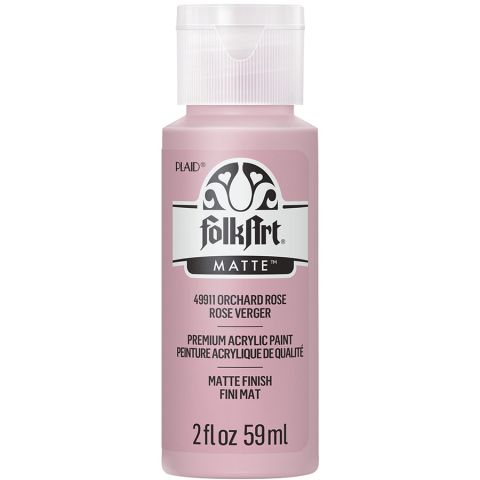


Apple Barrel ® Colors - Petunia Purple, 2 oz. - 20226
Apple Barrel
2 oz
+ 115 colors
Special Price $0.59 Regular Price $0.99

Instructions
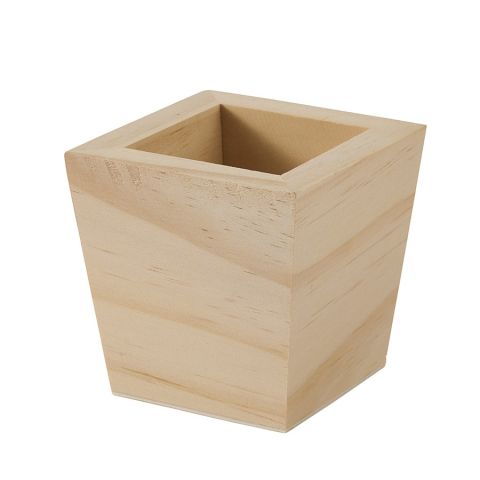
- Optional: Lightly sand your wood surfaces.
- Using your largest brush, base coat each pot with a different color (Pink, Blue, Yellow). Allow to dry and add an additional coat. Don’t forget the top and inside.
- Once your base coat is fully dry, use tape to create a square on the front of each pot.
- Using your spouncers as stamps, create polka dots in purple on all sides of your pots. Allow to dry. Feel free to go over the taped off area (see project photo for reference).
- Choose one polka dot per side to fill with a smaller polka dot in a different color. Allow to dry.
- Remove your tape and fill in that phantom square with white paint. Allow to dry and add a second coat.
- Using a different color from your base color and polka dot colors, create a frame around your white square. Allow to dry.
- Using a black paint marker or brush, write the word “hop” on each pot. See project photo for reference.
- Fill your pots with greenery or florals and enjoy!
