
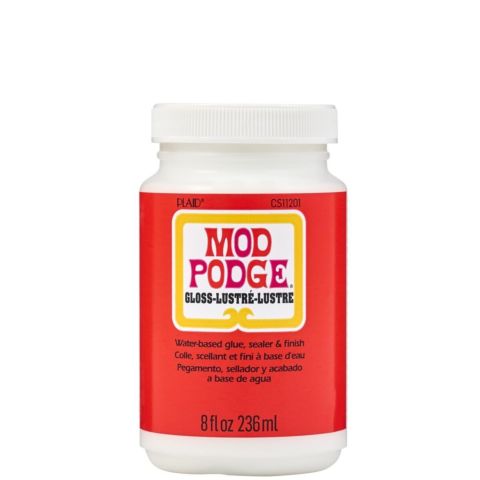
Use Mod Podge photo transfer to create a special gift for Mom this Mother's Day.

FolkArt Home Decor Chalk - Glacier, 8 oz. - 34162
FolkArt
8 oz
+ 55 colors
Special Price $6.99 Regular Price $9.99
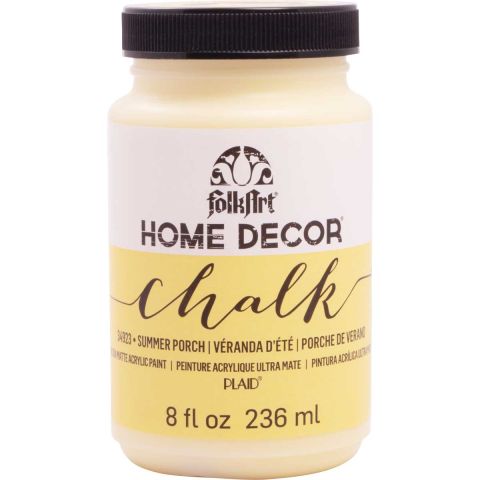
FolkArt Home Decor Chalk - Summer Porch, 8 oz. - 34923
FolkArt
8 oz
+ 55 colors
Special Price $6.99 Regular Price $9.99
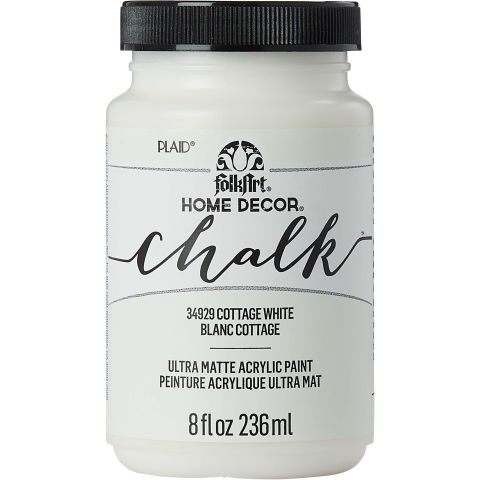
FolkArt Home Decor Chalk - Cottage White, 8 oz. - 34929
FolkArt
8 oz
+ 55 colors
Special Price $6.99 Regular Price $9.99
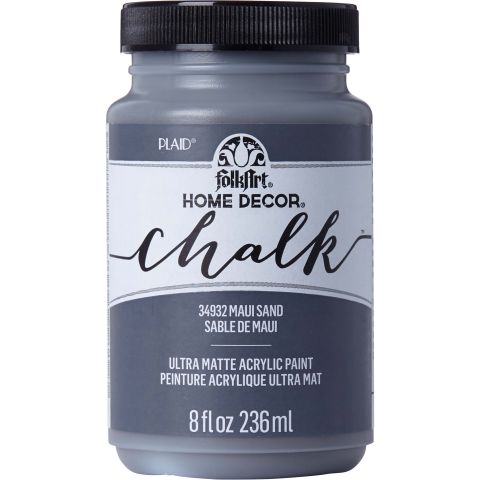
FolkArt Home Decor Chalk - Maui Sand, 8 oz. - 34932
FolkArt
8 oz
+ 55 colors
Special Price $6.99 Regular Price $9.99


Instructions
- Basecoat all six sides of each block with Maui Sand. Allow to dry for two hours.
- Brush over the Maui Sand with a different color top coat for each block: Cottage White, Summer Porch and Glacier. Allow to dry for two hours. FolkArt Home Decor Chalk will dry to an ultra-matte finish.
- Using medium grit sandpaper, sand edges to distress and review Maui Sand basecoat. Lightly sand over surface of each side of block creating a smooth finish.
- Scan and size photos to fit surface of block. Print or copy photos using a dry toner printer or copier.
- TIP: If transferring a photo that contains text, be sure to print using the mirror image or reverse image button. Photos can be printed in color, grayscale, or even sepia tone for a variety of looks. Trim image to desired size.
- Position a sheet of waxed paper over work surface. Lay trimmed image face up over sheet of waxed paper.
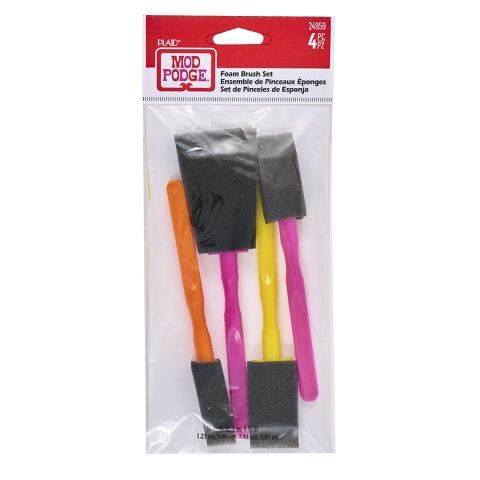
- Using 1” foam applicator, brush over face of image with a medium application of Mod Podge Photo Transfer Medium. The medium will be opaque and image will no longer be seen.
- Carefully lift image off waxed paper, making contact only slightly with the image edge. Flip the coated image over and position over the block surface where desired keeping the wet medium to the block surface. Lightly press from the center out to release any captured air pockets. Wipe away any excess medium that may have been squeezed out from the image. Allow to dry overnight.
- Wet cellulose sponge with water, squeeze excess water from sponge then dampen the exposed backside of the image transfer. Immediately as the paper is wet, an image will appear. Allow the wet image to rest a couple moments to soften the paper.
- Using your damp sponge or a fingertip, begin to lightly rub over the damp paper to peel away layers. Be careful not to be rough with the wet paper as it may be fragile. After removing several layers of paper, stop and allow transferred image to dry. Once dry, white areas will appear where paper remains. Repeat steps to moisten and lightly rub the surface to remove the remaining paper layers. Allow to dry.
- If desired, brush a coat of Mod Podge Matte or Mod Podge Gloss over the project surface to seal and protect.

