Instructions
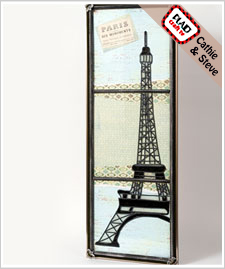
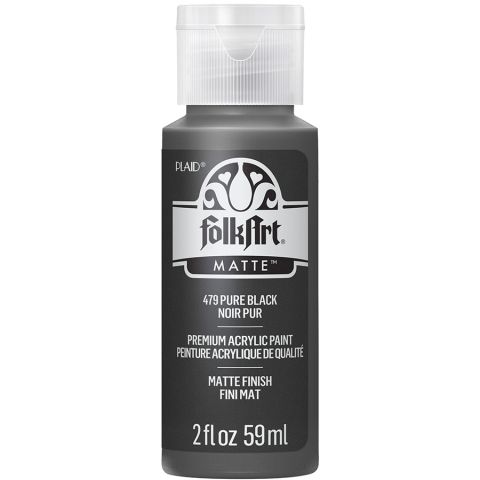
1. Remove the glass and backing from the frame. Working on the surface and not the edge of the frame, measure around the frame. Cut the wood molding into four pieces to fit the top of the frame. Paint the molding with Pure Black. Once dry, use a paintbrush to apply Liquid Leaf Silver over the painted molding. Use heavy duty glue to attach to the top of the frame. Hot glue velvet ribbon around the frame. Paint the wood Fleur-de-Lis in the same fashion, glue velvet ribbon around the centers and glue to the corners of the frame.
2. Make the cross bars by measuring across the glass. Cut two pieces of molding to this measurement. Paint and silver highlight as described in step one. Evenly space the cross bars across the frame and attach with glass glue.
3. Blow up a line drawing of the Eiffel Tower on a copier to fit the size of your frame (piece the image together if needed). Tape the design under the glass. Clean the glass with rubbing alcohol or spray cleaner.
4. Following the lines on the pattern, position Gallery Glass Redi-Lead Strips over the pattern lines. Overlap the lead lines where needed. Use a craft knife to trim the ends. For curves, gently guide the Lead Lines around the curves.
5. Using Gallery Glass Black Onyx, fill in large areas of the design. Work form edge to edge and use a pin to pop any air bubbles. Allow to dry.
6. Fill in selected areas with the Window Etch. This will create a frosted look. Allow to dry.
7. Using tape or a glue stick, collage scrapbook papers to the frame backing. Position the glass and backing into the frame and hang on the wall.


