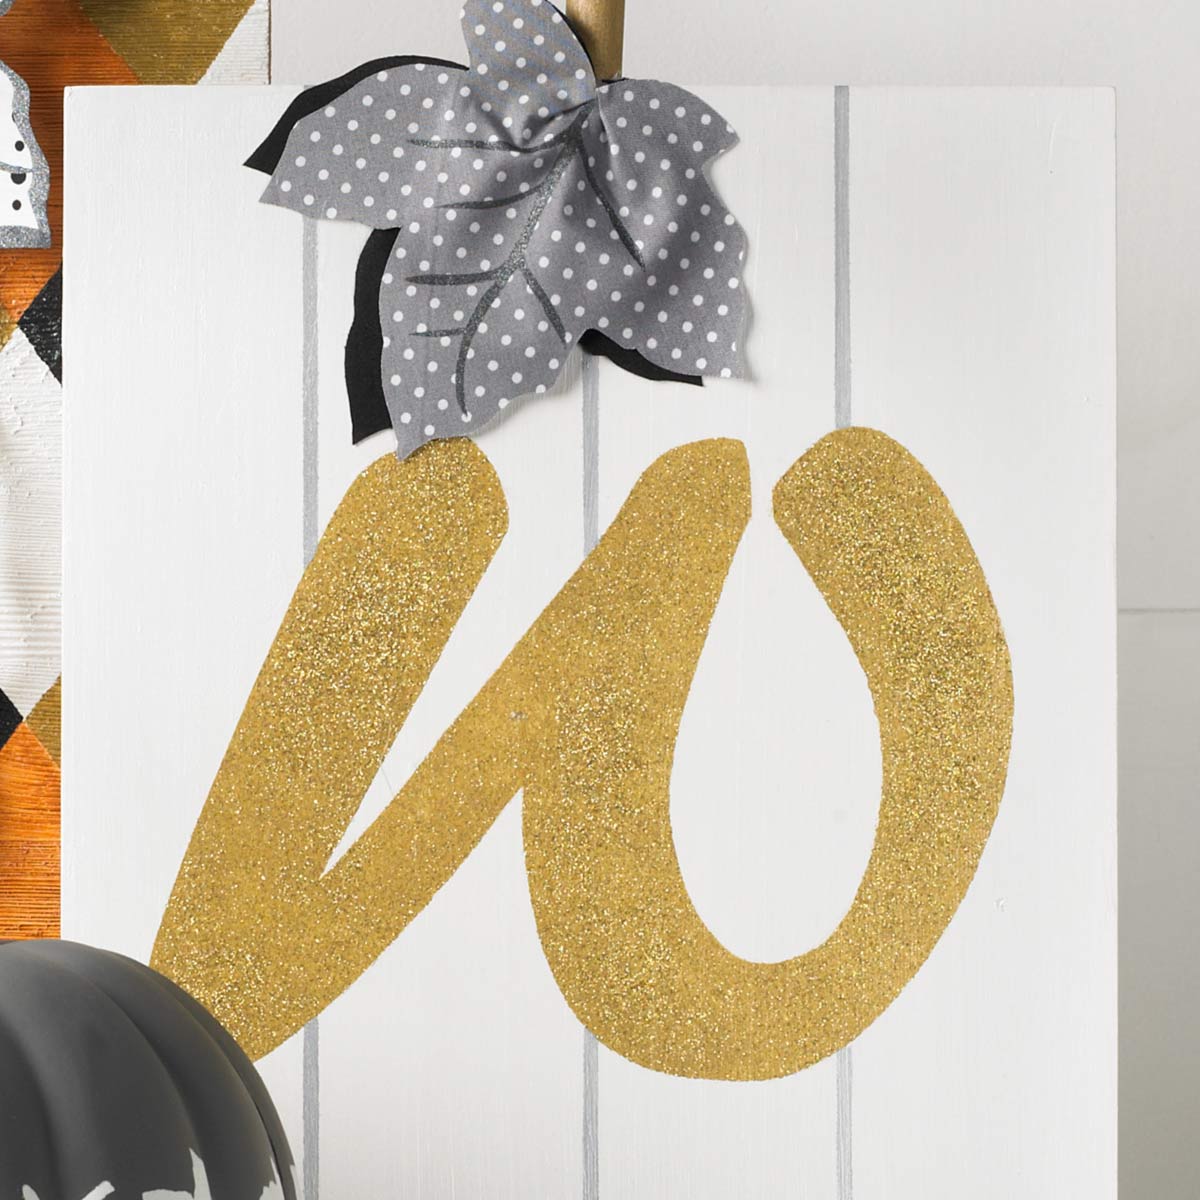
Give your space an elegant fall touch with this monogrammed plaque DIY. You'll love this personalized piece of art displayed among your harvest decor this season.
Instructions
- Using your computer, choose a letter font for the initial of your choice. Print out initial and enlarge to fit the plaque as desired.
- Place the enlarged initial printout on the glass and place the stencil blank on top of the initial. Cut out initial with the craft knife.
- Draw a stripe on the tracing paper that is 1/8” wide and approximately 7” long and repeat step 2 to cut out.
- Basecoat entire plaque with Metallic White Opal. Let paint dry. Apply a second coat if necessary. Measure and mark 3 evenly spaced lines that run top to bottom. Stencil in stripes on the lines using Metallic Silver. Let paint dry.
- Center your cut-out initial and stencil with Metallic Golden. Do not remove stencil just yet. Let paint dry.
- Stencil with Glitter Gold over the Metallic Golden. Remove stencil and let paint dry.
- Paint dowel rod with Metallic Golden, let paint dry and hot glue to center top of plaque.
- Using pattern provided, print out large leaf.
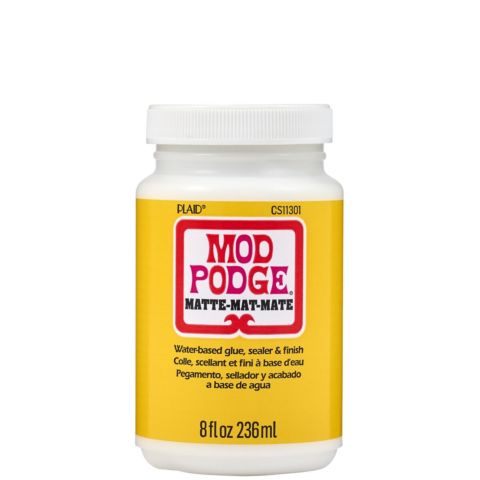
- Apply Mod Podge Matte to wrong side of fabrics (cut piece of fabric just slightly bigger than large leaf). Let Mod Podge dry and cut out leaves – 1 Solid Onyx and 1 Medium Dot Steel.
- Paint in leaf veins on the Medium Dot Steel leaf, if desired.
- Layer Medium Dot Steel leaf on top of Solid Onyx leaf and glue to pumpkin as shown.


