Instructions
Cat’s Hat:
- Trace round pattern and cut a 3 1/2" piece of black foam to create brim of cat’s hat.
- Using white craft glue, attach length of beaded pearls to outer edge of the circular brim. Allow to dry.
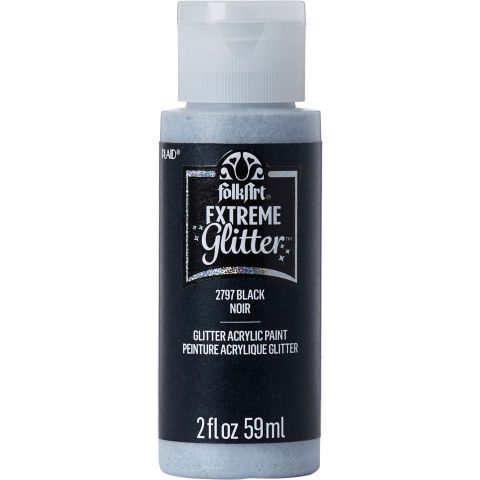
- When dry, paint two to three coats of Black Extreme Glitter to the top of the hat brim.
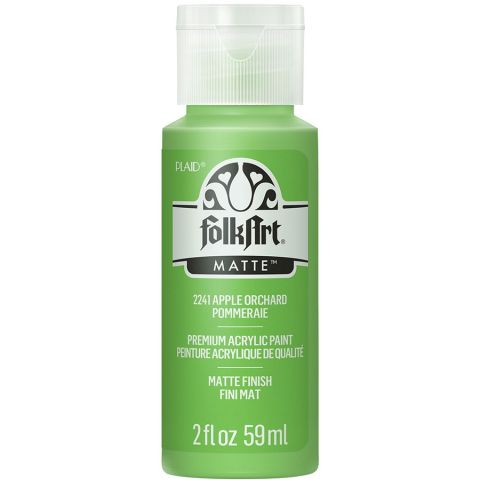
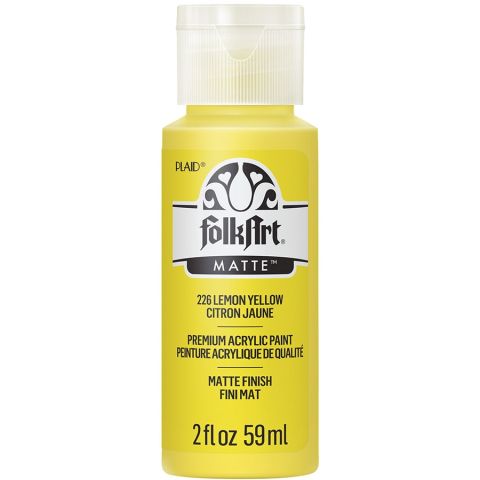
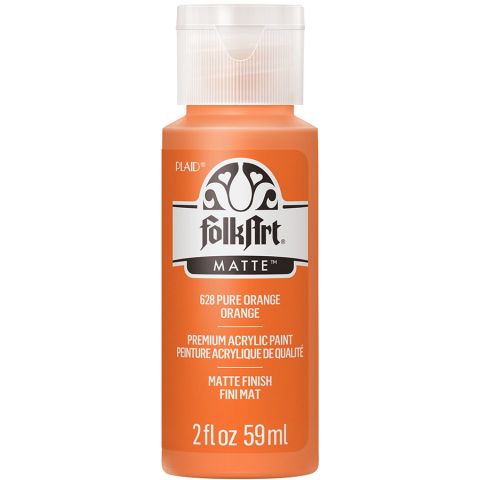
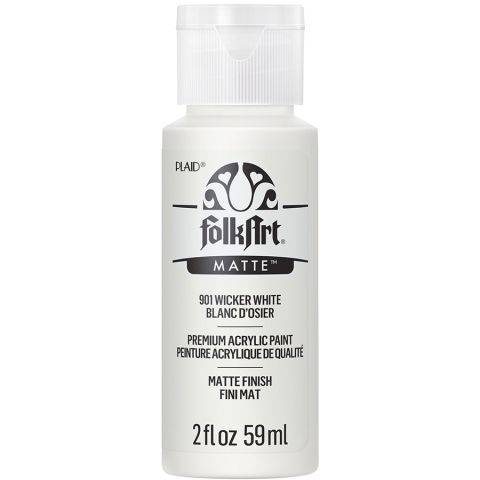
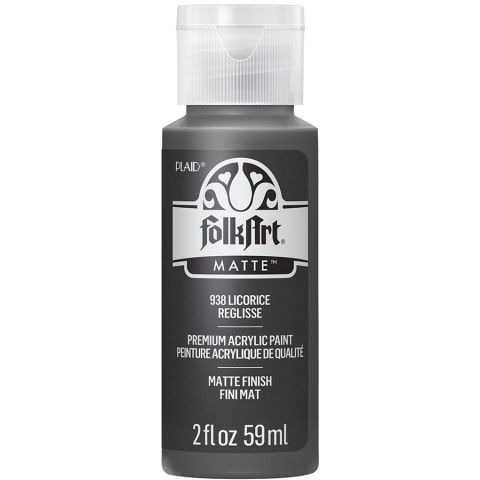
- Paint the pointed end of the ornament Licorice, and paint the band on the hat Pure Orange opaquely using the No. 12 Flat Brush. 5. Paint two to three coats of Black Extreme Glitter on the pointed cap of the witch’s hat. Allow to dry. 6. Paint two to three coats of Orange Extreme Glitter on the orange band. Allow to dry. 7. Add Licorice polka dots using the handle end of your paintbrush. Cat’s Head: 1. Paint the ball shape head Licorice using the No. 12 Flat Brush. Allow to dry and paint again. 2. Paint two Apple Orchard ovals as eyes and allow to dry. 3. Side load the edge only of the No. 12 Flat Brush with Yellow Lemon. Blend and paint a wash of yellow over the bottom half of each eye, moving from left to right. 4. Load the No. 2 Script Liner Brush with thinned Licorice and paint a vertical line pupil in the center of each eye. Paint two tiny Wicker White dots as highlights in each eye. Place one highlight at one o’clock and the second one at seven o’clock. 5. Load the No. 2 Script Liner Brush with thinned Wicker White and paint a couple eyelashes. 6. Side load the No. 12 Flat Brush with Wicker White; paint the vertical line of the bridge of the nose, shade the area just under the nose creating the mouth. 7. Paint a triangle shaped Pure Orange nose using the No. 12 Flat Brush. Highlight the top part of the nose with Wicker White. 8. Using the No. 2 Script Liner Brush, thin Wicker White and outline the bridge of the nose. Paint a couple whisker dots at the mouth and paint flowing whiskers from the dots painting out towards the checks as well as a few hairs under the mouth. Cat’s Painted Clothing: 1. Ring No. 1 – Load the No. 12 Flat Brush with AP Pure Orange and paint the ring opaque. Allow to dry. 2. Using the same brush, paint two to three coats of Orange Extreme Glitter paint. 3. Ring No. 2 – Load the No. 12 Flat Brush with Apple Orchard and paint the ring opaque. Allow to dry. 4. Load the No. 2 Script Liner Brush with Wicker White and paint vertical stripes around the second ring. Allow to dry. 5. Using same brush loaded with thinned Licorice; paint a black stripe on either side of the Wicker White stripe. 6. Ring No. 3 – Load the No. 12 Flat Brush with Pure Orange and paint the ring opaque. 7. Using the same brush, paint two to three coats of Orange Extreme Glitter paint. Allow to dry. 8. Load the handle end of the No. 2 Script Liner Brush with Licorice; paint single black polka dots around the third ring. 9. Load the No. 2 Script Liner Brush with thinned Licorice and paint horizontal stripes between the rings. 10. Bottom Section of Body – Paint the largest portion of the ornament Licorice. Allow to dry and reapply. 11. When dry, load the No. 12 Flat Brush with Wicker White. Blend on the palette and paint the vertical placement of the front legs. Also paint the curve of the back leg hump and the half circle feet. 12. Load the No. 2 Script Liner Brush with thinned Wicker White and paint random length stripes to represent the striped fur. 13. Paint a Pure Orange heart using the No. 12 Flat Brush and highlight with Wicker White. Cat’s Necklace/Collar: 1. Paint three mini wood heart cutouts to create name tag. Paint two hearts Apple Orchard and one Pure Orange. Allow to dry. 2. Using a hammer and sharp nail or a small drill, create holes in the hearts so that they may be linked together. 3. Load the No. 2 Script Liner Brush with thinned Licorice and paint the cat’s name, “EVE” and allow drying. 4. Open two jump rings and attach the three wood cutouts together. 5. Apply craft glue to one end of the carpet thread and allow to dry. This will stiffen the end and enable you to thread the beads to easily create the necklace/collar. 6. Sting beads in pattern of choice or randomly. My pattern was three silver beads, two black faceted beads, three silver beads until the length was long enough to tie around the cat’s body. Tie securely in place and knot the thread ends. Add a drop of craft glue to secure the knot and clip thread ends. 7. Using craft glue or a hot glue gun, attach the first and second “E” of Eve to the beads allowing “V” to hang free. Cat’s Ears and Tail: 1. Cut four “bumps” of the black bump chenille stem. 2. Ears – Fold a bump in half and twist the metal ends to secure. 3. Using the No. 12 Flat Brush loaded with Pure Orange, paint the blush inside each ear. Allow to dry and reapply for more color. 4. Tail – Keeping the bumps straight, twist the two metal ends together at the top of the bump as well as at the bottom. 5. Carefully fold one metal end into the bump to camouflage the end. 6. Using a sharp point of a nail, needle, stylus, or ball point pen, puncture three small holes into the paper mache ornament. Puncture holes to place the ears at the base of the hat, and the tail in the middle, lower back. 7. Attach the furry pieces to the cat using a touch of white craft glue. NOTE: You will want to place the brim of the hat onto the ornament before gluing the ears in place. Creating the Tassel: 1. Load the No. 12 Flat Brush with Apple Orchard and paint the bottom bulb. Allow to dry. 2. Cut several 8” lengths of yarn, ribbon, or strings of beaded pearls. Fold in half. Using a piece of yarn, tie these cut sections at the fold; secure with a couple knots. Keep these tie sections of yarn separate from the tassel as these will be used to attach the tassel to the ornament. 3. Wrap a 6” section of ribbon around the top portion of the tassel; tie and secure after wrapping together. 4. Tie a couple jingle bells to a few of the sections of yarn. Finishing Instructions: 1. Remember to sign your name using a No. 2 Script Liner Brush loaded with thinned color of your choice. 2. Attach a jump ring to the top of the cat’s hat by poking two small holes into the paper mache using a needle. Feed the jump ring through the hole and close the jump ring. 3. Feed ribbon though the jump ring and tie to create a hanger for your “Eve” the Halloween Cat Ornament. Enjoy!


