Instructions
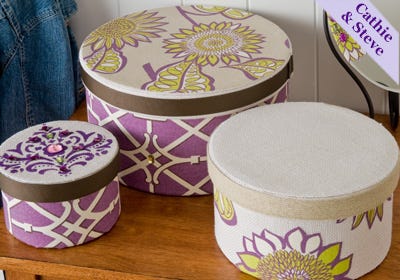
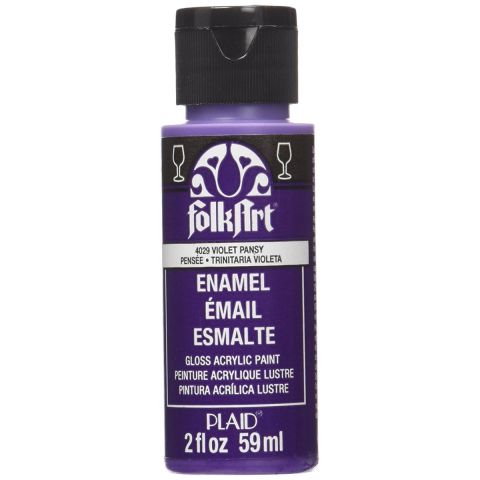
1. Stenciling on the lids: Tape the stencil to the top of the lid. Pool Violet Pansy paint onto wax paper. Dip the stencil brush into the paint and tap of the excess paint. Working in an up and down fashion, paint the stencil motif onto the top of the lid. Carefully remove the stencil and allow to dry. Glue gems to the design.
2. Covering the lids with fabric: Trace around the lid onto the backside of a piece of fabric. Working 1/4 “ on the inside of the drawn line, cut out the circle shape. Apply fabric Mod Podge to the back of the fabric. Position onto the top of the hatbox and allow to dry.
3. Covering the sides with fabric motifs: Cut designs from fabric, coat the backside with fabric Mod Podge and position on the sides of the boxes. Smooth with your fingers and allow to dry.
4. Covering the sides with solid piece of fabric: Measure around the hatbox. Add 2 inches for overlap to the length. Measure the height of the hatbox. Add 5 inches to the measurement. Apply fabric Mod Podge to the hatbox, center the fabric on the box and press down. Continue adding Mod Podge and pressing the fabric. When you reach the end, fold back the fabric and glue with Mod Podge to create a clean edge. Hot glue to secure. Allow to dry for 1 hour. Hot glue the excess fabric to the bottom of the box and to the inside of the box.
5. Embellishments: Hot glue ribbons around the boxes. Add gems or other embellishments.


