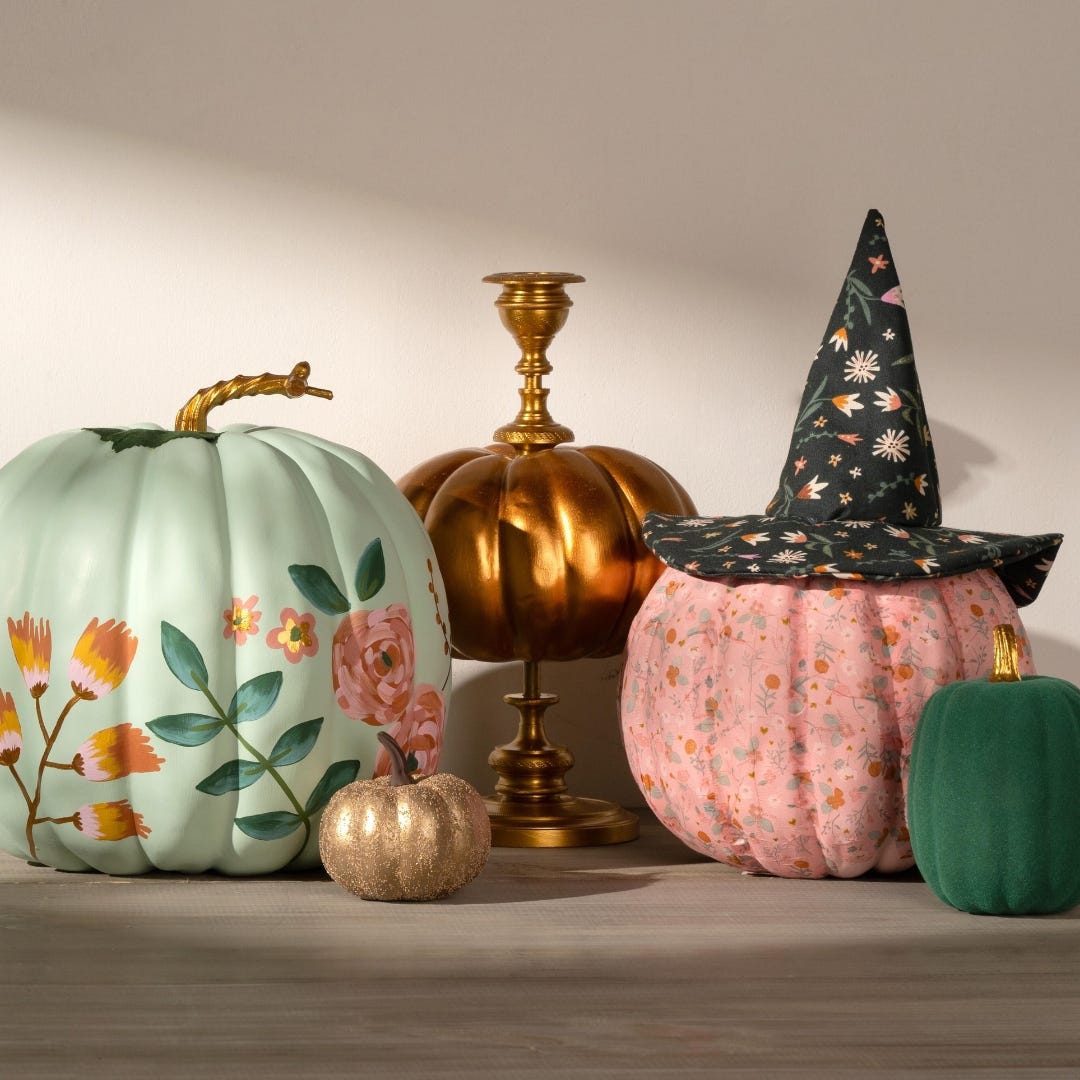
Witch Hat Pumkin:
- Use a flat brush to basecoat your pumpkin using a FolkArt paint that matches the background color of the napkin. Let dry.
- Remove the extra plies from the napkin and cut around the patterns of the napkins so you have smaller sections. Use a flat brush to apply Mod Podge Multi to the surface of the pumpkin and apply a piece of napkin. Continue this step until the entire pumpkin is covered. Let dry and apply a topcoat of Mod Podge Multi.
- Use Keiko Lynn's free witch hat pattern to cut your fabric into the necessary shapes. Follow the free sewing tutorial brushing Mod Podge multi onto the fabric to join it instead of stitching. Let dry and add the witch hat to the pumpkin.
Velvet Crush Pumpkin:
- Basecoat pumpkin with tinted adhesive and let dry.
- Reapply basecoat and apply flocking powder while wet. Apply a generous amount of flocking powder to achieve the desired look.
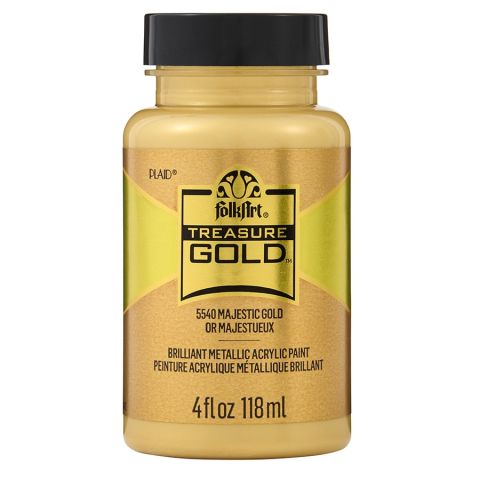
Treasure Gold Candlestick Pumpkin:
- Unscrew the top and bottom of the metal candlestick.
- Paint the candlestick with Treasure Gold. Paint the faux pumpkin with a coordinating color of Treasure Gold and let both dry.
- Secure the two halves of the candlestick to the painted pumpkin with hot glue.
Floral Painted Pumpkin:
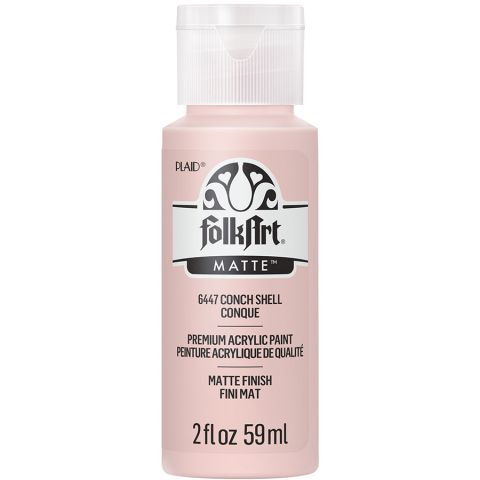
- Basecoat your pumpkin with a 1:3 ratio of Aqua and Vintage White and let dry.
- Sketch loose florals and leaves onto your pumpkin with a pencil.
- Fill in the pencil sketches with different colors of Folkart Matte paint from the Scenic Adventure kit and let dry.
- Add accents of Gold to the finished design.

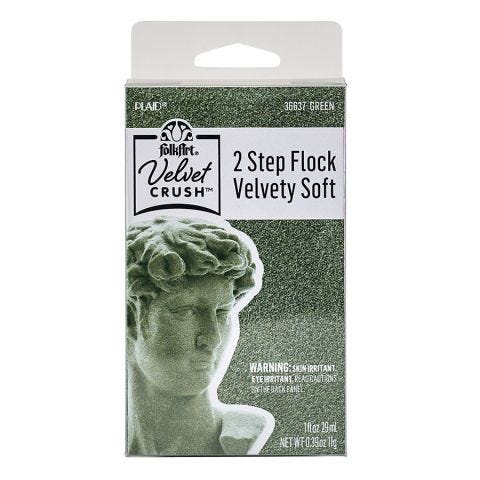
FolkArt® Velvet Crush™ 2 Step Flock, Green, 2pc Adhesive and Powder , 2pc - 36637
FolkArt
2 oz
+ 10 colors
Special Price $2.99 Regular Price $4.99

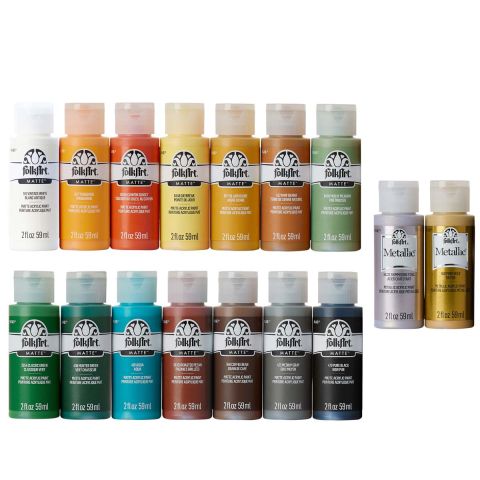
FolkArt ® Acrylic Colors Value Paint Set - Scenic Adventure, 16 Colors - 13511
FolkArt
2 oz
Special Price $17.99 Regular Price $29.99

- - (Witch Hat Pattern) https://keikolynn.com/2023/09/witch-hat-pattern-free-download/
- -Faux Pumpkins
- -Pencil
- -Scissors
- -Patterned Cotton Fabric
- -Patterned Napkins
- -Metal Candlestick
- -Hot Glue
