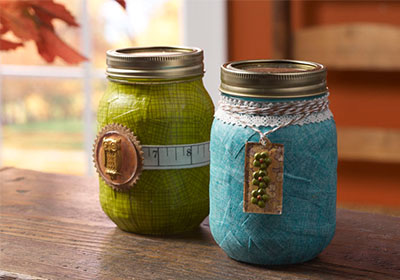
Give friends and families a gift they can use all this fall and afterwards.
Instructions
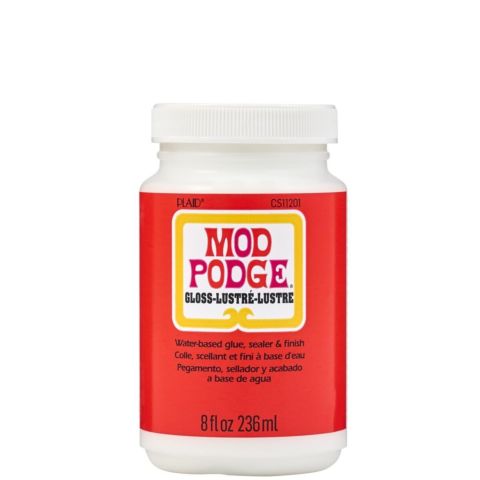
- Start by preparing your fabric with Mod Podge. Place your fabric onto a non-stick surface and paint a medium layer of Mod Podge on top – let dry. Do this so that when you cut the fabric it doesn’t fray. Make sure you have enough fabric to cover the jars.
- Once the fabric is dry, cut into several small squares.
- Begin covering the jars by adding a medium layer of Mod Podge to the side, placing a piece of fabric down and Mod Podging over the top. Keep adding fabric in this same way, overlapping as you go.
- When you get to the edges, cut darts into the squares so that you can overlap the fabric around the round edges.
- When you are done covering the jars in fabric, give them a final coat and let dry.
- Choose the acrylic shapes that you want to use on each jar (see the photo for suggestions). Trace the shapes onto scrapbook paper and then cut out.
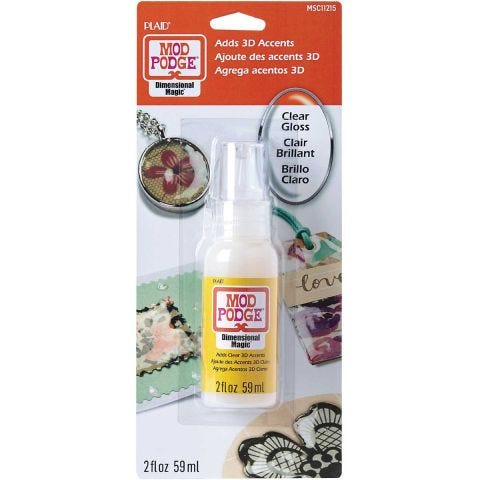
- Mod Podge the paper to the back of the acrylic shapes and let dry. Optional step: add Dimensional Magic to the front of the acrylic shapes for a glossy look and let dry.
- To make your embellishments, use the Mod Melts in a high temp glue gun. Add to the Mod Molds following the instructions on the package, let cool and then remove.
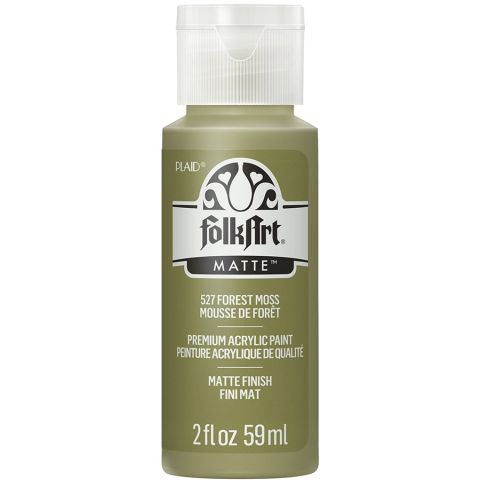
- Paint your embellishments with the acrylic paint – I used Pure Gold on the owl and Autumn Leaves/Forest Moss on the flower shape. Let dry.
- Glue your embellishments to the front of the acrylic shapes and let dry.
- Add ribbon to your jars and let dry.
- Glue your embellishments on or tie to the lip with baker’s twine as shown in the photo.
- Let your jars dry, then fill with candy or other treats for gift giving.
