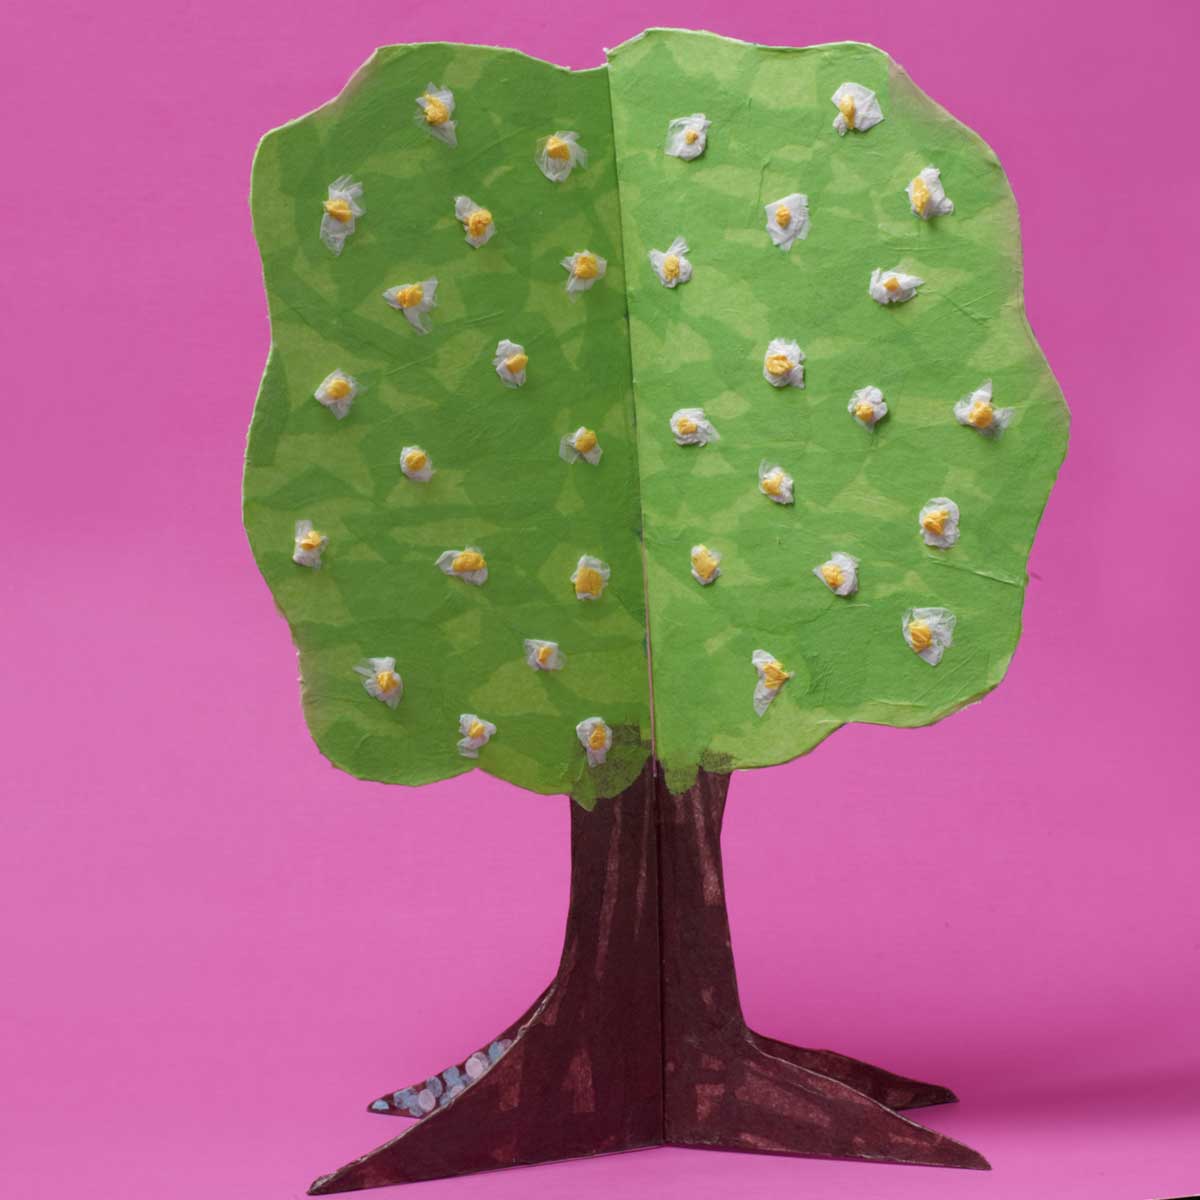
A great educational project for kids, this four seasons 3D tree craft is the perfect way to learn about changing seasons. Make this craft together as a family for a fun and information project.
Instructions
- Starting at the bottom of the heavy white construction paper, draw a tree with a full leafed top in pencil.
- NOTE: Be sure to draw a tree with a wide trunk to support the fully leafed top. This will be your templet. Cut out the tree along the pencil lines.
- Lay the templet on one piece of the mat board aligning the bottom of the mat board to the templet bottom. Using a pencil, trace the tree shape onto the mat board. Cut out the tree. NOTE: Older students may carefully cut the mat board using a craft knife. Repeat tracing the tree template onto the second mat board.
- Tear or cut tissue papers for each of the four seasons – Spring, Summer, Fall and Winter. Set aside in piles.
- Lay one of the tree shaped mat boards on a piece of wax paper. NOTE: Each tree shaped mat board cutout will be decorated on both sides and each tree will be halved and decorated for two different seasons so that in completion when the tree is assembled, you will see one full season.
- Side one: decoupage Spring/Fall.
- Side two: decoupage Winter/Spring.
- Side three: decoupage Summer/Winter
- Side Four: decoupage Fall/Summer.
- Select one side to begin and gather the appropriate color tissue papers. Begin by coating the mat board with Mod Podge. Lay a section of tissue paper over the wet Mod Podge and press in place. Brush a topcoat of Mod Podge to seal the tissue paper. Continue adding layers of colored tissue paper until the entire tree representing two seasons is covered. Let dry.
- Repeat the same decoupage process decorating each side of the mat board trees with another pair of seasons. Allow to dry.
- Once two sides are dry, flip the mat board over and continue decoupaging the two remaining sides. Allow to dry.
- To assemble the tree, a cut needs to be made on each tree. Begin by cutting one mat board from the BOTTOM center up half way. The cut should be the width of the mat board. The second cut is completed on the other mat board from the TOP center half way down. Again the cut should be the width of the mat board.
- Slide the two pieces together.


