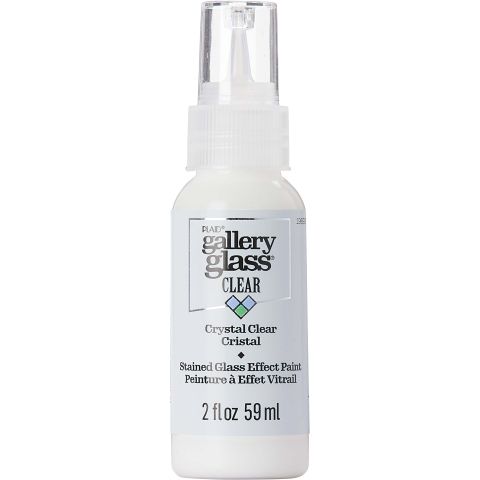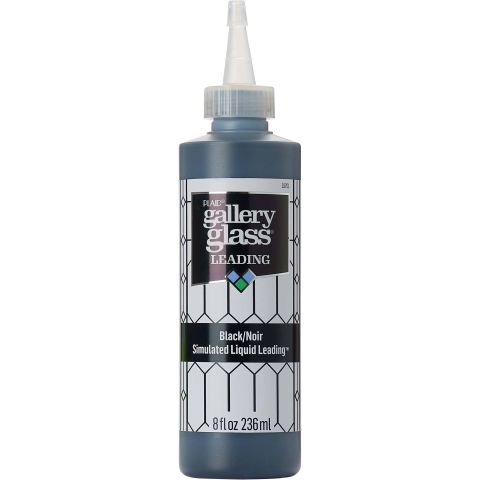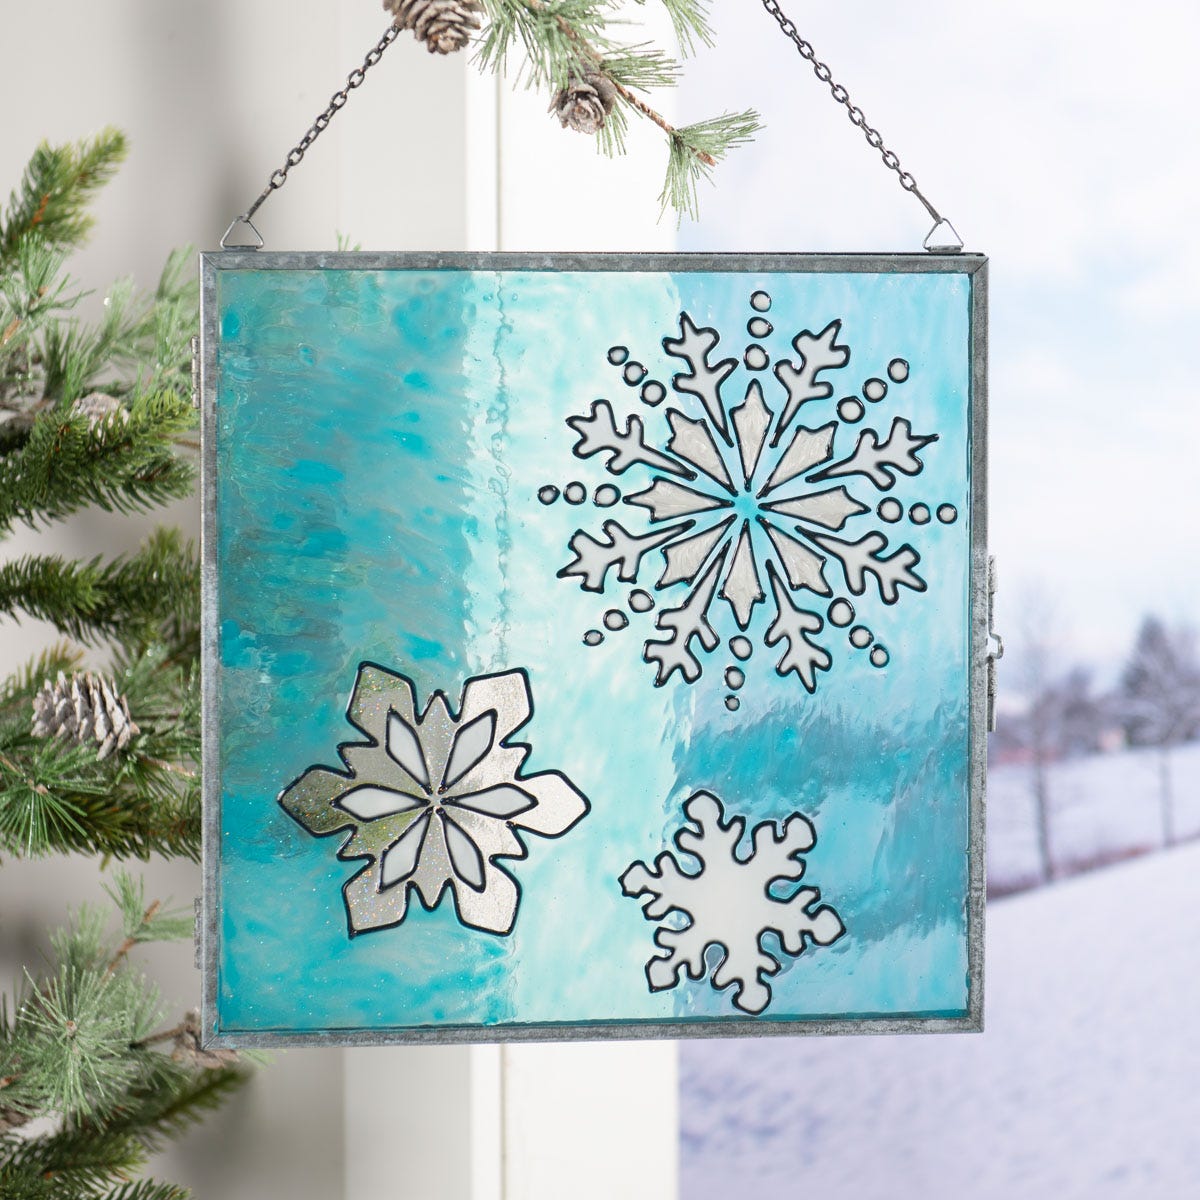
Use Gallery Glass to create a winter wonderland of fun! Create whimsical snowflake shapes on a variety of glass surfaces to make your holidays snowy and bright.
Instructions
Small Square Snowflake Frame
- Print and enlarge pattern to desired size to fit frame.
- Place pattern under window and trace with Liquid lead, let dry.
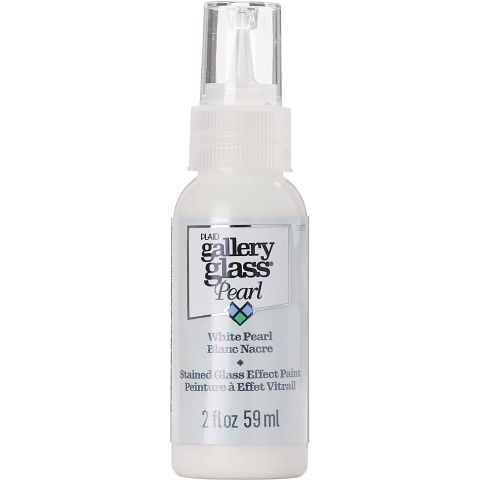
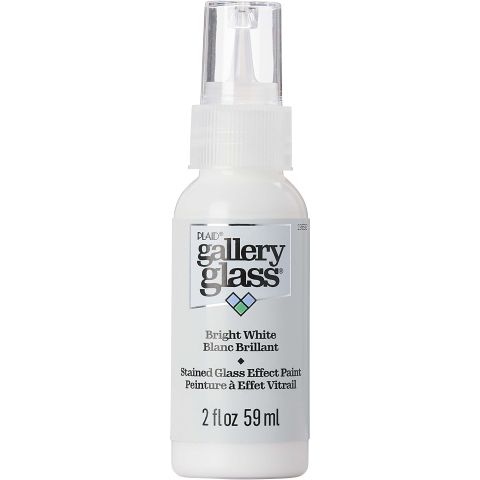
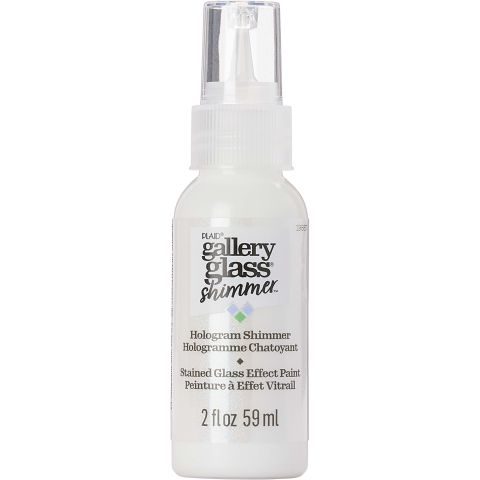
- Fill in each area with color shown in photo. Using the bottle tip of Clear Gallery Glass, lightly smooth out each section of color and remove any air bubbles.
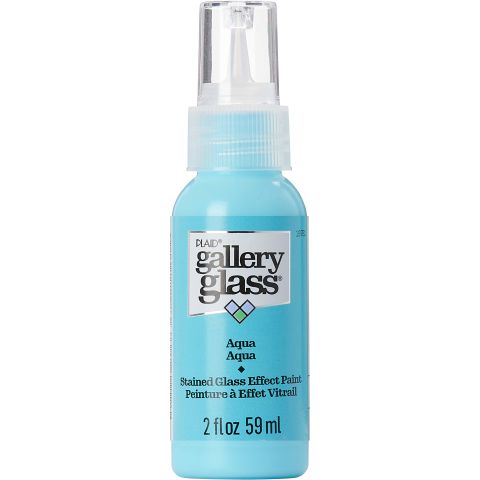
- Using the bottle tip of the Aqua Gallery Glass, fill in all areas around snowflakes with a loose swirl pattern as shown.
- Let dry completely.
Rectangle Frame
- Print and enlarge pattern to desired size to fit frame.
- Place pattern under window and trace with Liquid lead, let dry.
- Fill in each area with color shown in photo. Using the bottle tip of the Clear Gallery Glass, lightly smooth out each section of color and remove any air bubbles.
- Using the bottle tip of the Clear Gallery Glass, fill in all areas around snowflakes with a loose swirl pattern as shown.
- Let dry completely.
- Paint frame with FolkArt White Chalk Paint and let dry.
Round Snowflake Frame
- Print and enlarge pattern to desired size to fit frame.
- Place pattern under window and trace with Liquid lead, let dry.
- layout glass stones and tile pieces as shown. Glue into place with Tacky Glue and let dry completely.
- Color in each area following photo for color placement. * Use clear around stones to create a finished embedded glass look.
- Fill in each area with color shown in photo. Using the bottle tip of the Clear Gallery Glass, lightly smooth out each section of color and remove any air bubbles.
- Using the bottle tip of the Clear Gallery Glass, fill in all areas around snowflakes with a loose swirl pattern as shown.
- Let dry completely.
- Paint frame with FolkArt White Chalk Paint and let dry.
- Tie ribbon into bow as shown and attach with greenery using hot glue.
8.5.2


