
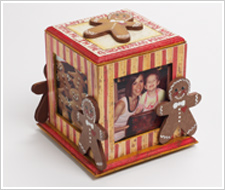
A great way to keep holiday memories alive all year long.
Instructions
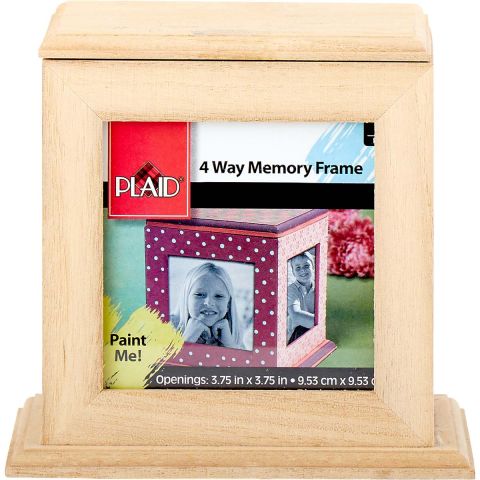
Surface Preparation:
- Lightly sand rough areas with fine grit sandpaper.
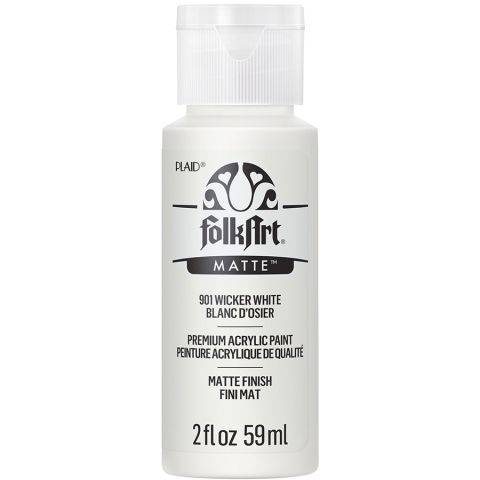
- Basecoat sections of the base and top and allow to dry. Flat top surface: Wicker White, Rounded section of routed edges both on top and bottom: Calico Red, Base and bottom: Gilded Oak, One Gingerbread Man Cutout: Gilded Oak.
- When dry, sand if necessary and reapply basecoat colors. Allow to dry.
Tracing and Transferring a Pattern:
- Place the printed pattern face side up before you.
- Lay a sheet of tracing paper on top of the printed pattern. NOTE: you may secure the sheet of tracing paper to your surface with a piece of tape.
- Using a soft lead pencil, or a fine point permanent ink black marker, trace over the main pattern lines. DO NOT worry about tracing over detail lines as they will not be transferred.
Painting Instructions:
- Gingerbread Man – Double load the No. 12 Flat Brush with Gilded Oak and Maple Syrup. Blend on the palette; shade along the outside edge of one gingerbread man cut out.
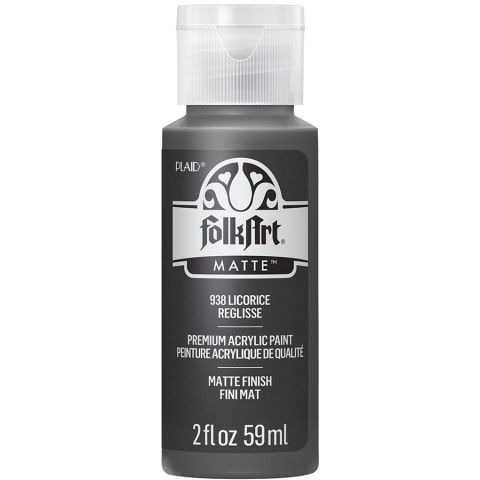
- When dry, paint two Licorice dot eyes using the handle end of the No. 1 Liner Brush.
- Add a pair of Calico Red cheeks highlighted with a tiny dot of Wicker White.
- Paint a Calico Red heart using the No. 1 Liner Brush.
- Paint all the icing areas: wiggle lines, buttons, bow tie, nose and smile with thinned Wicker White using the No. 1 Liner Brush.
- Top of Photo Cube – Transfer square pattern lines and lettering.
- Double load No. 12 Flat Brush with Wicker White and Gilded Oak. Blend on the palette; shade Gilded Oak along the inside square pattern lines. Refer to photo.
- Load No. 1 Liner Brush with thinned Calico Red. Paint lettering along edge.
- Using same brush loaded with thinned Maple Syrup, paint dash – dot – dash pattern separating the inner and outer square.
- Flyspeck or splatter paint the top surface with thinned Maple Syrup. Also flyspeck the painted base and routed edge. Allow to dry.
Mod Podge Instructions:
- Photo Cube – measure and cut striped patterned scrapbook paper to fit the four sides of the photo cube.
- Work one side of the cube at a time. Using No. 12 Flat Brush, apply Matte Mod Podge to the surface of the photo cube. Brush a layer of Mod Podge on the back side of the precut paper.
- Place the paper pattern directly onto the Mod Podge’d surface. With pressure, smooth the paper in place removing excess Mod Podge and any air bubbles. Wipe away excess Mod Podge and allow drying a few minutes. Repeat for three other sides.
- When dry to the touch, apply a coat of Mod Podge to the entire photo cube.
- Gingerbread Men Cutouts– Lay paper pattern side down. Place wood cutout on top; lightly trace around cutout. Cut paper patterns of gingerbread men.
- Attach paper to wood cuts in same manner as the photo cube. Allow to dry.
- When dry, paint edges Maple Syrup. Paint body icing, heart, and facial features same as top gingerbread man cut out.
Finishing Touches –
- Attach the wood cutouts to the top and sides of the photo cube using white craft glue.
- Sign your name and allow drying.
- When dry, if desired, you may apply a final coat of Matte Mod Podge to seal and protect your artwork.

