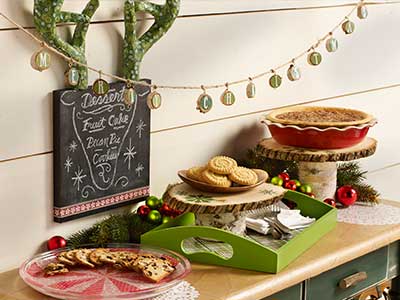
This festive table will bring delight and wonder to your holiday guests.
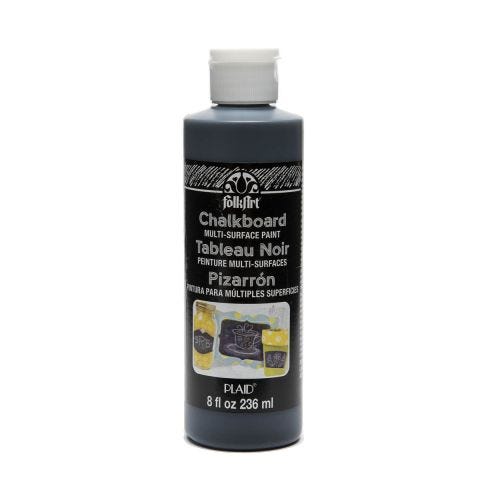
FolkArt ® Chalkboard Multi-Surface Paint - Black, 8 oz. - 2651
FolkArt
8 oz
Special Price $4.79 Regular Price $7.99
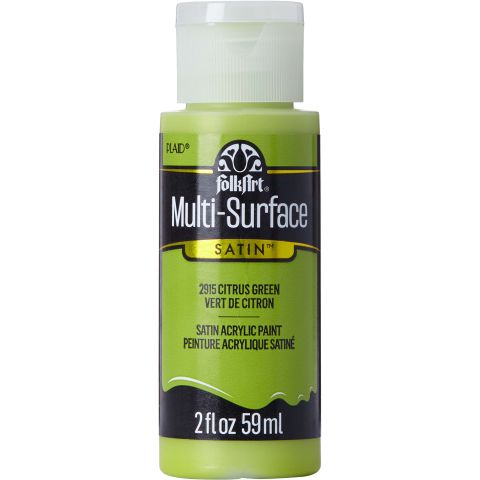
FolkArt ® Multi-Surface Satin Acrylic Paints - Citrus Green, 2 oz. - 2915
FolkArt
2 oz
+ 73 colors
$1.99

Instructions
Get the supplies you need to make this project from your local Michaels!
Banner
- Cut 14 small circles from green scrapbook paper.
- Following directions on Furniture Mod Podge, apply circles to birch pieces as shown. Apply alphabet pieces from die cut paper alphabet over the paper to say "Merry Christmas."
- Screw 1 eye hook per piece and tie to large piece or jute. Hang banner as shown.
Dessert Table
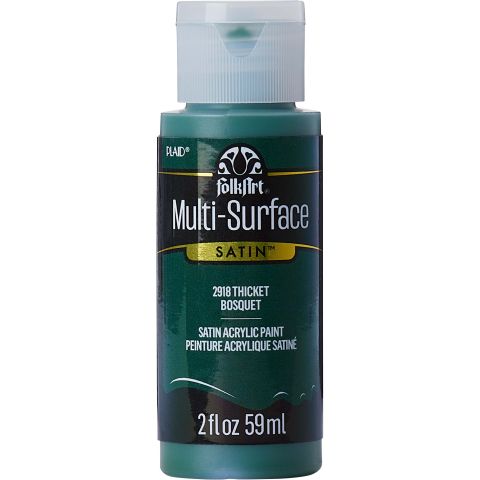
- Basecoat table with Thicket. Do not paint tabletop.
- Sand areas of table to create the distressed finish as shown in the photo.
- Rip the brown craft paper into random pieces.
- Following direction on Furniture Mod Podge, apply the paper to the top of table as shown. Let dry as directed.
Birch Cakestands
- Cut several snowflake designs from the scrapbook papers.
- Following direction on Mod Podge apply snowflakes to birch pieces as shown.
- Using Wood glue assemble cake stands as shown. Let dry.
Green Cookie Tray
- Basecoat sides of tray with Citrus Green, apply 2 coats and let dry between coats.
- Cut green scrapbook paper to fit the bottom of the tray as shown.
- Following the directions on Furniture Mod Podge, apply the paper to the bottom of the tray as shown. Let dry.
Reindeer Chalkboard
- Remove antlers from the paper mache deer head. Cut green scrapbook paper into small squares, about 1 x 1”.
- Following directions on Furniture Mod Podge, apply papers to antlers as shown.
- Paint 12" x 12" wood canvas with FolkArt Chalkboard. Apply 2 coats drying between coats.
- Add paper border to bottom of canvas as shown.
- Glue antlers to top of wood canvas as shown.
Peppermint Plate
- Wash plate in mild soap and water. Dry and wipe with rubbing alcohol to remove any residue.
- Cut eight wedges from Recollections® Christmas Fa La La La paper pack in one red pattern. Cut eight larger wedges from different red patterned paper.
- Place plate upside down over placement pattern.
- Apply Dishasher-Safe Mod Podge® to front of smaller wedge paper and place on plate back lining up with placement pattern. Place wax paper over wedge and smooth with squeegee. Repeat process placing every other one onto plate back until all eight are applied.
- Apply larger wedges between small ones overlapping edges. Let dry at least twenty minutes.
- Seal with a coat of Dishwasher-Safe Mod Podge® making sure all paper edges are encapsulated. Apply several coats allowing dry time in between.
- Refer to curing times before use and top rack dishwashing.


