Instructions
Surface Preparation:
- Sand any rough areas of the frame with fine grit sandpaper. Wipe with a paper towel.
- Basecoat the entire wood surface with True Burgundy. Allow to dry and reapply color.
Basic Mod Podge Instructions:
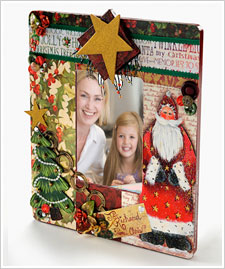
- Determine placement of the variety of papers used. Measure and cut scrapbook paper to the desired size creating a patchwork effect. Refer to the photograph for placement and design ideas. The sample was designed using a variety of six different, yet color coordinating papers.
- Using the 3/4" flat brush, apply Mod Podge to the project surface as well as back of each scrapbook paper section.
- Lay paper with right side up in place on the frame. Apply pressure and smooth the paper working from the center towards the edges removing air bubbles. Repeat process, adhering paper to the mini stretched canvas as well.
- Once paper is smoothly adhered, apply a coat of Mod Podge to the top of the paper. Allow to dry. NOTE: Experiment; do not be afraid to use the variety of Mod Podge formulas on the different papers. Use the Gold Shimmer on the darker papers and the Sparkle formula when you want to add a little glitz!
Painting Instructions:
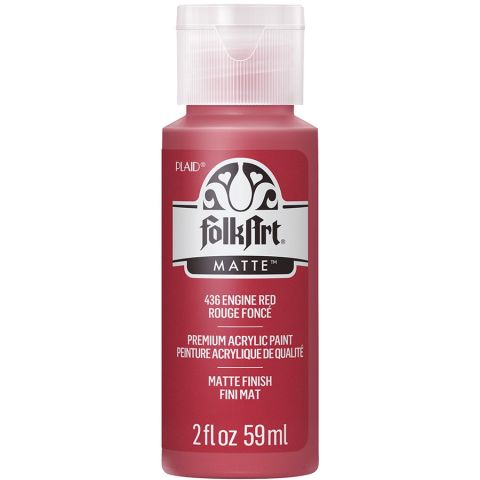
- Begin by painting the following: Santa Face: Portrait Light Santa Beard: Wicker White Santa Mittens and Boots: Licorice Santa Robe and Hat: Engine Red Santa Robe Fur: Wicker White
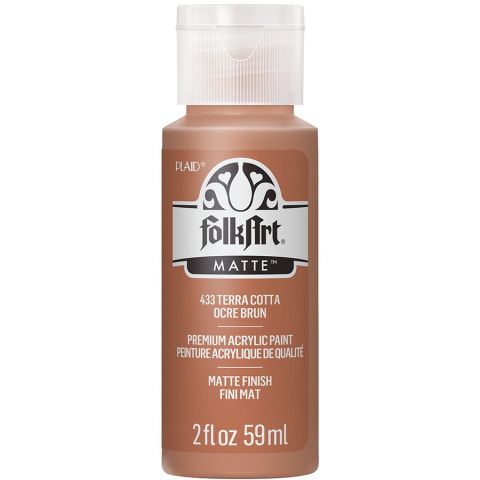
- Santa Face – Lightly shade the forehead area and around the button nose by double loading the # 12 flat brush with Portrait Light and a small amount of Terra Cotta. Double load the same brush with Portrait Light and a small amount of Engine Red; add blush to Santa’s cheeks. Paint two Licorice eyes using the # 2 script liner brush, highlight with Wicker White.
- Santa Robe and Hat – Double Load the # 12 flat brush with Engine Red and True Burgundy, add a touch of Licorice to the True Burgundy to deepen the color. Shade the dark areas such as, on the robe behind the arms, and on the hat at the hairline. Highlight the definition of the arms with a double loaded brush of Engine Red and a touch of Wicker White. Allow to dry.
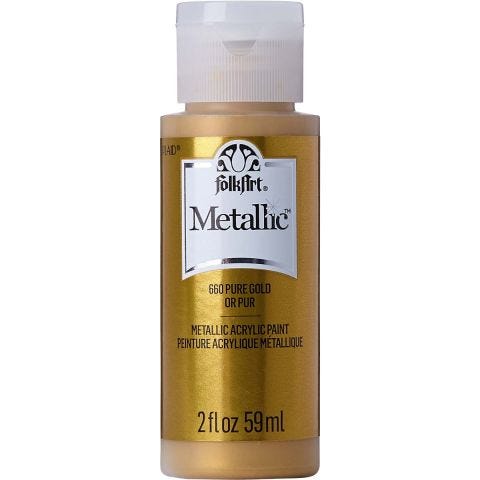
- Using the # 2 script liner brush, paint Metallic Pure Gold stars randomly on the robe and hat. These stars are painted free-form and are meant not to be perfect. Using the same brush loaded with thinned Licorice, outline the left side of each star. Paint a “scraggly” edge to the fur cuffs, fur trim at the hemline, and fur pom at the cap, allowing some paint to fall outside the pattern shape. Load the # 2 script liner brush with Licorice and paint several pairs of hash marks randomly on the fur.
- Santa Hair and Beard – Double load the # 12 flat brush with Wicker White and a touch of Licorice. Blend on the palette to soften and create a very light gray. Shade the beard under the mustache. Load the # 2 script liner brush with Wicker White and paint individual strands of hair on the beard, mustache and at the hairline.
- Santa Mittens and Boots – Double load the # 12 flat brush with Licorice and a touch of Wicker White. Highlight the toes and the tips of the mittens.
- Santa Finishing Touches – Paint a little snow along the bottom of the boots so that Santa is not “floating”. Add a shadow behind Santa’s body to set him apart from the pattern of the paper behind him. Double load the # 12 flat brush with Licorice and a touch of water. Paint the shadow so that the Licorice side of the brush is closest to Santa.
- Christmas Tree – Using the # 12 flat brush, paint the base of the tree Hunter Green. Basecoat the tree trunk Terra Cotta. Allow to dry.
- Using the # 2 script liner brush loaded with Fresh Foliage, paint individual comma strokes beginning each stroke at the bottom of a limb stroking upwards towards the top of the tree. Overlap Fresh Foliage strokes to create the fullness of the tree branches. Load the # 12 flat brush with Licorice and shade the tree trunk using the chisel edge of the flat brush.
- Gold Star – Basecoat the star wood cut out Metallic Pure Gold. When thoroughly dry, apply a coat of FolkArt Extreme Glitter Gold to the surface, allow to dry and reapply for a more “glitter” effect.
Completing your Project:
- Using white craft glue or a hot glue gun, begin the fun of adding the collage embellishments to your frame. The sample used ribbon, beaded trim, buttons, gems, mini jingle bells, and old jewelry.


