


Instructions
- Surface Preparation: Sand any surface rough areas with fine grit sand paper. Wipe with paper towel.
Painting Instructions:
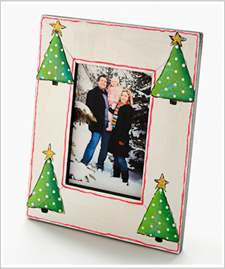
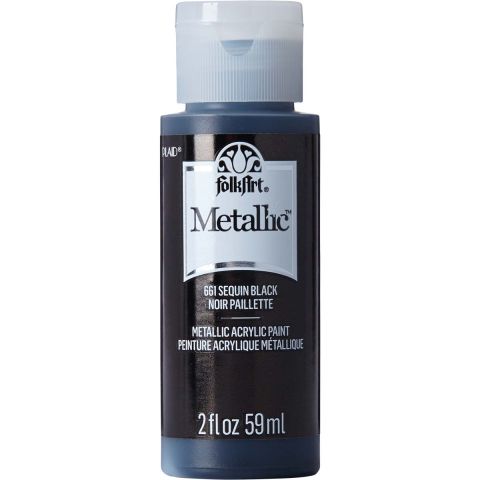
- Colorbook paint / basecoat paint the following areas: Surface of picture frame – Metallic Pearl White. Inside and Outside Edges – Metallic Black Sequin.
- On the surface, wiggle outline around the inside and outside edge of the frame with thinned Metallic Bright Red using the No. 2 Script Liner. Do not try to keep your outline straight.
- Using a ruler for a straight edge, draw a large triangle holiday tree on each corner, a star at the top of each tree, and a small rectangle at the center bottom for the trunk.
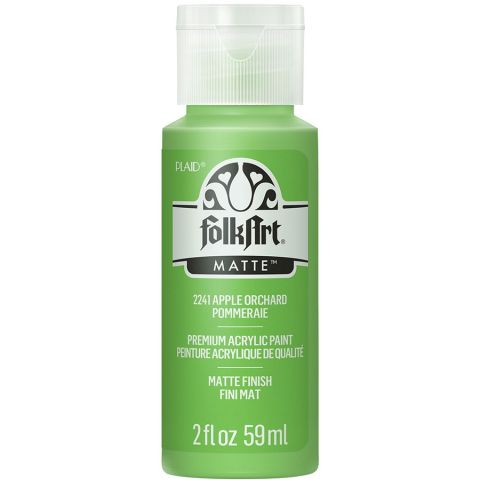
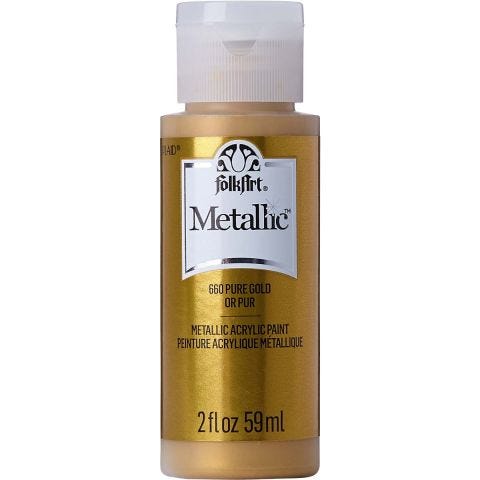
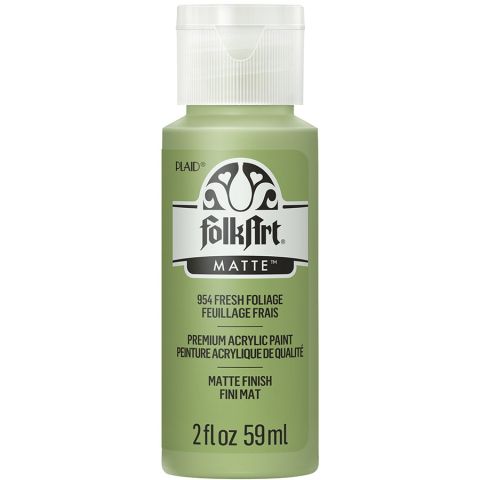
- Paint each tree Fresh Foliage, each star Pure Gold, and each trunk Metallic Black Sequin.
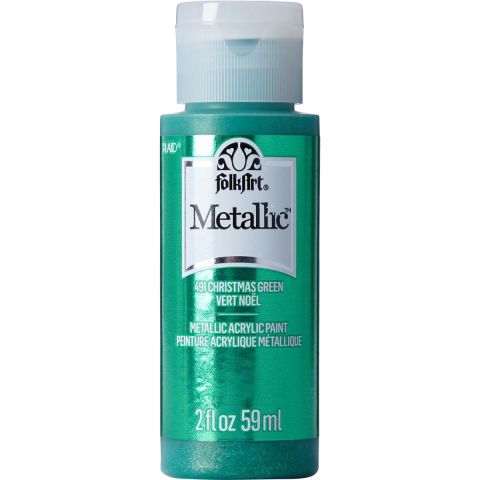
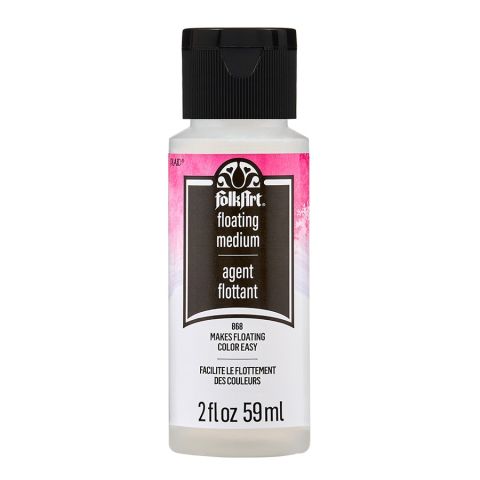
- Shade the right side of the trees by floating Metallic Christmas Green and highlight the left side of the tree by floating Apple Orchard. To float, double load the 3/4” Flat Brush with Floating Medium and color. Let dry.
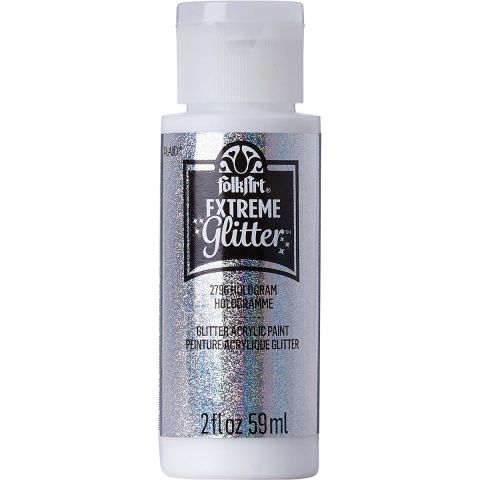
- Apply a coat of Hologram Folk Art Extreme Glitter over each tree and to the stars to add sparkle.
- Highlight the tree trunk with Metallic Pearl White on the left.
- Add dots of Metallic Pearl White to the trees using the handle end of the brush.
- Outline the trees, stars, and trunks using the No. 2 Script Liner with thinned Metallic Black Sequin. Allow to dry.
- Frame your favorite holiday photo. Enjoy!

