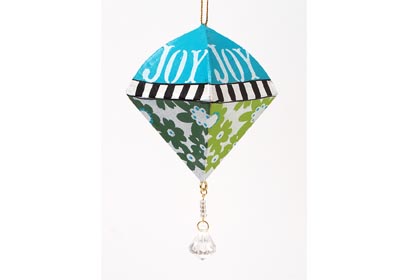
Creating for the holidays is always fun! These ornaments are sure to brighten up your tree.
Instructions
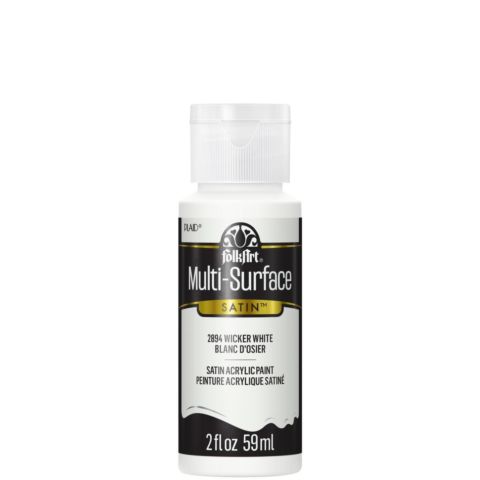
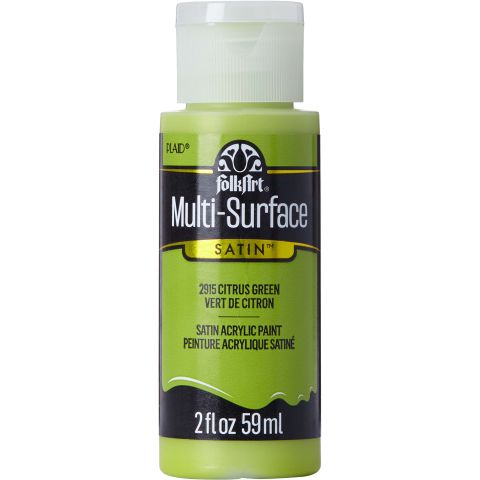
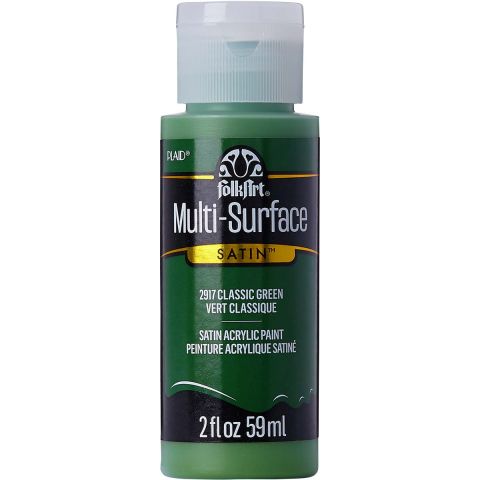
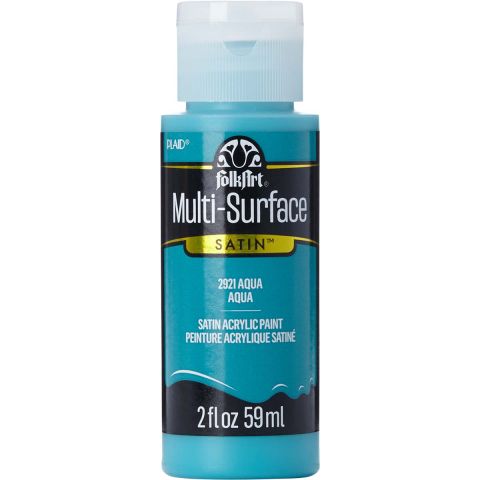
- Using a large flat brush, basecoat paint each ornament. I painted the bottom four sides of the ornament alternating Citrus Green and Classic Green. The top half was painted with a horizontal band of Wicker White (the width of your No. 8 flat brush) and the remaining top was painted Aqua. Allow each side to dry and reapply a second coat.
- Stenciling the bottom sections was fun. I used Ditsy Floral stencil and stenciled Wicker White over both values of green.
- Above the white band on the top section of the ornament, stencil one word around on all four sides using the Happy Words Peel & Stick stencil and Wicker White. The three completed ornaments focus on the words, “Joy” “Hope” and “Peace.”
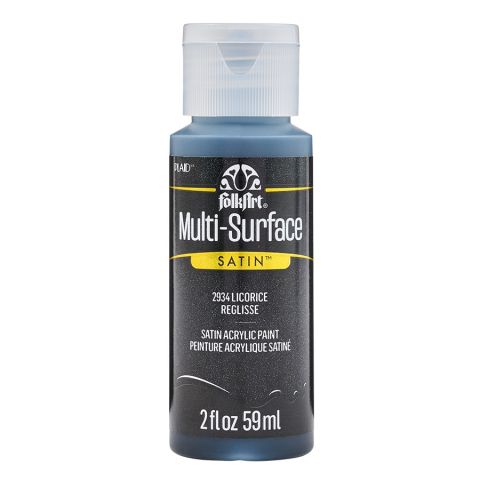
- Load the No. 8 flat brush with Licorice and paint vertical stripes around the Wicker White band creating a checkerboard.
- Load a liner brush with thinned Licorice and paint a horizontal stripe on the top and bottom ofthe checkerboard.
- Using the handle end of your liner brush, paint Aqua polka dots to the flower centers on the bottom half of the ornament.
- To embellish your ornaments with jeweled charms, attach an eye screw into the bottom point.If desired, add a drop of glue onto the eye screw before you screw it into the paper mache.
- Create a bead charm using a head pin. Add crystal beads to an eye pin. Fold the remaining pin 90 degrees. Trim excess pin leaving a little less than half an inch. Create a loop using needle nose pliers. Attach one end of the eye pin to the eye screw at the bottom of the ornaments and a large crystal bead on the other half. (My large crystal bead came with a jump ring attached.) Hang on your tree and enjoy! Happy Holidays.
Tip: Create several bead charms at a time for use later. You never know when you will want to embellish any craft project!


