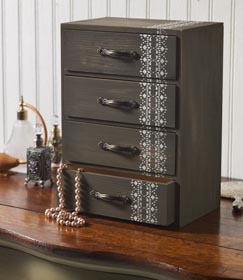
Create a trio of custom jewelry boxes using delicate stencil patterns and FolkArt Home Decor Chalk.
Instructions
- Remove all hinges and clasps using a tiny screwdriver. Store hardware safely in a small bowl, one for each jewelry box.
- Working one jewelry box at a time, pour a small amount of Port FolkArt Milk Paint into a foam bowl. Load the 1.25" FolkArt Milk Paint paintbrush by dipping into the milk paint. Remove excess paint by brushing along the side of the bowl.
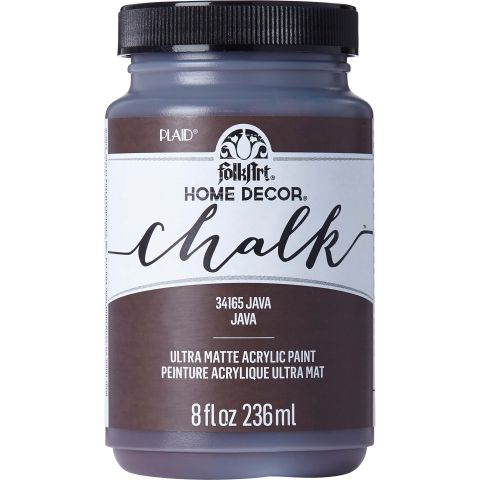
- Brush FolkArt Home Decor Chalk - Java over the entire surface of one jewelry box following the natural direction of the wood grain. Allow to dry.
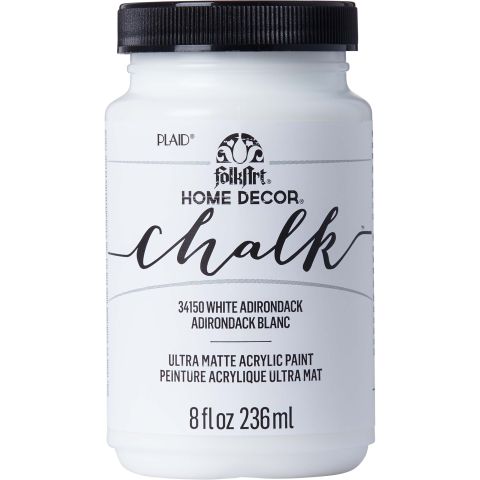
- Repeat the same steps on the remaining jewelry boxes, painting FolkArt Home Decor Wood Tint - Walnut on one and FolkArt Home Decor Chalk - White Adirondack on the other. Allow all surfaces to thoroughly dry.
- Embellish the jewelry boxes where desired using different design elements from the Lace design FolkArt Peel & Stick Stencil. Using a small stencil brush loaded with White Adirondack and then offloaded, carefully add stenciled embellishments on both the jewelry boxes. It is important to always offload a paint loaded stencil brush creating a dry brush which will prevent excess paint use. Allow stenciled areas to dry thoroughly.
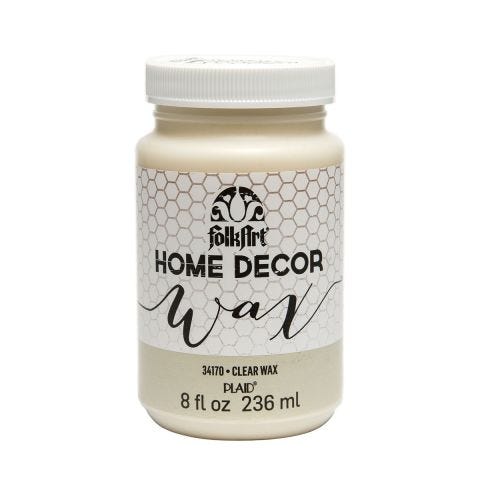
- Finishing – Brush a coat of FolkArt Home Decor Wax - Clear onto all sides of each painted jewelry box. Allow the wax to penetrate through the paint and into the original unfinished surface sealing each jewelry box from the inside out.
- Complete by replacing hinges and clasps.